
There’s something deeply satisfying about creating your own natural lip balm. Beyond the pleasure of crafting something with your own hands, homemade lip balms allow you to control exactly what goes onto your lips – avoiding unnecessary chemicals, preservatives, and artificial fragrances. Making lip balm in small batches ensures freshness and gives you the flexibility to experiment with different ingredients and scents. Whether you’re looking to reduce your environmental footprint, save money, or simply enjoy a rewarding DIY project, creating your own natural lip balm can be a delightful and practical endeavor that yields truly personalized results.
Understanding the Benefits of Natural Lip Balm

Commercial lip balms often contain petroleum-based ingredients, artificial preservatives, and synthetic fragrances that can potentially irritate sensitive skin or even cause dependency. Natural lip balms, on the other hand, typically feature plant-based oils, butters, and waxes that nourish and protect your lips without unwanted additives.
These natural ingredients work with your body’s chemistry rather than against it, providing moisture that actually penetrates the skin rather than just sitting on top. Additionally, making your own lip balm allows you to create products free from known allergens or sensitivities specific to your needs, ensuring you’re applying only beneficial ingredients to your delicate lip tissue.
Essential Ingredients for Homemade Lip Balm

The foundation of any good natural lip balm consists of three main components: waxes for structure, oils for moisture, and butters for richness and protection. Beeswax is the most popular natural hardener, though plant-based alternatives like candelilla or carnauba wax work wonderfully for vegan formulations. Carrier oils such as sweet almond, jojoba, or coconut provide the moisturizing properties while allowing for smooth application.
Butters like shea, cocoa, or mango butter add luxurious texture and intensive nourishment that helps repair and protect chapped lips. Each ingredient plays a specific role in the final product, and the balance between them determines whether your lip balm will be firm or soft, glossy or matte.
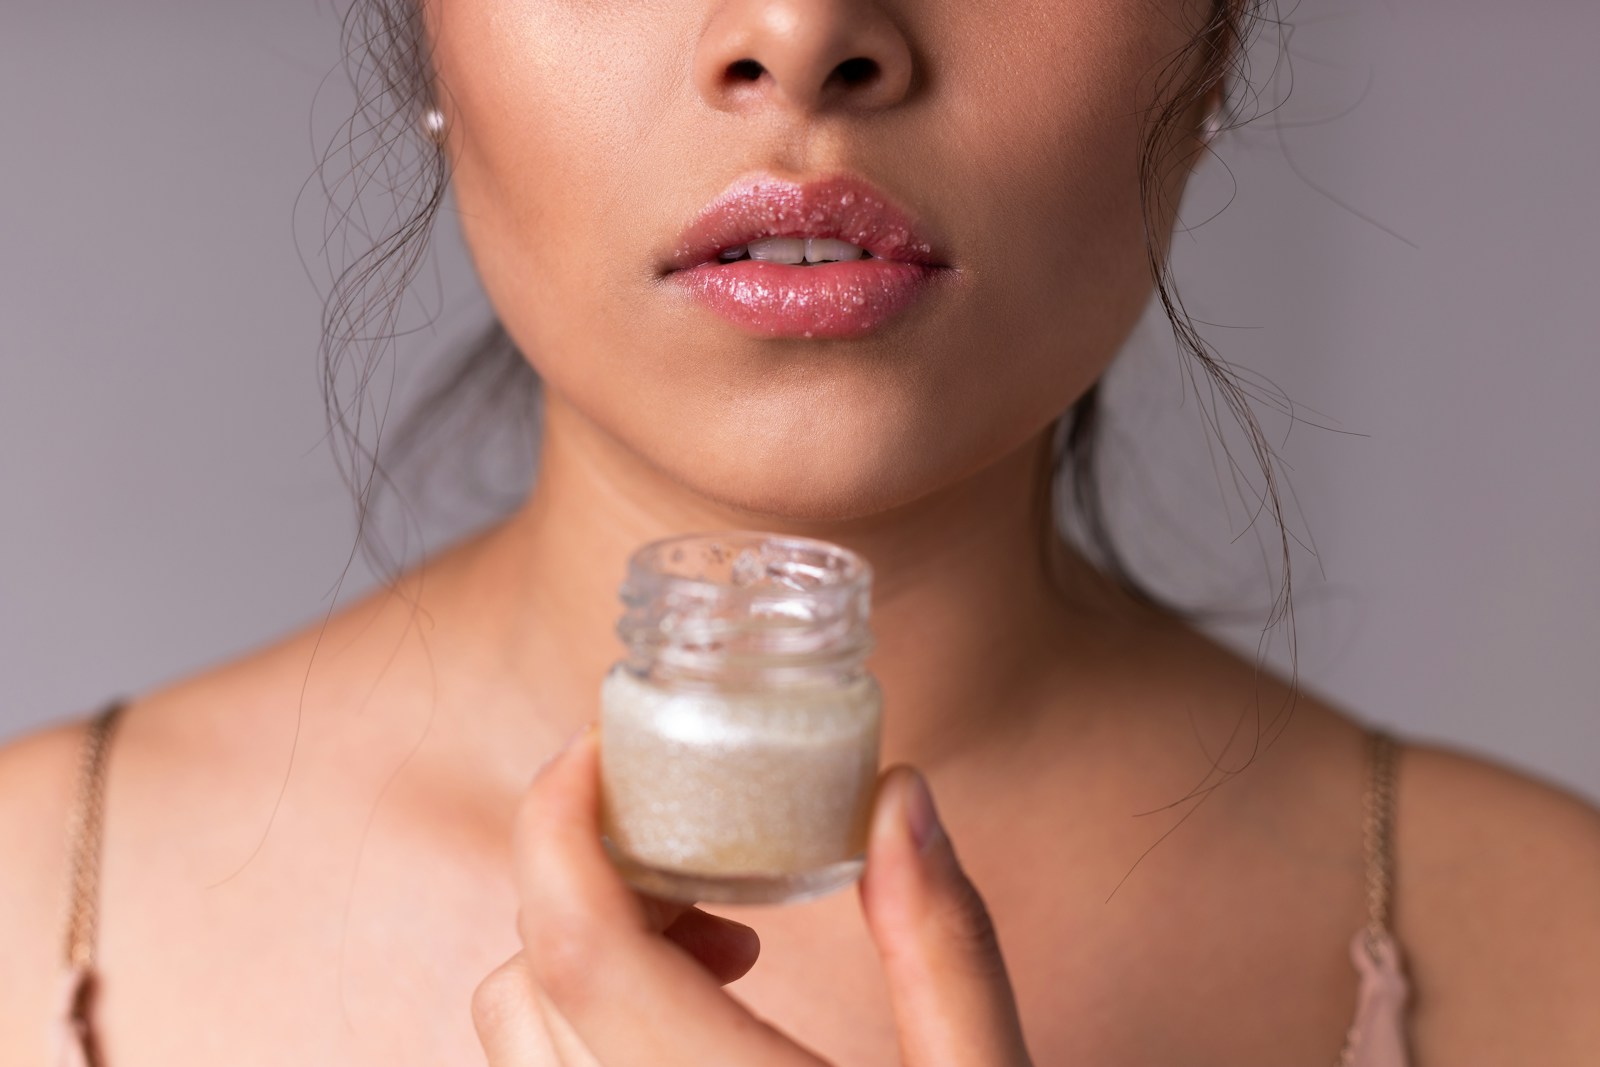
Gathering Your Equipment

Creating lip balm requires minimal equipment, making it an accessible craft even for beginners. You’ll need a small heat-resistant glass measuring cup or a double boiler setup for melting ingredients safely. Digital kitchen scales provide the most accurate measurements, though measuring spoons can work for small batch recipes. Small containers for your finished product are essential – you can purchase empty lip balm tubes, small tins, or repurpose clean, small glass jars.
Additional helpful tools include a thermometer to monitor temperatures, pipettes or droppers for adding essential oils precisely, and wooden stirrers or small whisks for mixing. Having all equipment clean and ready before you begin ensures a smoother process and prevents contamination of your natural products.
Choosing the Right Wax Base

The wax component provides structure and staying power to your lip balm, determining how firm or soft the final product will be. Beeswax, the traditional choice, offers natural antibacterial properties and creates a protective barrier against environmental elements. For those seeking vegan alternatives, candelilla wax (derived from a small shrub) provides similar properties with a slightly higher melting point, requiring about half the amount compared to beeswax.
Carnauba wax, harvested from palm leaves, creates an exceptionally hard, glossy finish and works well in hot climates where melting might be a concern. The percentage of wax in your recipe typically ranges from 20-30% of the total formula, with higher amounts creating firmer balms suitable for tube packaging, while lower percentages yield softer balms better suited for jars or tins.
Selecting Nourishing Carrier Oils

Carrier oils form the moisturizing foundation of your lip balm, each bringing unique properties to your formulation. Sweet almond oil is lightweight, absorbs easily, and contains vitamins E and A that benefit skin health. Jojoba oil closely mimics human sebum, making it exceptionally compatible with our skin and less likely to cause reactions. Coconut oil provides antimicrobial benefits and superior moisturizing properties, though its lower melting point (76°F) means it will soften your balm in warm weather.
Olive oil, rich in antioxidants and squalene, offers deep nourishment but has a stronger scent that may require masking with essential oils. For extra therapeutic benefits, consider infusing your carrier oils with herbs like calendula, chamomile, or plantain before incorporating them into your lip balm recipe.
Incorporating Butter for Richness

Natural butters add luxurious texture and intensive nourishment to your lip balm, helping to repair dry, damaged lips. Shea butter, extracted from the nuts of the African shea tree, contains vitamins A, E, and F along with fatty acids that deeply hydrate and promote healing of chapped lips. Cocoa butter, with its delightful chocolate aroma, creates a firm texture and provides excellent protection against harsh weather conditions. Mango butter offers similar benefits without the strong natural scent, making it ideal for formulations with delicate fragrances.
These butters typically comprise 10-30% of lip balm formulations, with higher percentages creating a richer, more emollient product. When working with natural butters, take care not to overheat them, as excessive heat can destroy their beneficial properties.
Adding Essential Oils for Flavor and Benefits

Essential oils provide not only natural fragrance but also therapeutic benefits to your lip balm. Peppermint essential oil offers a refreshing tingle and can stimulate blood flow to the lips, creating a subtle plumping effect. Sweet orange or lemon oils provide uplifting citrus scents, though these photosensitizing oils should be used in minimal amounts (under 1%) to prevent sun sensitivity. Lavender essential oil adds a calming aroma while offering healing and anti-inflammatory properties beneficial for chapped lips.
When incorporating essential oils, less is more – typically 5-10 drops per ounce of lip balm base is sufficient, as lips are sensitive and too much can cause irritation. Always add essential oils at the end of your process when the mixture has cooled slightly but remains liquid to preserve their volatile therapeutic compounds.
Natural Colorants for Tinted Balms

Creating tinted lip balms naturally involves ingredients that add both color and additional benefits. Alkanet root powder infuses balms with a beautiful reddish-purple hue while contributing anti-inflammatory properties. Beetroot powder provides pink to red tones depending on concentration and adds natural antioxidants to your formulation. Cocoa powder not only imparts a warm brown tint but also offers a subtle chocolate scent that pairs beautifully with vanilla or mint.
For a simple shimmer effect, a tiny amount of mica powder (ensure it’s cosmetic grade) can add dimension without synthetic dyes. When using natural colorants, start with small amounts – about ¼ teaspoon per ounce of base – and increase gradually until you achieve your desired intensity, remembering that colors often appear more concentrated in the melted mixture than in the finished product.
Basic Lip Balm Recipe for Beginners

For your first batch of natural lip balm, this simple recipe yields approximately 5-6 standard lip balm tubes. Combine 1 tablespoon (15g) of beeswax pellets, 2 tablespoons (30g) of coconut oil, and 1 tablespoon (15g) of shea butter in a heat-resistant glass measuring cup. Create a water bath by placing the measuring cup in a small saucepan with about an inch of simmering water, then gently heat until all ingredients completely melt, stirring occasionally with a wooden skewer.
Remove from heat and allow to cool slightly (but not begin solidifying) before adding 5-10 drops of essential oil of your choice and stirring thoroughly. Working quickly, pour the mixture into clean containers and allow to cool completely without disturbing them, which typically takes 1-2 hours depending on room temperature. This foundational recipe creates a balanced lip balm that glides on smoothly while providing lasting protection.
Healing Formula for Extremely Dry Lips

For those suffering from severely chapped or damaged lips, this intensive healing formula provides exceptional repair properties. Begin with 1 tablespoon (10g) of beeswax, 1 tablespoon (15g) of cocoa butter, 1 tablespoon (15g) of coconut oil, and 2 teaspoons (10ml) of vitamin E oil. Add ½ teaspoon of honey (a natural humectant that draws moisture to the lips) and 5 drops of chamomile essential oil, known for its anti-inflammatory and soothing properties.
For additional healing benefits, incorporate ¼ teaspoon of calendula-infused oil, which you can prepare beforehand by steeping dried calendula flowers in olive oil for several weeks. Follow the standard melting process, being careful not to overheat the honey which can destroy its beneficial enzymes. This intensive treatment works best when applied liberally before bed, allowing the healing ingredients to work overnight when lips aren’t exposed to environmental stressors or food and drink.
Vegan Lip Balm Alternatives

Creating entirely plant-based lip balms requires thoughtful substitutions for animal-derived ingredients like beeswax and honey. Replace beeswax with candelilla wax using a 1:2 ratio (meaning if your recipe calls for 1 tablespoon of beeswax, use ½ tablespoon of candelilla wax instead) as plant waxes generally have higher melting points. For the moisturizing honey component, agave nectar provides similar humectant properties while maintaining a vegan formulation. A combination of cocoa butter and mango butter creates excellent texture without dairy, while jojoba oil most closely mimics the natural sebum our skin produces.
For a comprehensive vegan formula, combine 1 teaspoon candelilla wax, 1 tablespoon coconut oil, 1 teaspoon mango butter, and 1 teaspoon jojoba oil, finishing with plant-based vitamin E oil (derived from sunflower rather than wool) as a natural preservative and antioxidant that extends shelf life.
Packaging and Storing Your Homemade Lip Balm

Proper packaging and storage significantly impact the longevity and effectiveness of your natural lip balms. Choose containers based on your formula’s consistency – firmer balms work well in traditional twist-up tubes, while softer formulations are better suited for small tins or jars that allow finger application. Always sterilize containers before filling by washing with hot, soapy water and then rinsing with rubbing alcohol to prevent contamination. Store finished lip balms in cool, dry places away from direct sunlight, which can degrade natural ingredients and essential oils.
Without commercial preservatives, homemade lip balms typically remain fresh for 6-12 months, though formulations containing water-based ingredients like aloe or honey may have shorter shelf lives. Adding vitamin E oil (about 0.5-1% of your total formula) acts as a natural preservative that can extend shelf stability while adding beneficial properties.
Troubleshooting Common Lip Balm Problems

Even experienced crafters occasionally encounter issues with homemade lip balm formulations. If your balm is too hard and drags on application, reduce the wax content by about 25% in your next batch or increase oils proportionally. Conversely, if your product is too soft or melts easily, increase the wax percentage or add harder butters like cocoa butter instead of softer ones like shea. Graininess in your finished product typically indicates that butter components cooled too slowly or were overheated; to remedy this, ensure butters melt gently and cool relatively quickly without being refrigerated, which can also cause graininess.
Should your essential oils seem to disappear or fade quickly, try using fixative oils like vanilla absolute or benzoin to anchor the scent, or simply increase the amount slightly while ensuring it remains skin-safe. When troubleshooting, make small adjustments rather than major reformulations to gradually perfect your ideal lip balm.
Creative Variations for Seasonal Needs

Adapting your lip balm formulations to address seasonal challenges enhances their effectiveness throughout the year. For summer balms, increase the wax percentage slightly to create a higher melting point that withstands heat, while incorporating natural SPF ingredients like raspberry seed oil or zinc oxide (non-nano) for sun protection. Winter formulations benefit from higher percentages of protective butters and the addition of lanolin, which creates an exceptional barrier against harsh winds and indoor heating that causes chapping.
Spring allergies might be addressed with soothing balms featuring blue tansy or German chamomile essential oils that calm irritation, while fall formulations can incorporate warming cinnamon (in minute amounts, as it can be irritating) or vanilla for comfort. By thoughtfully modifying your basic recipe to address seasonal challenges, you create a lip care wardrobe that provides optimal protection year-round rather than relying on a single formula for all conditions.
Making Lip Balm as Handcrafted Gifts

Homemade lip balms make thoughtful, practical gifts that demonstrate care and consideration for the recipient. Create custom gift sets by designing unique formulations tailored to individual preferences – perhaps a refreshing peppermint version for one friend and a calming lavender for another. Enhance presentation by adding decorative labels with ingredients lists and manufacturing dates, using specialized lip balm label templates available online or crafting your own with waterproof stickers.
Package tubes or tins in small organza bags with dried lavender sprigs or attach them to cards with handwritten notes explaining the benefits of the specific formulation you’ve created. For holiday gifting, create seasonal variations like pumpkin spice for autumn, peppermint for winter, floral for spring, or tropical coconut-mango for summer, demonstrating thoughtful consideration of both the season and recipient’s preferences.
Conclusion: The Art of Natural Lip Balm Making

Natural lip balm making is both a practical skill and a creative outlet that allows you to care for yourself and others using nature’s best ingredients. By understanding the function of each component and mastering the basic process, you can create endlessly customized formulations that address specific needs and preferences. Whether you’re seeking relief from chapped lips, wanting to avoid commercial chemicals, or simply enjoying the satisfaction of DIY crafting, small-batch lip balm production offers a rewarding experience with immediately useful results.
As you continue experimenting with different ingredients and ratios, you’ll develop signature formulations that perfectly match your personal needs – truly the ultimate in customized lip care.