Transform your porch into a cozy retreat with a handmade hammock chair that invites relaxation and adds a touch of charm to your outdoor space. Creating your own hammock chair not only saves money compared to store-bought versions but also allows you to customize the design to match your personal style and porch aesthetic.
These suspended seats have become increasingly popular for their ability to create an instant relaxation zone while taking up minimal space. Whether you’re looking for a weekend project or searching for the perfect addition to your porch, this DIY hammock chair guide will walk you through everything you need to know to craft your own slice of suspended paradise.
Why Hammock Chairs Make Perfect Porch Additions
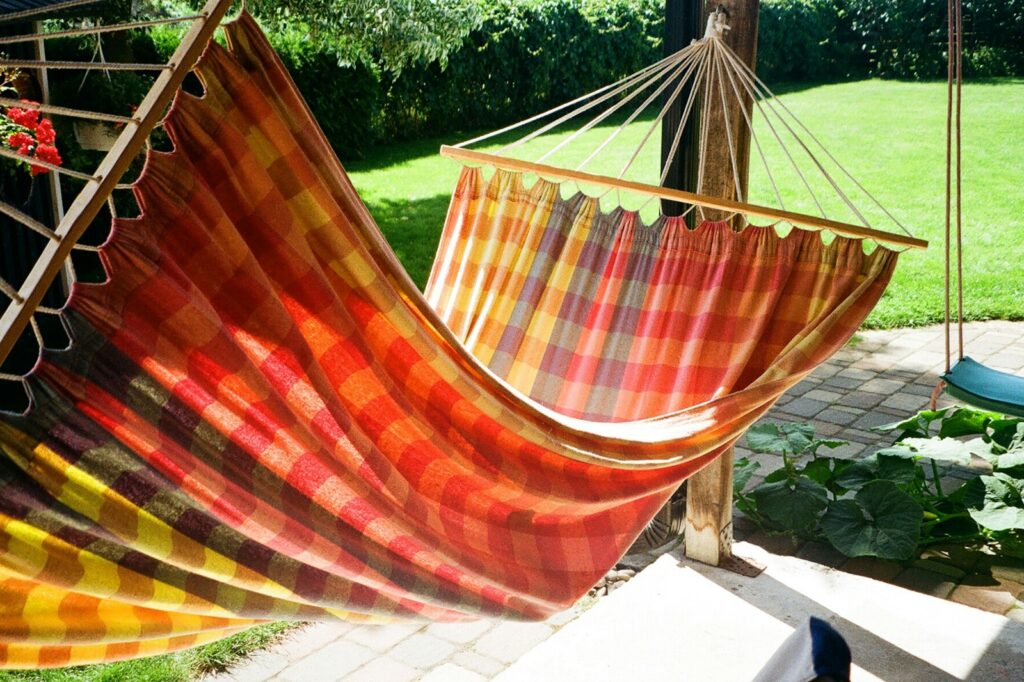
Hammock chairs combine the soothing sway of a traditional hammock with the practicality of a chair, creating an ideal seating option for porches of any size. Unlike full-sized hammocks that require substantial space and two anchor points, hammock chairs need just one overhead attachment point, making them perfect for small porches or corners. The gentle rocking motion has been scientifically proven to reduce stress and promote relaxation by triggering the brain’s natural calming response.
Additionally, hammock chairs keep you in a semi-upright position, making them comfortable for various activities from reading to enjoying morning coffee while watching the sunrise. Their space-efficient design and eye-catching appearance make them both functional and decorative elements for any outdoor living area.
Materials Needed for Your DIY Hammock Chair

Gathering the right materials is the crucial first step in creating a hammock chair that’s both beautiful and durable enough to withstand regular use and outdoor conditions. For the main fabric, you’ll need approximately 2-3 yards of sturdy material such as canvas, outdoor fabric, or a cotton-polyester blend that can support weight while remaining comfortable against the skin. The support structure requires 30-40 feet of strong rope (nylon, polyester, or cotton), a metal or wooden spreader bar measuring about 24-36 inches in length, and hardware including a ceiling hook rated for at least 300 pounds, a swivel mount, and carabiners.
Additional supplies include fabric scissors, a sewing machine (or heavy-duty needle and thread for hand stitching), measuring tape, and optional decorative elements like fringe, tassels, or fabric paint to personalize your creation. For tools, prepare a drill, wrench, level, and stud finder if you’ll be mounting the chair to your porch ceiling.
Choosing the Right Fabric

The fabric you select for your hammock chair significantly impacts both its appearance and functionality, making this decision particularly important. Outdoor-rated fabrics like Sunbrella offer exceptional weather resistance, maintaining their color and integrity despite sun exposure, rain, and humidity that typically affect porch furnishings. Canvas provides excellent durability and weight support, though it may require additional waterproofing treatment if your porch isn’t fully covered. For a more bohemian look, macramé cotton offers beautiful texture but requires more maintenance and isn’t recommended for areas with frequent rainfall.
Consider your local climate conditions—those in rainy regions should prioritize quick-drying synthetic blends, while those in sunny areas might favor UV-resistant materials that won’t fade quickly. The fabric’s weave density also matters; tighter weaves provide better support but less breathability, while looser weaves offer airflow but may stretch more over time, requiring adjustments to maintain the proper sitting height.
Design Options and Style Considerations

Before cutting any fabric, envision how your hammock chair will complement your porch’s existing décor and your personal style preferences. Traditional hammock chairs feature a simple pouch design with fabric gathered at the top, while more elaborate versions may include spreader bars that create a wider, more structured seat resembling a suspended chair. Consider whether you prefer a cocoon-style chair that envelops you or an open design that’s easier to get in and out of, especially important for older users or those with mobility concerns.
Color choice presents another opportunity for personalization—neutral tones like beige or gray blend seamlessly with most porch designs, while vibrant colors or patterns make a bold statement and can brighten a shadowy porch area. Adding embellishments like macramé edges, decorative tassels, or embroidery can elevate your hammock chair from functional to artistic. Some designs incorporate pockets along the sides for storing books, devices, or beverages, adding practical convenience to aesthetic appeal.
Measuring and Cutting the Fabric

Precise measurements form the foundation of a comfortable and properly proportioned hammock chair, requiring careful attention during this crucial stage. Begin by measuring and cutting a rectangle of fabric approximately 6 feet long by 4-5 feet wide, adjusting these dimensions based on your height and desired chair depth—taller individuals may want to add 6-12 inches to the length. For chairs designed with a spreader bar, add an extra 4-6 inches to the width measurement to accommodate the fabric that will fold over the bar.
When cutting, use sharp fabric scissors and follow a straight edge or drawn guideline to ensure clean, precise cuts that will result in a professional-looking finished product. If incorporating a double-layer design for extra strength, cut two identical pieces and align them perfectly before proceeding. Remember that natural fabrics may shrink slightly after the first washing, so pre-wash your fabric before cutting if using cotton or other natural fibers to prevent your finished chair from becoming unexpectedly smaller after its first exposure to rain or washing.
Creating the Basic Hammock Chair Structure

Transforming your cut fabric into a functional chair requires several key steps to create a structure that properly supports body weight while maintaining comfort. Start by folding your fabric in half lengthwise with right sides together, then sew along the open edge with a strong double stitch, creating a tube-like shape that will form the body of your chair. Turn the fabric right-side out and fold the top edge down about 3-4 inches to create a channel for the spreader bar or rope, securing it with another sturdy stitch line, ideally reinforced with an additional row of stitching for durability.
For chairs without a spreader bar, gather the top of the tube and secure it tightly with rope wrapped multiple times around the gathered fabric, finishing with a secure knot. If using a spreader bar design, insert the wooden or metal bar through the channel you’ve created, allowing even distribution of weight across the width of the chair. Regardless of design, ensure all stitches are reinforced at stress points where the chair will bear the most weight, particularly where the suspension ropes attach to the fabric.
Adding Support Ropes and Suspension System
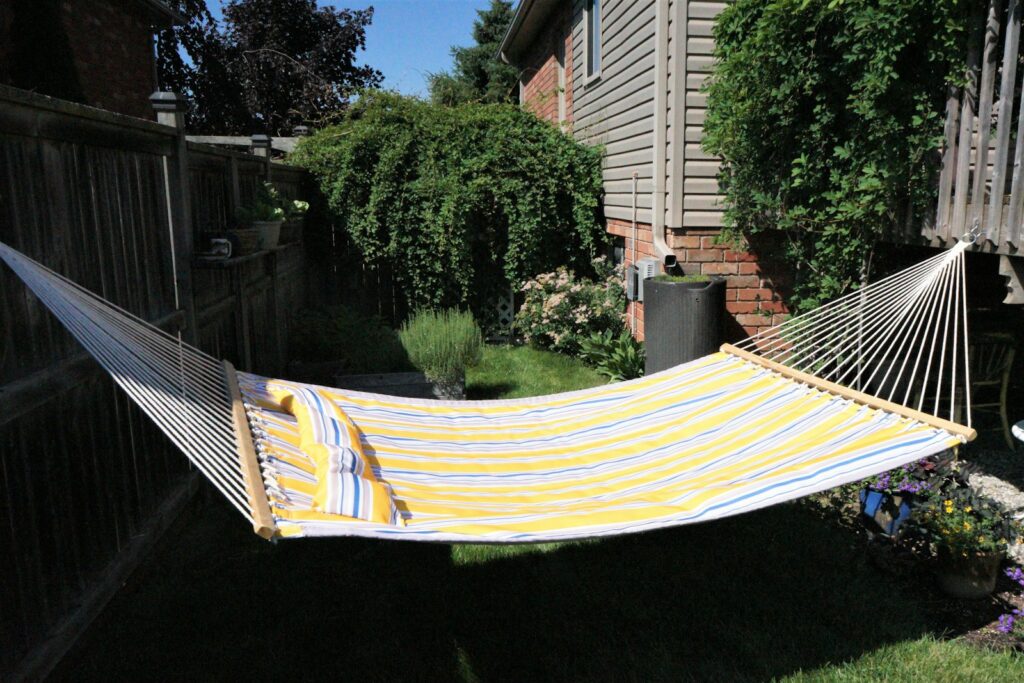
The suspension system determines both the stability and safety of your hammock chair, making proper rope attachment and knotting techniques essential for a secure seating experience. For a basic design, divide your support rope into four equal lengths, each measuring about 6-8 feet, which will connect from the chair to a central gathering point above. Thread these ropes through reinforced grommets or sewn channels at each corner of the chair, or loop them through the edge of the fabric and secure with strong knots if using a non-spreader bar design. For spreader bar models, attach ropes at evenly spaced intervals along the bar, typically 6-8 inches apart, using clove hitches or other non-slip knots that won’t loosen under weight.
All support ropes should converge at a central point approximately 2-3 feet above the chair, where they connect to a sturdy swivel mount or large ring that prevents the ropes from tangling during use. Finish the suspension system with a strong main support rope or chain that connects this central point to your ceiling mount, ensuring the total suspension system can support at least three times your body weight for safety.
Installing Your Hammock Chair Safely

Proper installation is critical for both safety and functionality, requiring careful attention to weight limits and structural considerations of your porch. Always mount your hammock chair to a structural beam rather than just the decorative ceiling material, using a stud finder to locate solid support beams that can handle the dynamic load of a swinging chair with a person in it. For wood beam installation, use a lag eye bolt that penetrates at least 3 inches into the beam, pre-drilling a hole slightly smaller than the bolt to prevent wood splitting. Concrete or masonry ceilings require special anchors designed specifically for these materials, often involving expansion bolts that spread within the drilled hole to create a secure grip.
Regardless of material, choose mounting hardware rated for at least 300-400 pounds, significantly more than your weight, to account for the dynamic forces created during movement. Position the chair at a height that allows comfortable sitting without feet dragging on the floor, typically with the bottom of the chair hanging 12-18 inches above the ground, and always test the installation by gradually applying weight before fully sitting in the chair for the first time.
Enhancing Comfort with Cushions and Pillows

While the basic hammock chair provides a comfortable suspended seat, adding well-designed cushions dramatically enhances both comfort and aesthetics, transforming your creation into a luxurious retreat. Consider crafting a shaped seat cushion approximately 2-3 inches thick that fits the bottom curve of your hammock chair, using outdoor foam that resists moisture and maintains its shape even after prolonged sitting. Small lumbar pillows provide crucial back support, preventing the slight backward tilt common in hammock chairs from causing discomfort during extended relaxation sessions.
Weather-resistant fabrics for these cushions should complement your chair while offering practical benefits like quick-drying properties and UV resistance to prevent fading in sunny porch locations. Secure cushions to the chair with discrete ties or toggles to prevent them from sliding out of position or blowing away during breezy days. For ultimate luxury, consider a full-length body cushion that lines the entire interior of the chair, creating an enveloping comfort experience similar to high-end commercial models but at a fraction of the cost.
Weatherproofing Your DIY Hammock Chair

Protecting your creation from the elements ensures it remains beautiful and functional for years, requiring specific treatments based on your porch exposure and local climate. Apply a high-quality outdoor fabric protectant spray that creates an invisible barrier against water, UV rays, and stains, reapplying this treatment seasonally for optimal protection against fading and mildew development. For natural fabrics like cotton or canvas that aren’t inherently weather-resistant, consider treating with beeswax or specialized waterproofing compounds that penetrate the fibers to create lasting water resistance without significantly changing the fabric’s feel or appearance. Metal components including hooks, rings, and spreader bars benefit from a coat of clear marine varnish or rust-preventing paint that prevents oxidation even in humid coastal environments.
Develop a habit of bringing cushions indoors during heavy rain or when not in use for extended periods, and consider a breathable cover that can quickly slip over the entire chair during severe weather events or winter storage. With proper weatherproofing, your DIY hammock chair can withstand seasonal changes while maintaining its inviting appearance and structural integrity.
Maintenance Tips for Longevity
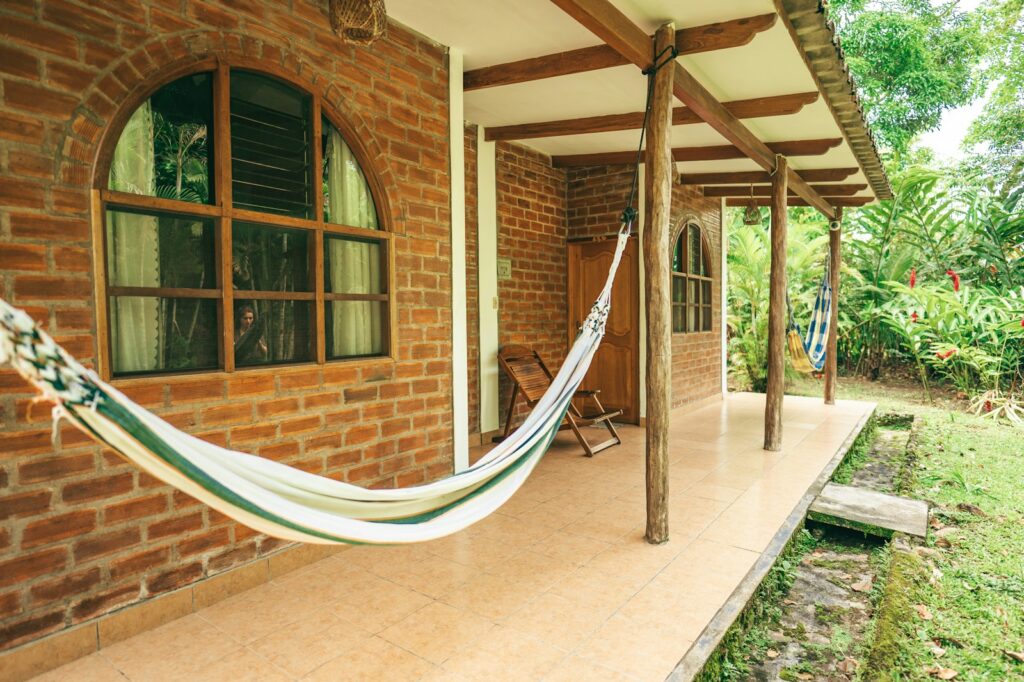
Regular maintenance extends the life of your hammock chair while keeping it looking fresh and inviting for daily use. Establish a quarterly cleaning routine where you gently wash the fabric with mild soap and water, using a soft brush for any stubborn stains, then allow it to dry completely before using it again to prevent mildew formation. Inspect all ropes and knots monthly for signs of fraying or loosening, particularly at connection points where friction occurs during regular use, replacing any compromised sections immediately rather than risking structural failure. Tighten hardware connections seasonally, as natural expansion and contraction from temperature changes can gradually loosen even well-installed mounting systems.
If your chair develops sagging after extended use, most designs can be rejuvenated by adjusting the suspension ropes to restore proper tension and sitting height. During winter months or extended periods of non-use, consider storing your hammock chair indoors or under cover to prevent unnecessary weathering and extend its useful life. With proper care, a well-constructed DIY hammock chair can provide comfortable seating for 5-7 years before major components need replacement.
Customization Ideas and Upgrades

Once you’ve mastered the basic hammock chair construction, consider personalized modifications that enhance functionality and reflect your unique style preferences. Install cup holders using fabric pockets or repurposed mesh beverage holders strategically sewn to the side of your chair, perfect for keeping drinks stable despite the chair’s gentle movement. Add removable neck pillows that attach with buttons or snaps, allowing you to adjust support based on whether you’re reading, napping, or conversing. For evening relaxation, integrate battery-powered LED light strips along the spreader bar or suspension ropes, creating ambient lighting that transforms your hammock chair into a magical nighttime retreat.
Tech-savvy creators might incorporate waterproof pouches for smartphones or tablets, positioned at eye level for hands-free entertainment. Those seeking extra privacy can attach fabric panels to the sides that unfurl to create a semi-enclosed pod-like experience, particularly appealing for porch hammock chairs visible from the street. For multi-season use, design an interchangeable covering system with summer mesh panels for ventilation and winter fleece liners for warmth, extending your enjoyment throughout changing weather conditions.
Troubleshooting Common DIY Hammock Chair Issues
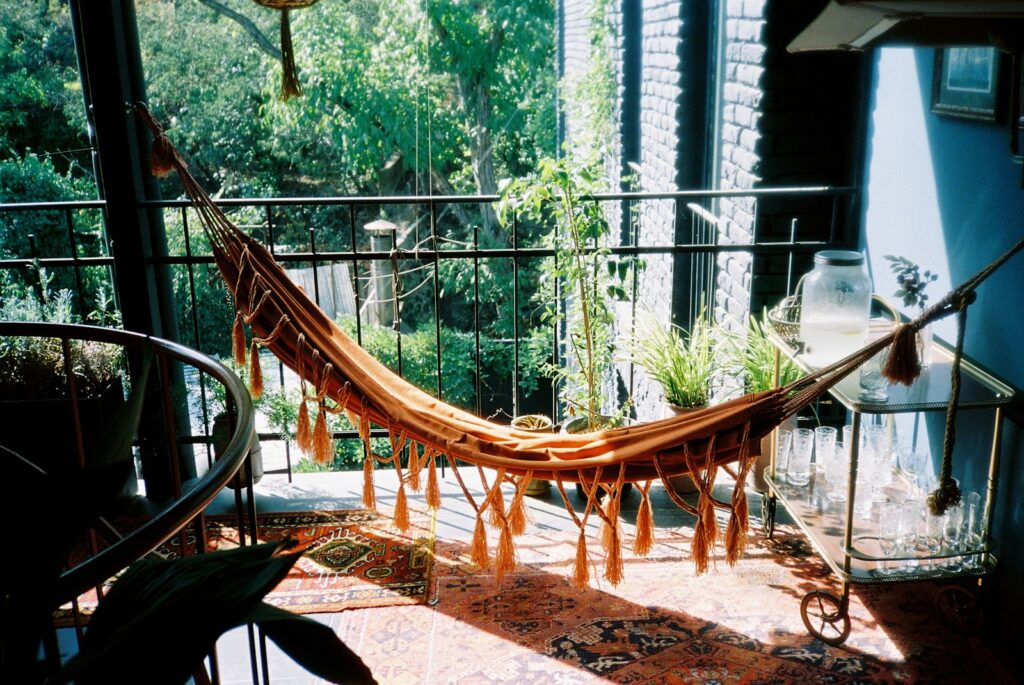
Even carefully constructed hammock chairs may develop issues over time, but most problems have straightforward solutions that extend the chair’s usability. If your chair experiences excessive stretching that leaves you sitting too low, shorten the suspension ropes by retying them higher up or adding rope shorteners that allow easy adjustment without complex knots. For chairs that tend to flip or feel unstable during use, add weight to the bottom hem by sewing in a channel filled with small weights or fishing sinkers that provide ballast without being visible or uncomfortable. When fabric develops small tears, reinforce them immediately with patches applied to both sides of the damage, using outdoor fabric glue followed by stitching in a matching thread for a nearly invisible repair that prevents further tearing.
Squeaking sounds during movement typically indicate rope friction at connection points, easily remedied by applying beeswax or silicone lubricant to these areas. If your chair spins too freely due to an overly effective swivel mount, add a simple anti-spin device made from a bungee cord attached from the chair to a fixed point on your porch, providing just enough tension to prevent rotation while still allowing natural movement.
Creating a Complete Relaxation Corner

Integrate your hammock chair into a thoughtfully designed relaxation zone that maximizes your porch’s potential as a sanctuary from daily stress. Position a small weather-resistant side table within arm’s reach of your suspended chair, creating a convenient surface for books, devices, or refreshments that might otherwise require you to leave your comfortable perch. Enhance the sensory experience by surrounding your hammock corner with potted plants, particularly those with pleasant fragrances like jasmine or lavender that release their scent with the gentle breeze created by your chair’s motion. Consider installing adjustable shade options such as outdoor curtains or a retractable awning that allows you to control sunlight exposure throughout the day, extending comfortable use hours regardless of the sun’s position.
Portable bluetooth speakers disguised in weatherproof housings provide the perfect acoustic backdrop for your relaxation sessions without cluttering your porch with visible technology. Complete the ambiance with strategic lighting such as string lights overhead or solar-powered path lights nearby that automatically illuminate as evening approaches, ensuring your hammock chair remains an inviting destination from dawn until well after dusk.
Conclusion: Enjoying Your Handcrafted Haven

Your completed DIY hammock chair represents more than just a piece of porch furniture—it’s a personal sanctuary crafted with your own hands, perfectly suited to your relaxation style and space constraints. The process of creating this suspended retreat teaches valuable skills while providing the satisfaction that comes from constructing something both beautiful and functional. As you settle into your finished chair for the first time, notice how the gentle swaying motion immediately begins to melt away tension, creating a meditative space that encourages mindfulness and present-moment awareness.
This handcrafted haven will likely become your favorite spot for morning coffee, afternoon reading, or evening contemplation, while guests will inevitably be drawn to its unique charm and surprising comfort. Beyond its practical benefits, your DIY hammock chair stands as a visible reminder of your creativity and capability, a daily affirmation that the most rewarding spaces are often those we create ourselves, tailored perfectly to our vision of comfort and tranquility.

