

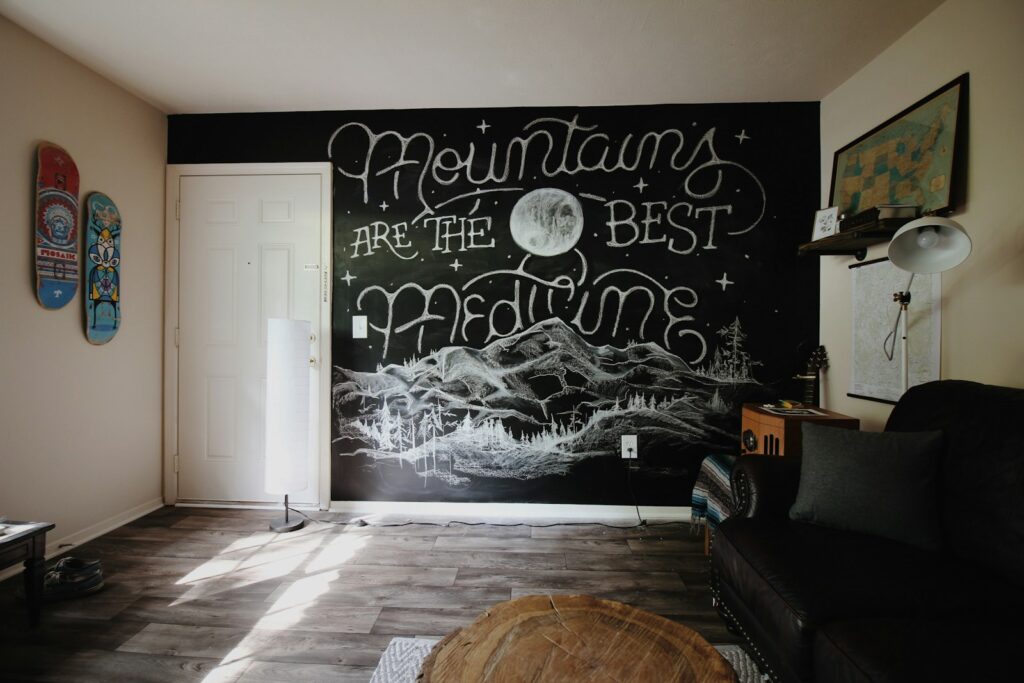
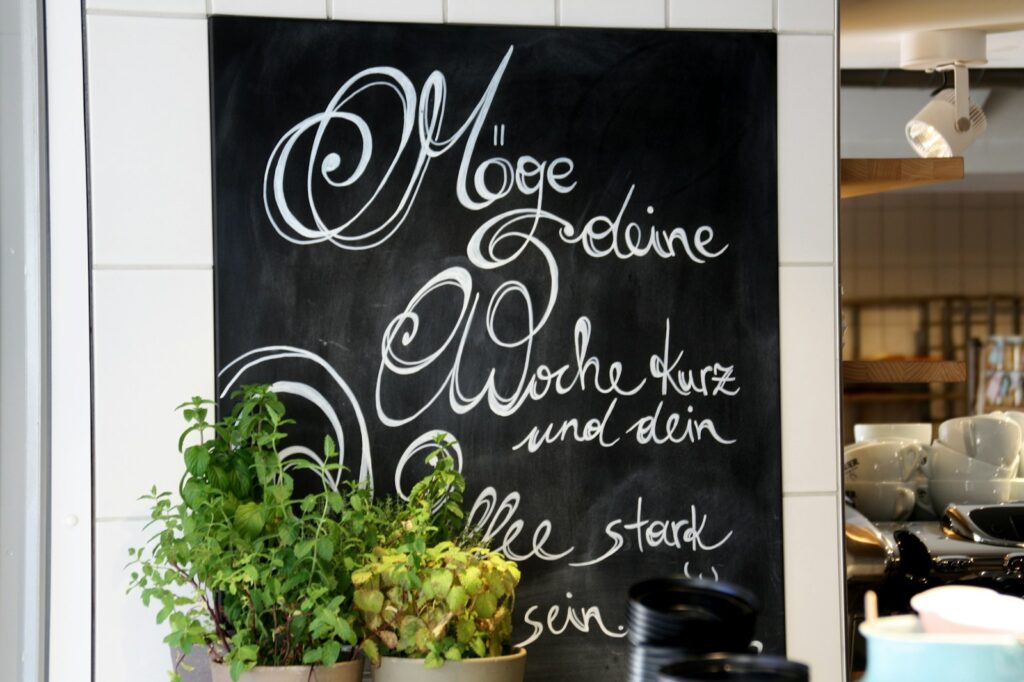
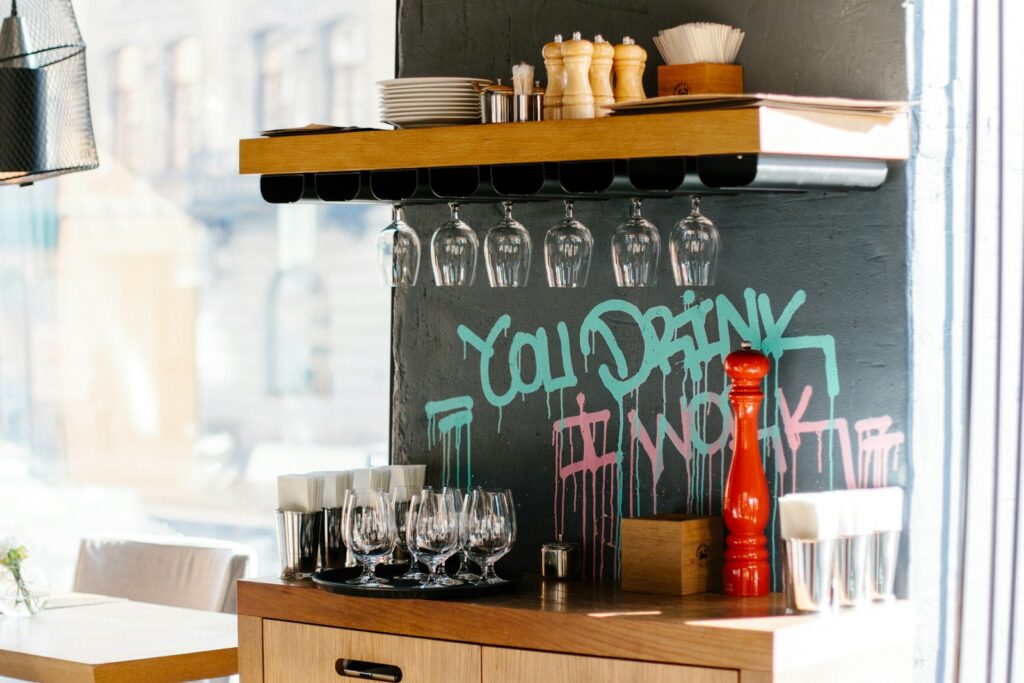
Chalkboard walls blend functionality with style, offering a creative space for meal planning, family messages, or children’s artwork. The beauty of a chalkboard wall lies in its versatility—it serves as both a practical communication tool and an ever-changing piece of décor.
Whether you’re looking to add a touch of playfulness to your kitchen or create an artistic outlet in your child’s room, a chalkboard wall transforms ordinary spaces into interactive environments. This guide will walk you through everything you need to know about planning, preparing, painting, and maintaining your perfect chalkboard wall.
Why Choose a Chalkboard Wall?
Chalkboard walls offer remarkable versatility, functioning as both practical surfaces and design elements in your home. In kitchens, they become command centers for meal planning, grocery lists, or family schedules that can be updated with a simple swipe and rewrite. For children’s rooms, they provide endless creative outlets that grow with your child—from scribbles and doodles for toddlers to homework reminders and artistic expressions for teenagers.
Beyond functionality, chalkboard walls add distinctive character to spaces, creating focal points that blend nostalgic charm with contemporary design sensibilities. Perhaps most appealingly, they’re significantly more affordable than many other home improvement projects, delivering high visual impact without requiring substantial investment.
Choosing the Right Wall
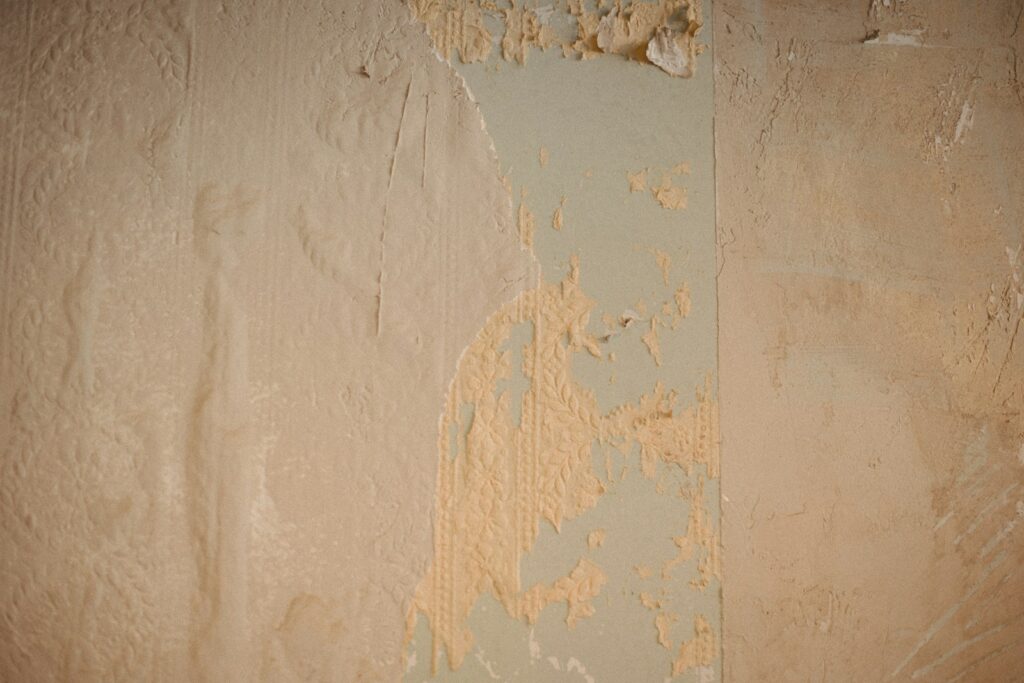
Selecting the optimal wall for your chalkboard surface requires careful consideration of several factors. Ideally, choose a wall that receives moderate traffic—visible enough to be useful but not in areas where people constantly brush against it, which would lead to chalk dust dispersion and frequent smudging. Consider lighting conditions carefully; while a chalkboard wall doesn’t need direct sunlight, adequate illumination ensures your writings or drawings remain visible.
Wall texture matters significantly—smooth surfaces yield the best results, so avoid heavily textured walls unless you’re prepared for additional prep work to create an even base. Size consideration is equally important; while an entire wall creates dramatic impact, even a carefully framed section can be highly effective, especially in smaller spaces or for first-time chalkboard wall creators.
Materials and Tools You’ll Need

Gathering all necessary supplies before starting your chalkboard wall project ensures smooth execution without interruptions. For painting, you’ll need chalkboard paint (available in traditional black, but also in various colors depending on your design vision), quality paintbrushes and rollers with fine naps for smooth application, painter’s tape for creating clean edges, and drop cloths to protect surrounding areas. Surface preparation requires sandpaper (medium and fine grit), spackle for filling holes, a putty knife, and primer specifically formulated for your wall type.
Don’t forget cleaning supplies including a damp cloth, mild detergent, and potentially a degreaser for kitchen walls. Additionally, purchase regular chalk for conditioning the surface after painting and consider investing in quality chalk markers if you plan to create more permanent designs or messages.
Preparing Your Wall Surface

Proper wall preparation stands as the foundation for a successful chalkboard wall that will remain functional for years. Begin by thoroughly cleaning the wall surface using a mild detergent solution to remove any grease, dust, or residue that could prevent proper paint adhesion. Examine the wall carefully for imperfections, filling any holes, cracks, or dents with spackle and allowing it to dry completely before sanding the patches smooth.
For textured walls, you’ll need to apply a skim coat of joint compound across the entire surface and sand it level once dry—this extra step ensures your chalk will glide smoothly without catching on surface irregularities. Finally, apply painter’s tape around trim, outlets, and adjoining walls with careful precision, and lay drop cloths to protect your flooring from paint splatters and dust.
Priming: An Essential Step
Priming your wall before applying chalkboard paint significantly impacts both the immediate quality and long-term durability of your chalkboard surface. Choose a high-quality primer specifically formulated for your wall material (drywall, plaster, or previously painted surfaces), preferably in a neutral gray tone that will enhance the chalkboard paint’s coverage and appearance. Apply the primer using a roller for larger areas and a brush for edges and corners, ensuring complete and even coverage without drips or thin spots.
Allow the primer to dry completely according to the manufacturer’s specifications—typically 24 hours—even if it appears dry to the touch earlier, as rushing this step can compromise the final finish. Some specialized chalkboard paints incorporate primer, but for optimal results on most walls, separate priming remains the professional recommendation.
Applying Chalkboard Paint Correctly
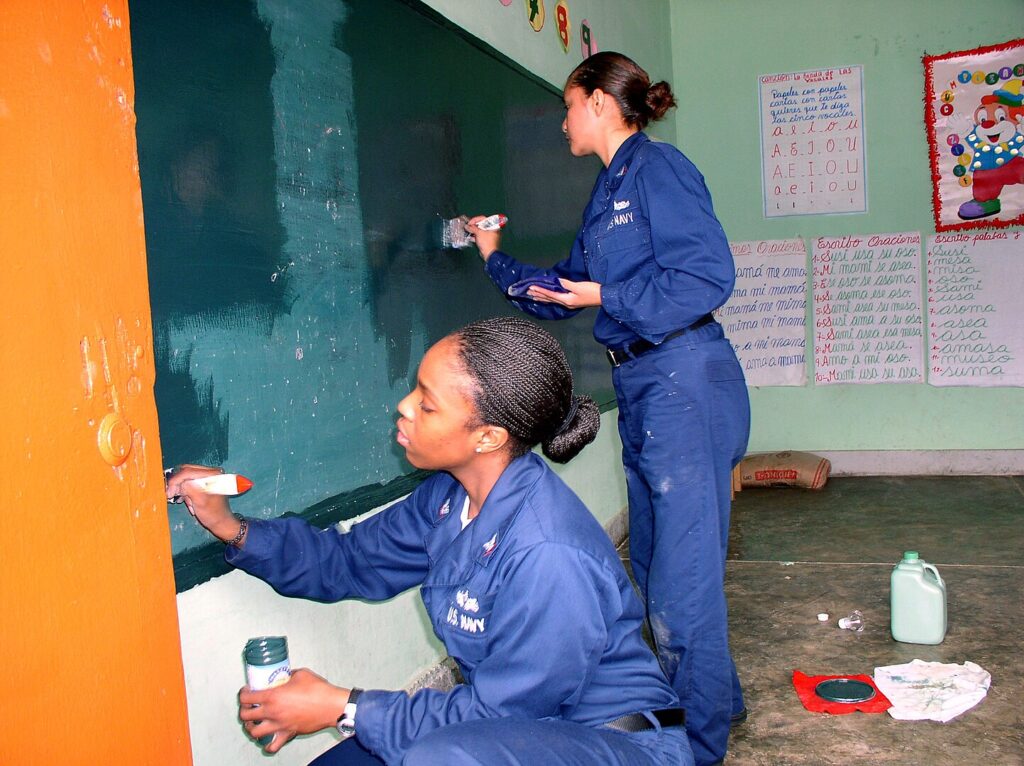
Achieving a flawless chalkboard finish requires methodical application techniques and attention to detail. Begin by stirring (not shaking) the chalkboard paint thoroughly to ensure consistent color and texture without introducing air bubbles. Apply the first coat using a high-quality foam roller for larger areas and an angled brush for edges and corners, working in small sections with steady, even strokes in one direction. Allow this initial coat to dry completely according to the manufacturer’s instructions—typically 2-4 hours—before applying a second coat perpendicular to the first for optimal coverage and texture.
Most professional installations require at least three coats for durability and proper chalk adhesion, with light sanding using fine-grit sandpaper between coats for the smoothest possible finish. Patience proves crucial during this phase—rushing between coats often results in uneven drying and compromised functionality.
Creating Decorative Borders and Frames
Incorporating decorative elements around your chalkboard wall elevates it from functional surface to intentional design feature. Consider installing decorative molding around the perimeter to create a classic framed look that visually contains the chalkboard area and adds architectural interest. For less permanent options, use contrasting paint colors to create painted borders—stripes, scallops, or geometric patterns that complement your room’s existing design scheme.
In children’s rooms, themed borders featuring favorite characters or motifs personalize the space while clearly defining the drawing area. For kitchen installations, consider practical additions like a narrow shelf along the bottom edge to hold chalk and erasers, or hooks for hanging measuring spoons and conversion charts that complement the chalkboard’s utilitarian purpose.
Conditioning Your New Chalkboard Wall
Proper conditioning represents an often overlooked but critical step that significantly improves your chalkboard wall’s performance and longevity. After allowing the final coat of paint to cure completely—typically 3-5 days depending on the brand—prepare to condition the surface by rubbing the side of a piece of chalk over the entire wall, covering it completely with a layer of chalk dust.
Let this initial layer sit for several minutes before using a clean, dry cloth to buff it gently into the surface, creating a barely visible residue that provides the perfect foundation for future writing and drawing. This conditioning process fills microscopic pores in the paint surface, preventing your first actual writings from becoming permanently “ghosted” into the wall and ensuring crisp, clean erasing for years to come.
Best Chalk Options for Different Uses
The type of chalk you select significantly impacts both the functionality and aesthetic of your chalkboard wall. Traditional school chalk offers an authentic experience with excellent coverage, though it produces more dust and requires frequent replacement. For reduced dust and allergens, consider dustless chalk varieties that maintain writing quality while minimizing airborne particles—an important consideration for kitchens or children with respiratory sensitivities.
Chalk markers provide vibrant colors and precise lines for more detailed work or semi-permanent displays, though they require specific cleaning methods and don’t erase as easily as traditional chalk. For artistic endeavors, professional-grade chalk pastels offer rich pigmentation and blending capabilities that transform your wall into a true artistic medium. Consider keeping a variety of options available to match different needs, from quick notes to elaborate seasonal displays.
Maintaining Your Chalkboard Wall
Regular maintenance ensures your chalkboard wall remains functional and attractive for years to come. Establish a weekly cleaning routine using a slightly damp microfiber cloth to remove chalk dust without oversoaking the surface, which could potentially damage the paint over time. For deeper cleaning approximately once a month, use a solution of mild dish soap and warm water applied with a well-wrung cloth, followed by a clear water rinse and complete drying. Address stubborn marks or “ghosting” with a paste made from baking soda and water, gently rubbed in circular motions before wiping clean.
Periodically recondition the surface using the side-of-chalk method described earlier, particularly after deep cleanings or if you notice the wall becoming less responsive to writing and erasing. With proper care, your chalkboard wall should maintain its functionality for 3-5 years before potentially needing a fresh coat of chalkboard paint.
Creative Uses for Kitchen Chalkboard Walls
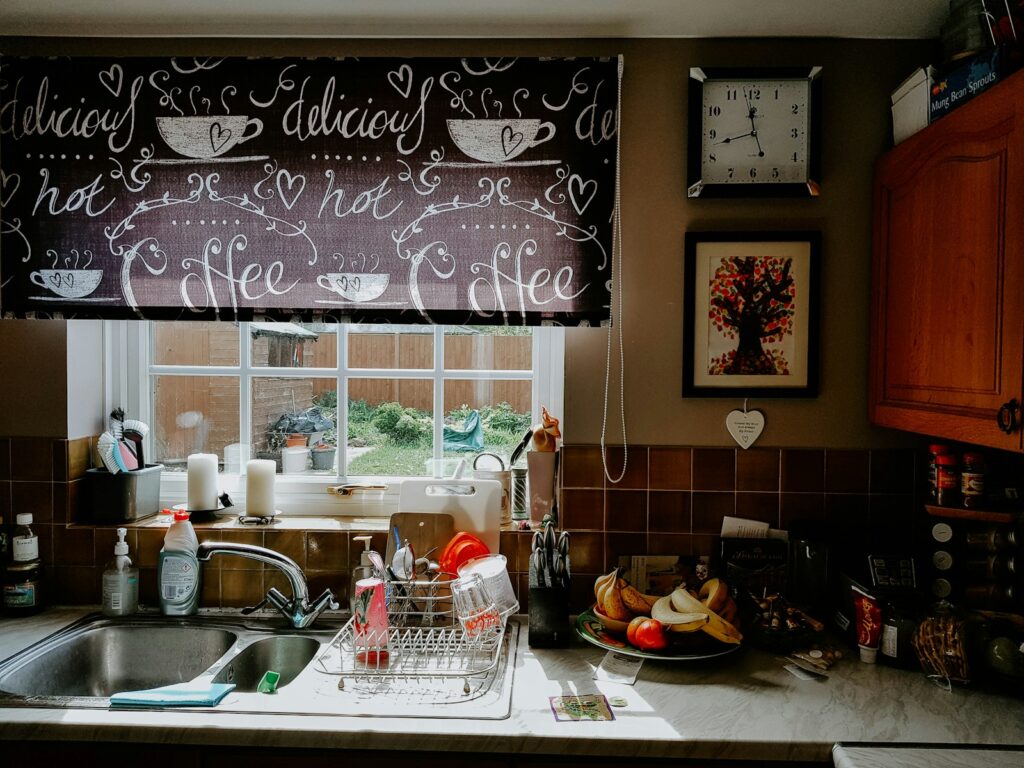
Kitchen chalkboard walls offer practical functionality that extends far beyond simple grocery lists. Create dedicated zones for meal planning with a weekly calendar that helps streamline cooking and reduce food waste by visualizing your complete meal strategy. Establish a recipe section where you can write down frequently used measurements, cooking times, or family favorites that everyone can access. For households with multiple cooks, implement a communication center where family members can leave notes about leftovers, items needing replacement, or dinner timing.
Consider dedicating space to seasonal decorative elements that celebrate holidays or display inspiring culinary quotes that change with your mood or menu. For families with children, designate a lower section where kids can draw while parents cook, creating an inclusive kitchen environment that keeps little ones entertained while remaining within supervision range.
Inspiring Ideas for Children’s Room Chalkboard Walls

Chalkboard walls in children’s spaces offer developmental benefits alongside decorative appeal. For younger children, create learning centers with permanent outlines of letters, numbers, or shapes they can trace and practice, developing fine motor skills while having fun. As children grow, designate spaces for homework planning, reading logs, or achievement tracking that foster organizational skills and personal responsibility. Consider creating collaborative storytelling areas where family members can add to evolving stories or respond to daily prompts that encourage creativity and communication.
For artistic development, outline simple step-by-step drawing tutorials directly on the wall, changing them periodically to introduce new techniques and subjects. Many parents find success in creating “zones” on the wall—a calendar area for important dates, a gallery space for showcase artwork, and a free-drawing section that can be regularly erased—providing structure while maintaining creative freedom.
Troubleshooting Common Chalkboard Wall Problems
Even well-executed chalkboard walls occasionally develop issues that require specific solutions. For persistent “ghosting” where previous writing remains visible despite erasing, try the magic eraser method—lightly dampening a melamine foam eraser and gently working over the affected areas, followed by reconditioning the entire surface. If your wall develops a slick spot that resists chalk, lightly sand the area with very fine sandpaper, clean thoroughly, and recondition before resuming use. When chalk markers prove difficult to remove, a solution of equal parts vinegar and water applied with a microfiber cloth usually breaks down the pigments without damaging the chalkboard surface.
For walls that have become generally less responsive over time, consider refreshing with a new coat of chalkboard paint—if you notice consistent issues with writing quality despite proper maintenance, this renewal typically solves most functional problems and extends your wall’s useful life by several years.
Conclusion: A Canvas for Family Creativity
A chalkboard wall brings functional creativity to your home, whether it’s organizing family life in the kitchen or inspiring artistic expression in a child’s room. With proper preparation, application, and maintenance, your chalkboard wall will serve as both a practical tool and a design statement for years to come. The project offers significant impact with relatively modest investment of time and materials.
As your wall evolves—displaying everything from shopping lists to masterpieces—it becomes a living canvas that reflects your family’s changing needs and creative spirit. By following the guidance provided, you’ll create a chalkboard wall that perfectly balances form and function in your unique space.