

In an era where sustainability meets creativity, building a trellis from recycled materials offers a perfect blend of eco-consciousness and practical gardening. A trellis provides essential support for climbing plants, creates vertical interest in your garden, and can transform unused spaces into green havens. By repurposing materials that might otherwise end up in landfills, you’re not only creating a functional garden element but also contributing to environmental conservation.
This guide will walk you through the process of constructing a durable, attractive trellis using materials you might already have around your home or can source at minimal cost. Whether you’re an experienced gardener or a beginner looking to expand your green space, this project offers a satisfying blend of craftsmanship and sustainability.
Understanding the Purpose and Benefits of a Recycled Trellis

A trellis serves multiple functions in a garden, providing crucial vertical support for climbing plants like beans, peas, cucumbers, and ornamental vines that would otherwise sprawl across valuable garden space. By using recycled materials to build your trellis, you significantly reduce the environmental impact compared to purchasing new commercially produced options, which often involve energy-intensive manufacturing processes and transportation.
Repurposed trellises can actually add unique character to your garden through their rustic appearance and one-of-a-kind design elements that store-bought versions simply cannot match. Beyond the practical and environmental benefits, the process of creating something functional from discarded materials offers a deeply satisfying creative outlet that connects you more intimately with your garden space.
Gathering Potential Recycled Materials

Before beginning your trellis project, take inventory of materials you might already have access to, such as old wooden pallets, which can be disassembled to provide sturdy slats perfect for trellis construction. Other excellent recycled options include bamboo poles from old window blinds, fallen tree branches of appropriate size, discarded PVC pipes that can be cut and assembled into frames, or even metal items like old bed frames, bicycle wheels, or unused fencing materials.
Look beyond conventional building materials and consider repurposing items like wooden ladders, old window frames, or wire shelving units that can be transformed with minimal modification. When sourcing materials outside your home, check local online marketplaces, community freecycle groups, construction site discard piles (with permission), or neighborhood cleanup days when people often dispose of potentially useful items.
Essential Tools for Your Trellis Project
Assembling the right tools beforehand will make your trellis construction process significantly smoother and more efficient. Basic tools you’ll need include a hammer, saw (hand saw or power saw depending on the materials), measuring tape, level, drill with various bits for pilot holes, and appropriate screws or nails for joining your chosen materials. For working with metal components, you might require wire cutters, pliers, or potentially a metal hacksaw depending on the thickness of the material.
Safety equipment is non-negotiable: wear gloves to protect your hands from splinters and sharp edges, safety glasses to shield your eyes from flying debris, and consider a dust mask if you’ll be cutting materials that create airborne particles. For specific materials like PVC, specialized cutting tools might be helpful, though not essential if you have a good saw available.
Planning Your Trellis Design
Before cutting any materials, sketch out your trellis design on paper, considering both the aesthetic appearance and functional requirements of your specific garden needs. Determine the appropriate dimensions based on your available space and the types of plants you intend to grow—vining vegetables like cucumbers may need a sturdier structure than lightweight flowering vines such as morning glories. Consider the mature weight of your plants, as heavy-fruiting varieties will require stronger support than purely ornamental climbers.
Factor in your local climate conditions, particularly wind exposure, which might necessitate a more robust construction or additional anchoring points. Your design should also account for sunlight patterns in your garden, ensuring the trellis is positioned to maximize sun exposure for your plants while minimizing shadowing of other garden areas.
Creating a Simple Ladder Trellis from Wooden Pallets
A ladder-style trellis offers an excellent starting project for beginners, requiring minimal materials while providing effective plant support. Begin by carefully disassembling a wooden pallet, removing nails with the claw end of your hammer or a pry bar, and setting aside the most straight and undamaged slats. Select two longer pieces (approximately 6-7 feet) for the vertical sides and several shorter pieces (18-24 inches) for the horizontal rungs.
Sand all pieces thoroughly to remove splinters and rough edges, paying special attention to areas where your hands might come in contact during gardening activities. Position the vertical pieces parallel to each other at your desired width (typically 18-24 inches apart), then attach the horizontal rungs at 8-12 inch intervals using weather-resistant screws or nails, ensuring each connection is secure enough to support the weight of mature plants.
Constructing a Fan-Shaped Trellis from Tree Branches
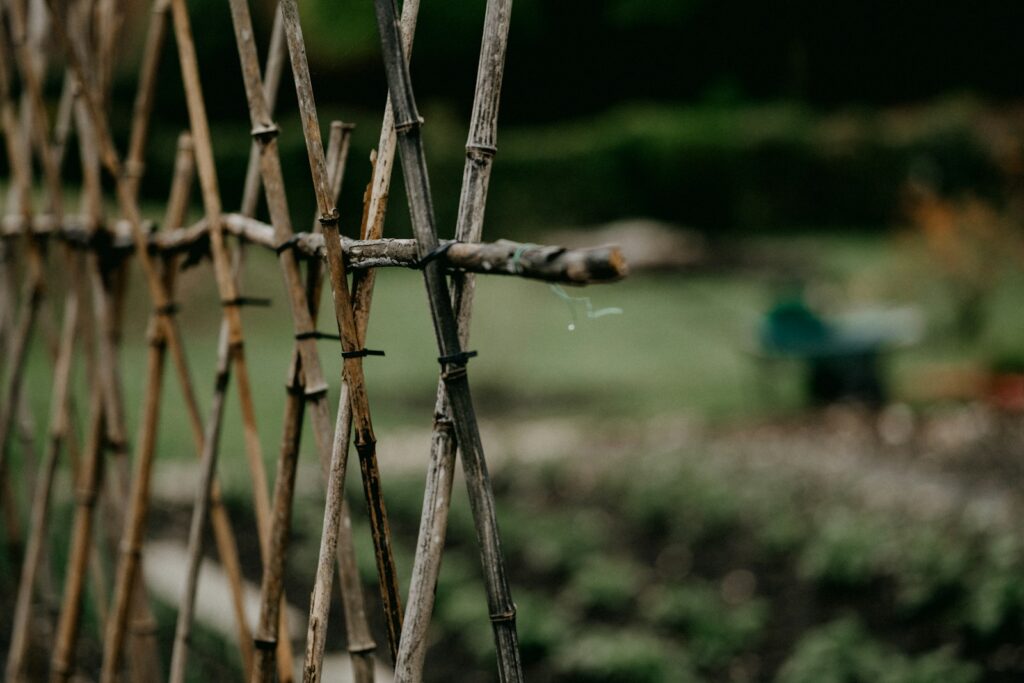
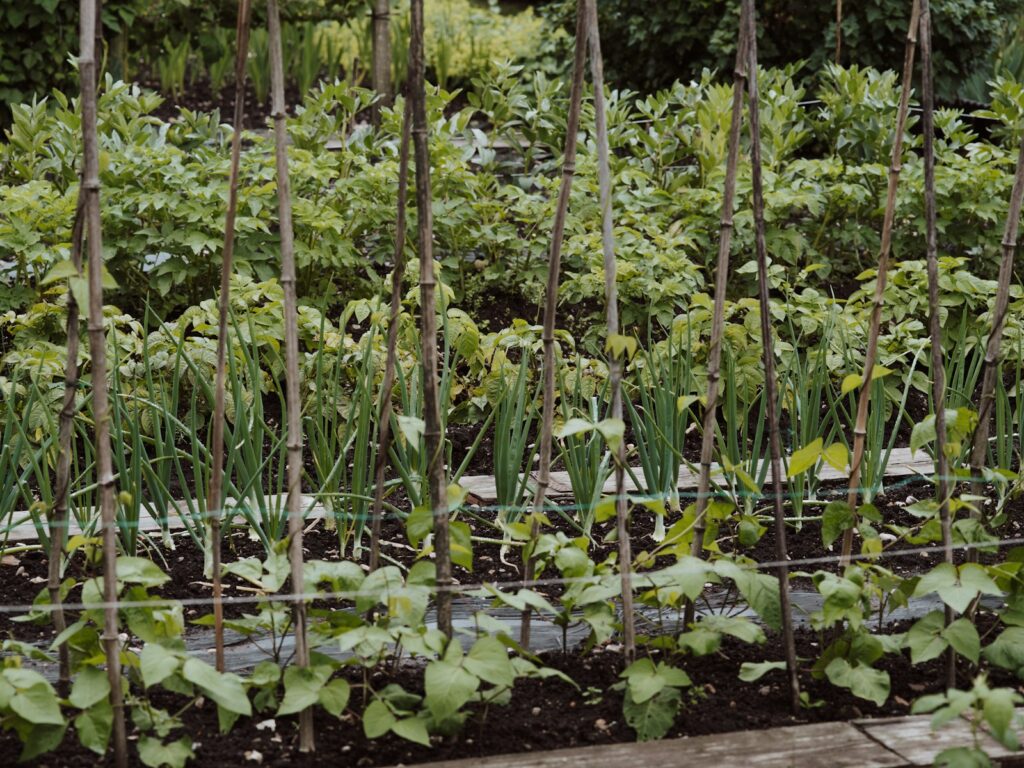
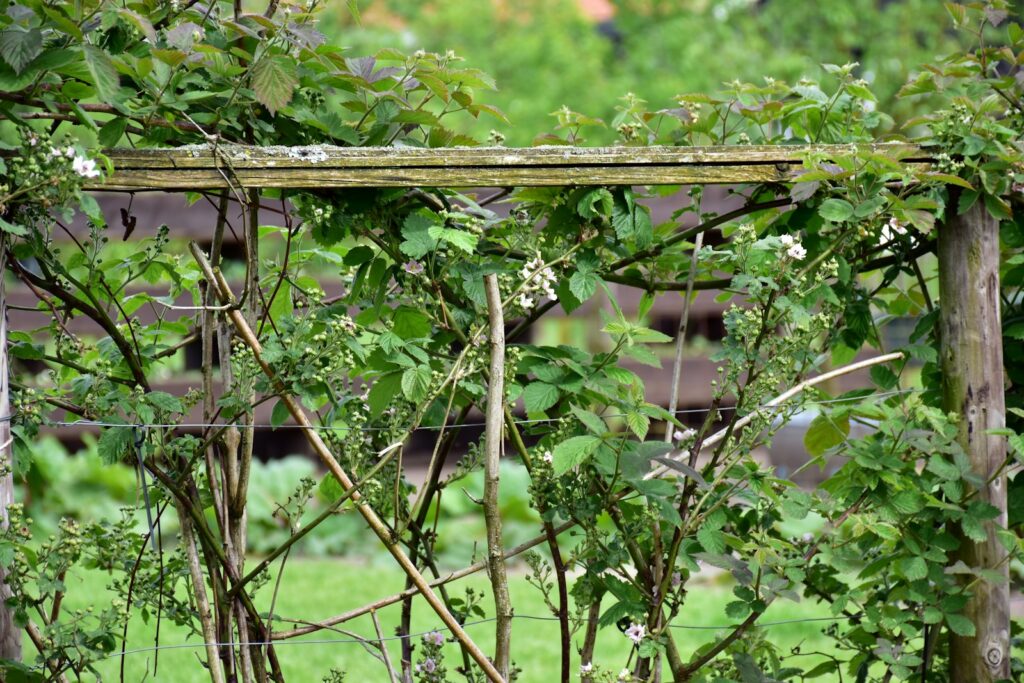
A fan-shaped trellis creates an elegant focal point perfect for ornamental vines or espaliered fruit trees, and can be constructed almost entirely from fallen tree branches. Collect straight branches of similar diameter, approximately 1-2 inches thick, with the main support branches needing to be sturdier than the radiating pieces. Create a sturdy base by securing two thick branches vertically in the ground (or attaching them to a fence or wall), ensuring they’re planted at least 12 inches deep for stability.
Select 5-7 longer, flexible branches for the fan pattern, and attach them to your vertical supports using natural jute twine, wire, or small screws depending on the branch thickness. Arrange these radiating branches in a pleasing fan pattern, spacing them evenly from a central point and securing any crossing points where branches intersect to create additional stability and visual interest.
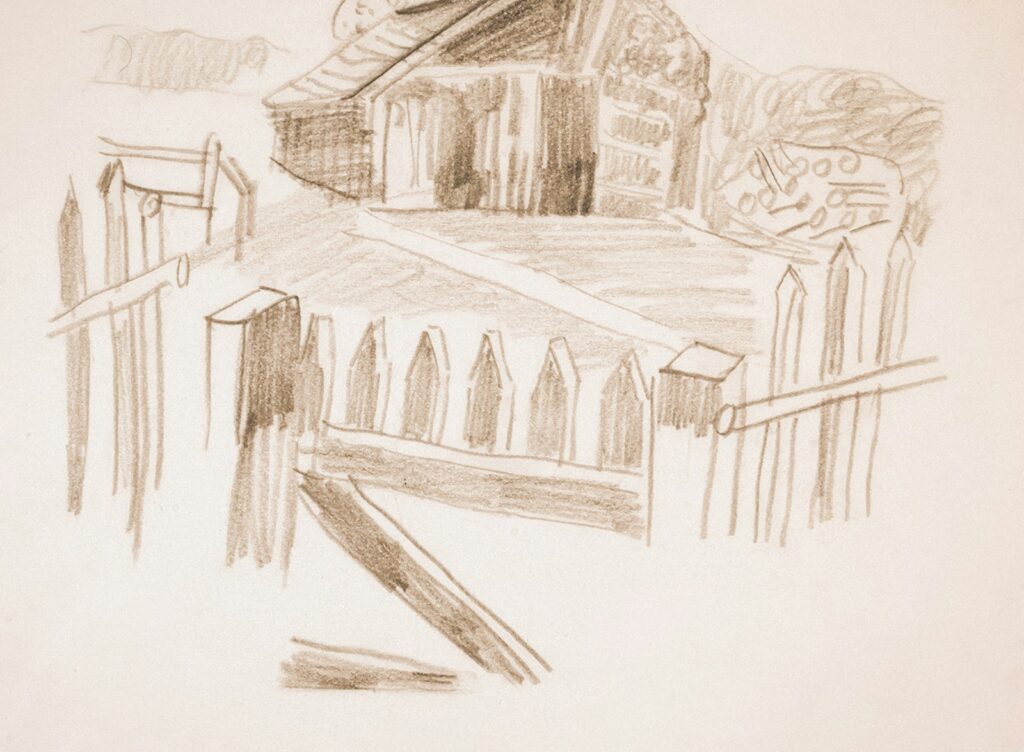
Building a Grid Trellis from Old Window Frames
Discarded wooden window frames offer an excellent foundation for creating a decorative and functional grid trellis that adds architectural interest to your garden. Begin by removing any remaining glass carefully, wearing protective gloves and disposing of the glass properly according to local regulations. Clean the frame thoroughly, removing old paint if necessary, and apply an outdoor-rated wood sealer or paint to protect it from the elements.
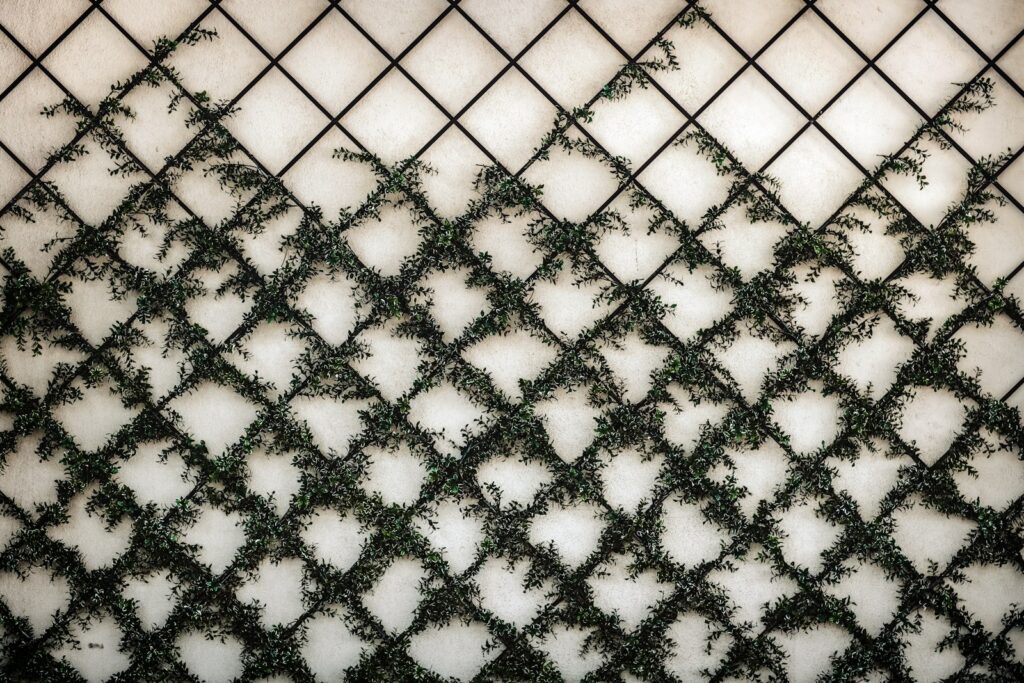
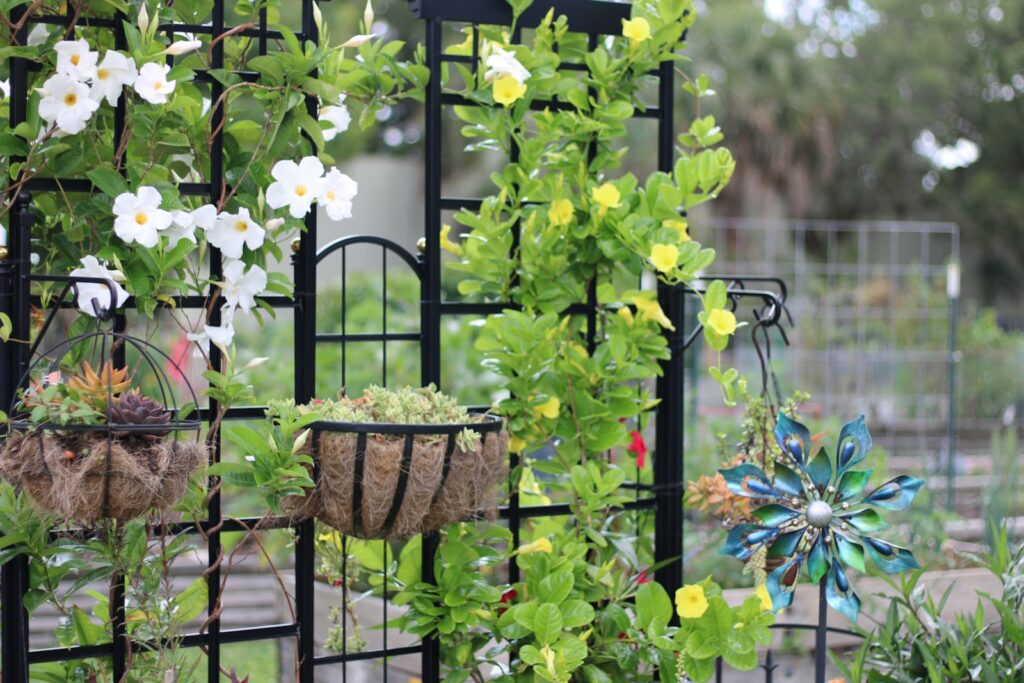
Create a grid pattern within the frame by attaching jute twine, garden wire, or thin wooden slats in both horizontal and vertical directions, spacing them approximately 4-6 inches apart to create squares large enough for plant stems to weave through. Secure your completed window frame trellis to posts driven into the ground, or mount it directly to an existing fence or wall using appropriate brackets that allow for a small gap between the trellis and the supporting structure to facilitate air circulation.
Creating a Sturdy A-Frame Trellis from PVC Pipes
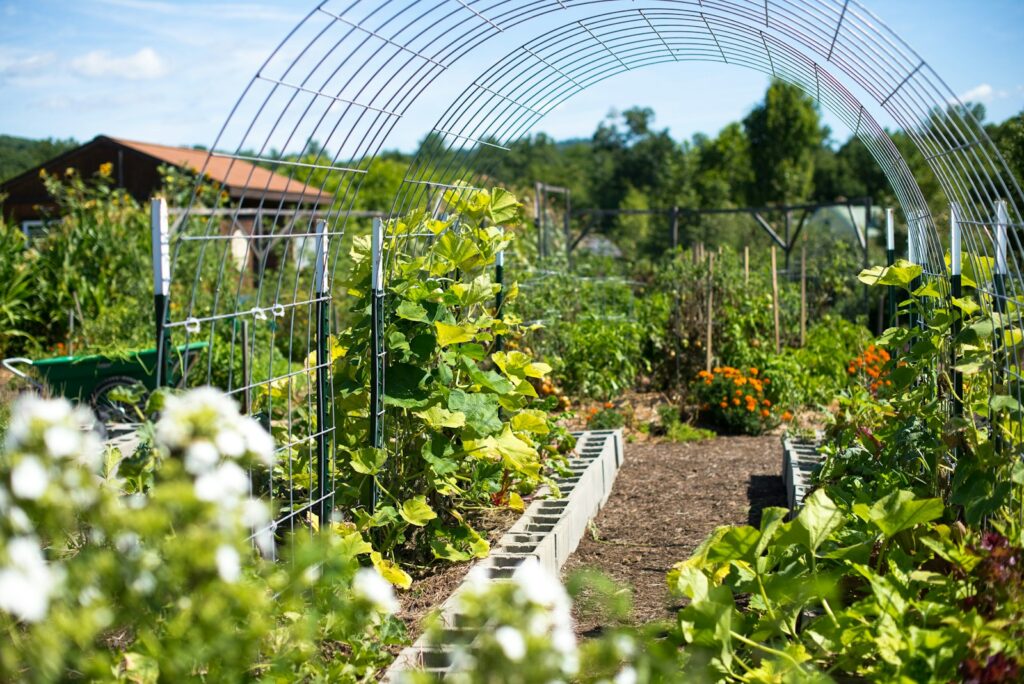
Discarded PVC pipes provide excellent material for creating a durable, weather-resistant A-frame trellis particularly suited for heavier vining vegetables like cucumbers and squash. Begin with four equal lengths of PVC pipe (4-6 feet long) for the main frame, plus additional shorter pieces for cross-bracing and horizontal supports. Create two identical triangular frames by connecting three pipes with elbow connectors, then join these triangles at the top to form the A-frame structure, securing all joints with PVC cement for permanent connections or simply fitting them together tightly for a disassemblable structure.
Add horizontal support rungs between the two sides of the A-frame using additional PVC pieces cut to your desired width, attaching them with T-connectors or by drilling holes and securing with bolts. Complete your trellis by wrapping garden netting, chicken wire, or even recycled fishing net between the frames to create a surface for plants to climb, securing it tightly at multiple points to prevent sagging under the weight of mature plants.
Fashioning a Unique Trellis from Metal Repurposed Items
Metal objects like old bed frames, bicycle wheels, or wire shelving units can be transformed into striking garden trellises with distinctive character and industrial charm. For a bed frame trellis, remove the headboard and footboard, strip any fabric covering, and use the metal frame as your primary structure, either standing vertically or arranged in creative configurations secured with bolts or wire. Bicycle wheels make excellent circular trellises when mounted to a post or wall, with plants trained to grow through the spokes, creating a living mandala effect in your garden.
Wire shelving can be reconfigured by bending it into arches or folding it into three-dimensional structures, secured with wire or zip ties at connection points. When working with metal, remove any rust with a wire brush, then apply an outdoor-rated metal paint to prevent further corrosion and extend the life of your unique trellis creation.
Installing Your Trellis Securely
Proper installation ensures your trellis will withstand weather conditions and the weight of mature plants throughout the growing season. For freestanding trellises, dig holes at least 18-24 inches deep for the support posts, making the holes approximately three times the width of your posts to allow room for stabilizing material. Position your trellis in the holes, check for plumb using a level on multiple sides, then fill around the posts with a mixture of gravel at the bottom for drainage and soil firmly tamped down to eliminate air pockets.
For wall-mounted designs, use appropriate anchors based on your wall material—masonry anchors for brick or concrete, toggle bolts for drywall, or lag screws for attaching to wooden structures—and leave a 2-3 inch gap between the trellis and wall to promote airflow and prevent moisture buildup. Consider adding diagonal bracing for tall or wide trellises, particularly in locations exposed to strong winds.
Protecting Your Recycled Trellis from the Elements
Extending the lifespan of your recycled trellis requires appropriate weatherproofing techniques specific to your construction materials. For wooden components, apply an eco-friendly wood preservative or linseed oil to protect against moisture damage, reapplying annually or as needed when the surface appears dry or weathered. Metal elements should be treated with rust-inhibiting primer and outdoor-rated paint, with particular attention to connection points where moisture might collect. PVC materials generally require minimal protection but benefit from occasional cleaning with mild soap and water to prevent algae buildup in shaded locations.
Consider elevating the bottom of your trellis slightly above soil level using small stones or bricks to prevent direct ground contact, which accelerates deterioration particularly for wooden elements. In regions with harsh winters, either design your trellis to be removable for winter storage or provide additional protection through covering or reinforcement during severe weather months.
Selecting Appropriate Plants for Your Recycled Trellis
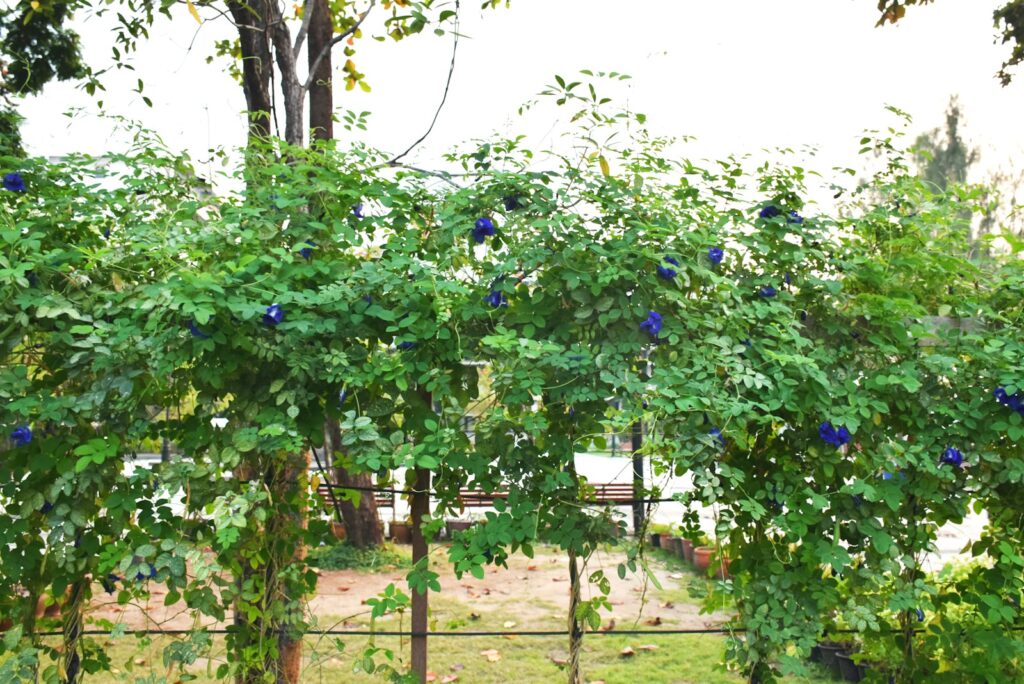
Choosing plants well-suited to your specific trellis design ensures both the plants and structure thrive together harmoniously. For lightweight structures like bamboo or branch trellises, focus on naturally climbing plants with tendrils or twining habits such as sweet peas, morning glories, or clematis that attach themselves without requiring additional support. Sturdier trellises made from pallets or metal can support heavier plants like cucumbers, squash, melons, or perennial climbing roses, though these often benefit from occasional guidance and soft ties to train them in the desired direction.
Consider the mature size and weight of your chosen plants, allowing sufficient spacing between plants to prevent overcrowding and potential disease issues. Match your plant selections to your local climate and the light conditions where your trellis is installed, as even the most perfectly constructed trellis will disappoint if paired with plants unsuited to your growing environment.
Maintaining Your Trellis and Troubleshooting Common Issues
Regular maintenance keeps your recycled trellis functional and attractive throughout multiple growing seasons. Inspect your trellis at least twice yearly, ideally at the beginning and end of the growing season, checking for loose connections, signs of deterioration, or structural weakening that might need addressing. Tighten any loose screws, nails, or wire connections before they become problematic, and replace any components showing significant damage or rot that might compromise the structure’s integrity.
For trellises supporting perennial plants, perform maintenance during the dormant season when plants can be temporarily moved or trimmed back to allow access to the structure. Address stability issues by reinforcing base supports with additional anchoring or cross-bracing if you notice excessive movement during windy conditions. Finally, clean your trellis of plant debris at season’s end to prevent moisture retention against the structure and reduce potential overwintering sites for garden pests.
Conclusion: The Art of Recycled Trellis Design

Building a trellis from recycled materials represents a perfect intersection of gardening practicality, environmental responsibility, and creative expression. By repurposing items that would otherwise be discarded, you’re creating something uniquely beautiful while reducing waste. The process offers flexibility to match your specific garden needs and aesthetic preferences, whether you prefer the rustic charm of natural materials or the industrial appeal of repurposed metal.
Beyond the satisfaction of crafting something useful with your own hands, your recycled trellis provides a sustainable framework for growing food or ornamental plants while adding vertical interest to your garden space. As your climbing plants embrace their new support system, you’ll enjoy the rewards of your environmentally conscious creativity for many growing seasons to come.