

There’s something deeply satisfying about creating your own plant-based milk in your kitchen. Beyond the environmental and ethical benefits, homemade plant milks offer fresher flavor, customizable ingredients, and the absence of preservatives or additives that commercial varieties often contain.
Whether you’re lactose intolerant, vegan, or simply curious about plant-based alternatives, making your own milk allows you to control exactly what goes into your beverage while often saving money in the process. The process is surprisingly simple, requiring just a few basic tools and ingredients that transform humble nuts, seeds, or grains into creamy, nutritious drinks perfect for your morning coffee, breakfast cereal, or cooking needs.
Understanding the Benefits of Homemade Plant Milk
Creating your own plant-based milk at home offers numerous advantages over store-bought varieties. First, you’ll eliminate packaging waste, particularly those tetrapak cartons that aren’t always recycled properly. Nutritionally, homemade versions contain no preservatives, stabilizers, or added sugars unless you choose to include them, giving you complete control over what you consume. Cost-wise, despite the initial investment in raw ingredients, making your own milk typically works out cheaper in the long run, especially for premium options like cashew or macadamia milk.
Finally, the freshness factor can’t be overstated – nothing compares to the vibrant flavor of plant milk made just minutes before consumption, with subtle natural notes that commercial processing often diminishes.
Essential Equipment for Plant Milk Production
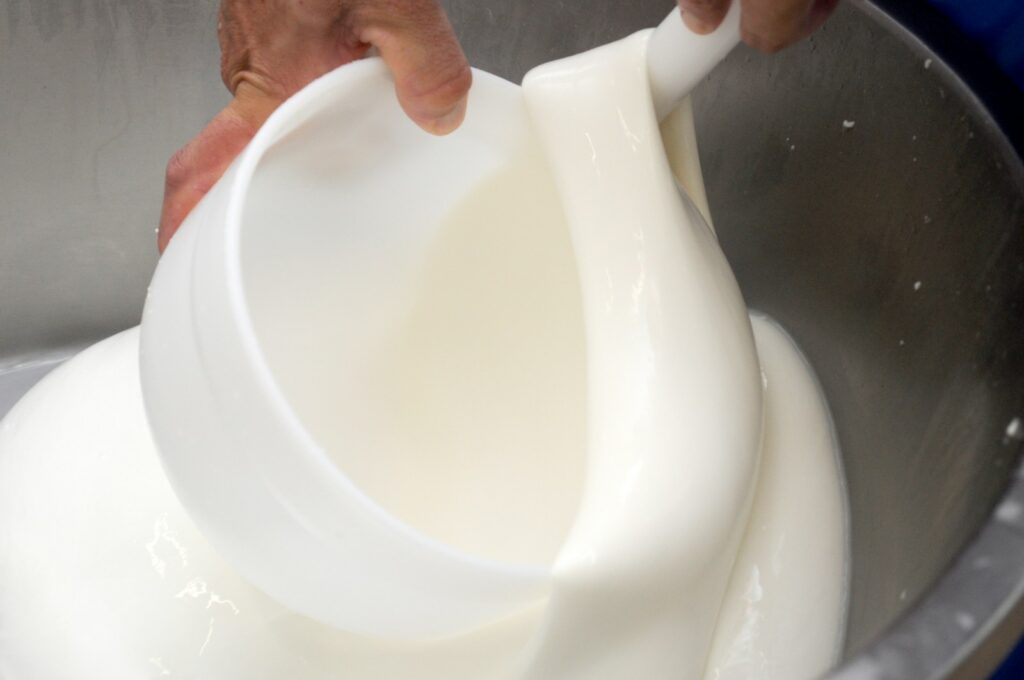
Successful homemade plant milk production requires surprisingly little specialized equipment. The most important tool is a good blender – the higher the power, the smoother your final product will be, though even a standard blender can produce acceptable results. A nut milk bag, fine-mesh strainer, or several layers of cheesecloth are essential for straining out the pulp, unless you prefer a thicker, more textured milk.
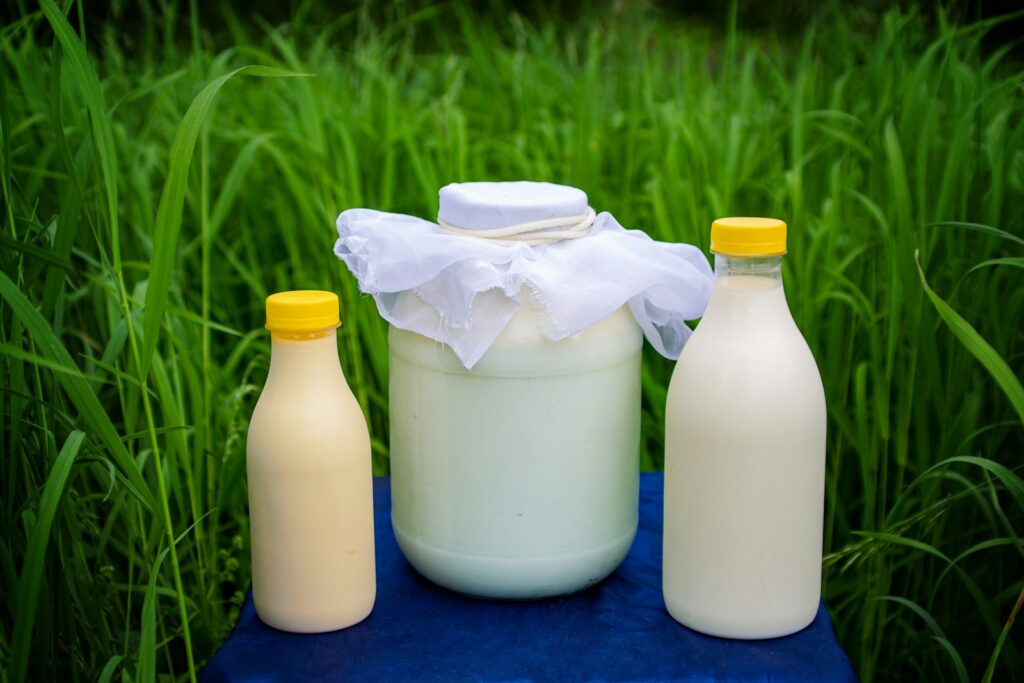
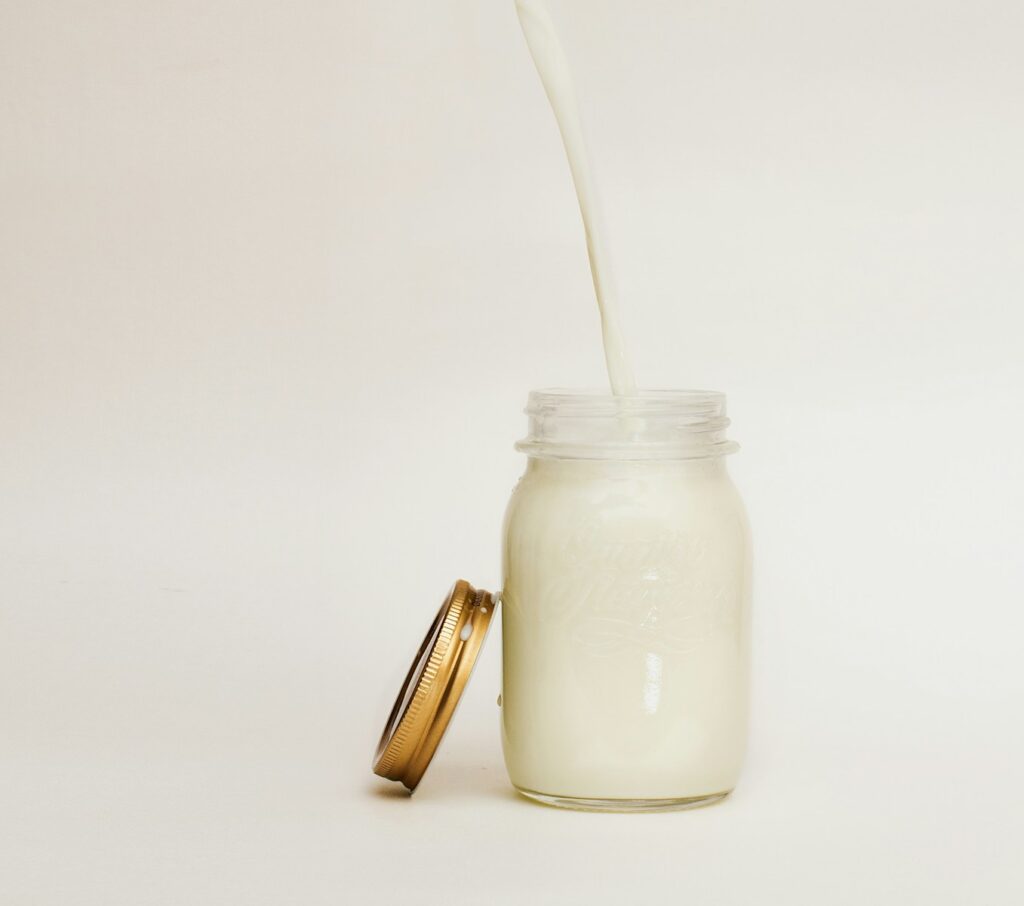
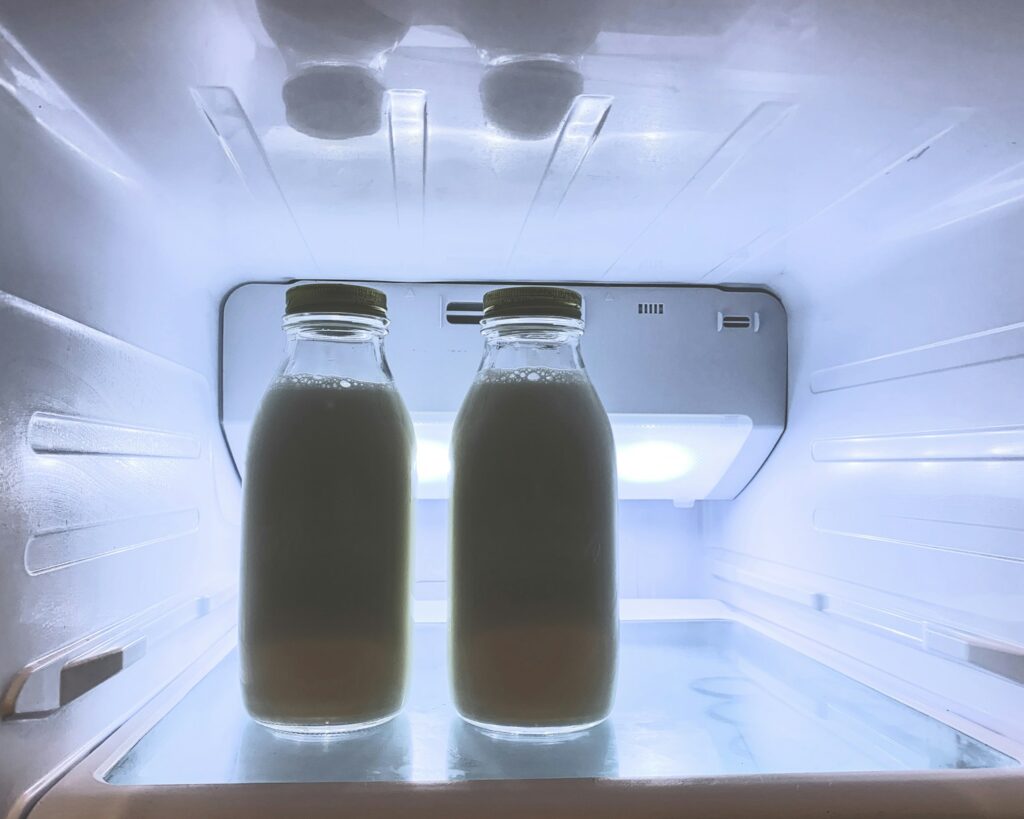
Clean glass bottles or jars with tight-fitting lids provide ideal storage, helping your milk stay fresh for up to five days in the refrigerator. Optional but helpful tools include a funnel for transferring your milk to storage containers and measuring cups for achieving consistent results each time you make a batch.
Almond Milk: The Classic Starter
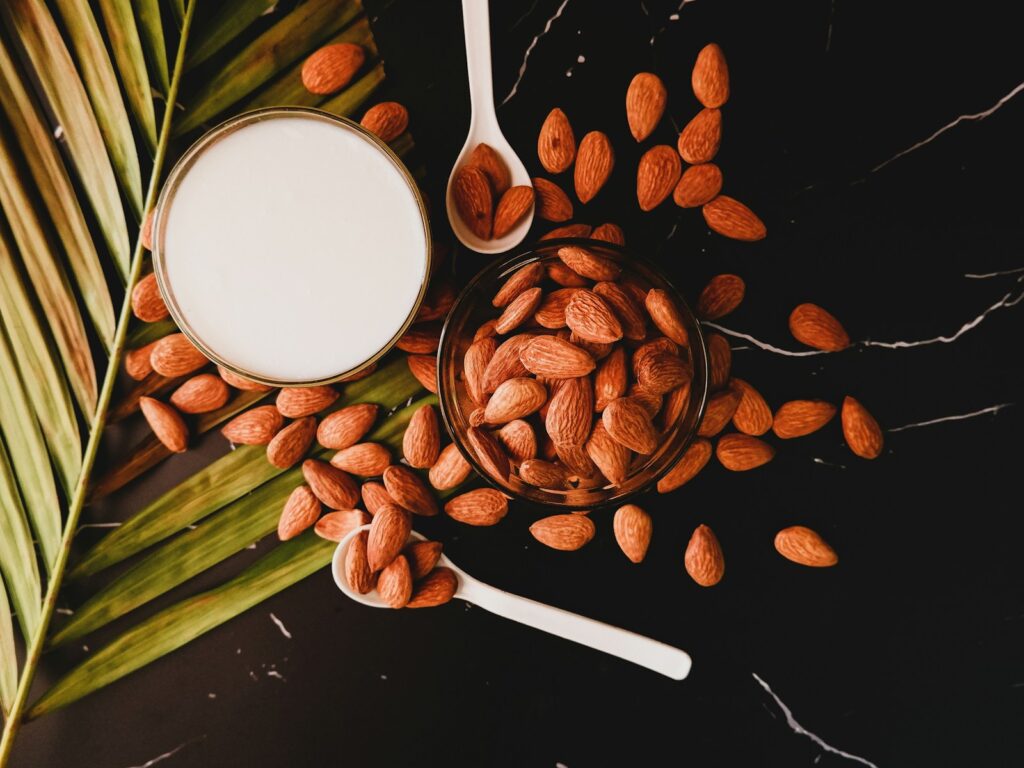
Almond milk serves as an excellent entry point into homemade plant milk due to its mild flavor profile and versatility. Begin with 1 cup of raw almonds soaked overnight in water, which softens them and makes their nutrients more bioavailable. After draining and rinsing, blend the almonds with 4 cups of fresh water until completely smooth – this usually takes about 2 minutes in a high-powered blender. Strain the mixture through your nut milk bag or fine-mesh strainer, squeezing thoroughly to extract all the liquid.
For flavor enhancement, consider adding a pinch of salt, half a teaspoon of vanilla extract, or a date or two for natural sweetness before blending. Fresh almond milk will keep in the refrigerator for 3-4 days, developing a slight separation that simply requires shaking before use.
Oat Milk: Budget-Friendly and Creamy
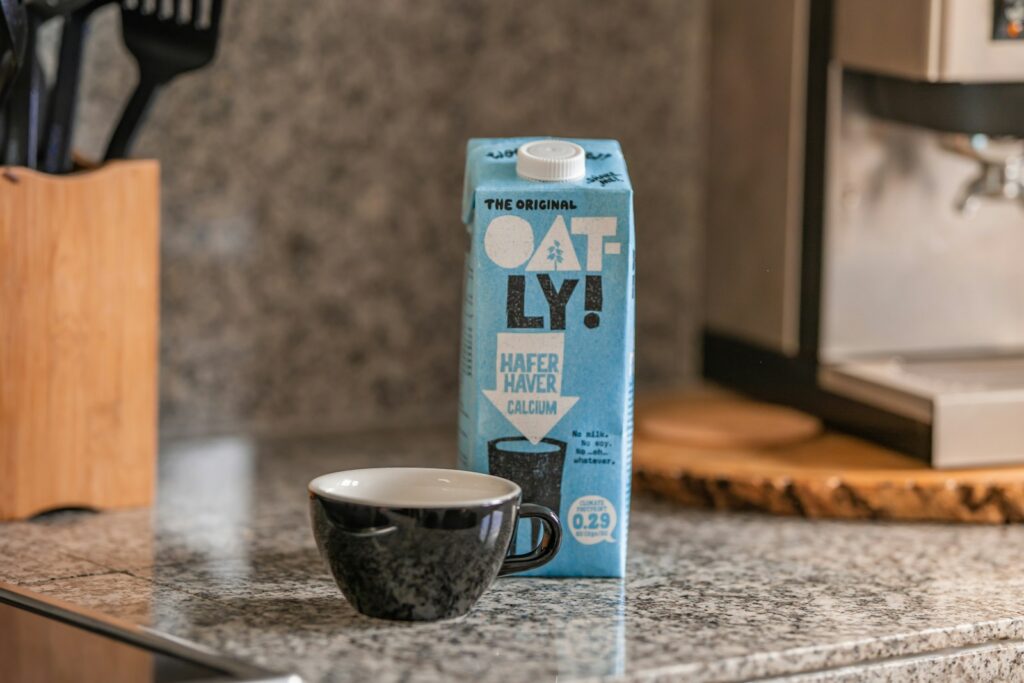
Oat milk has surged in popularity due to its affordable ingredients and remarkably creamy texture that works beautifully in coffee. To make your own, combine 1 cup of rolled oats (not instant or steel-cut) with 4 cups of cold water in your blender, and blend on low to medium speed for just 30-45 seconds – overblending causes the oats to release too much starch, resulting in a slimy texture. Strain the mixture twice through a fine-mesh strainer or nut milk bag, being careful not to press or squeeze the pulp which again leads to sliminess.
For the best flavor and texture, use very cold water throughout the process and consider adding a tablespoon of maple syrup, a teaspoon of vanilla, and a pinch of salt to enhance the naturally sweet oat flavor. Homemade oat milk typically lasts 2-3 days in the refrigerator and works wonderfully in both sweet and savory applications.
Coconut Milk: Rich and Tropical
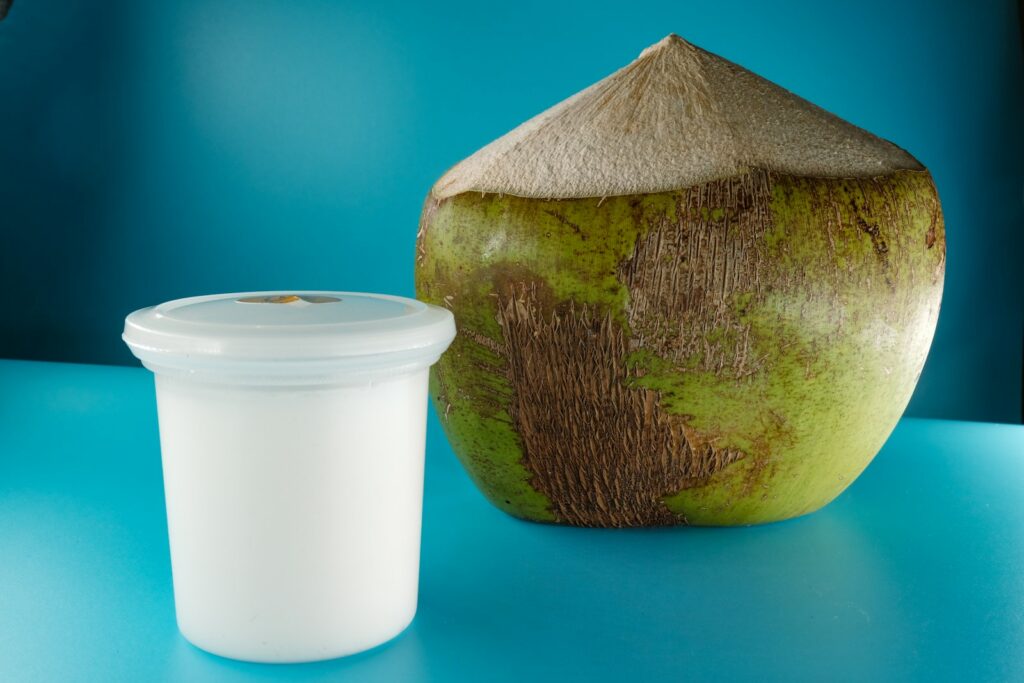
Homemade coconut milk delivers rich tropical flavor perfect for curries, smoothies, and desserts. Unlike other plant milks, you can make coconut milk using either fresh mature coconut or unsweetened dried coconut flakes, making it accessible year-round. For the dried method, combine 2 cups of unsweetened coconut flakes with 4 cups of hot (not boiling) water and let sit for 10 minutes before blending on high for 2 minutes. For fresh coconut, blend the meat from one mature coconut with 4 cups of water until completely smooth. Strain the mixture through a nut milk bag, applying pressure to extract the rich, fatty milk.
Coconut milk naturally separates when refrigerated, with a thick cream layer forming on top that can be scooped off and used for recipes requiring coconut cream. The resulting milk is significantly richer than commercial varieties and adds authentic flavor to traditional recipes from Southeast Asian, Caribbean, and Indian cuisines.
Cashew Milk: No Straining Required

Cashew milk stands out in the plant milk universe for its exceptional creaminess and the fact that it doesn’t require straining, making it one of the simplest options to prepare at home. Soak 1 cup of raw cashews in water for at least 4 hours or overnight, which softens them significantly and makes them blend into a completely smooth liquid. After draining and rinsing, blend the cashews with 4 cups of fresh water on high speed for 2 minutes until the mixture appears completely uniform with no visible pieces.
The natural starch in cashews creates such a smooth consistency that straining becomes optional – many home producers skip this step entirely, preserving all the fiber and nutrients from the whole nut. Cashew milk works particularly well in cream-based soups, coffee drinks, and creamy desserts where its neutral flavor and rich texture shine through without overwhelming other ingredients.
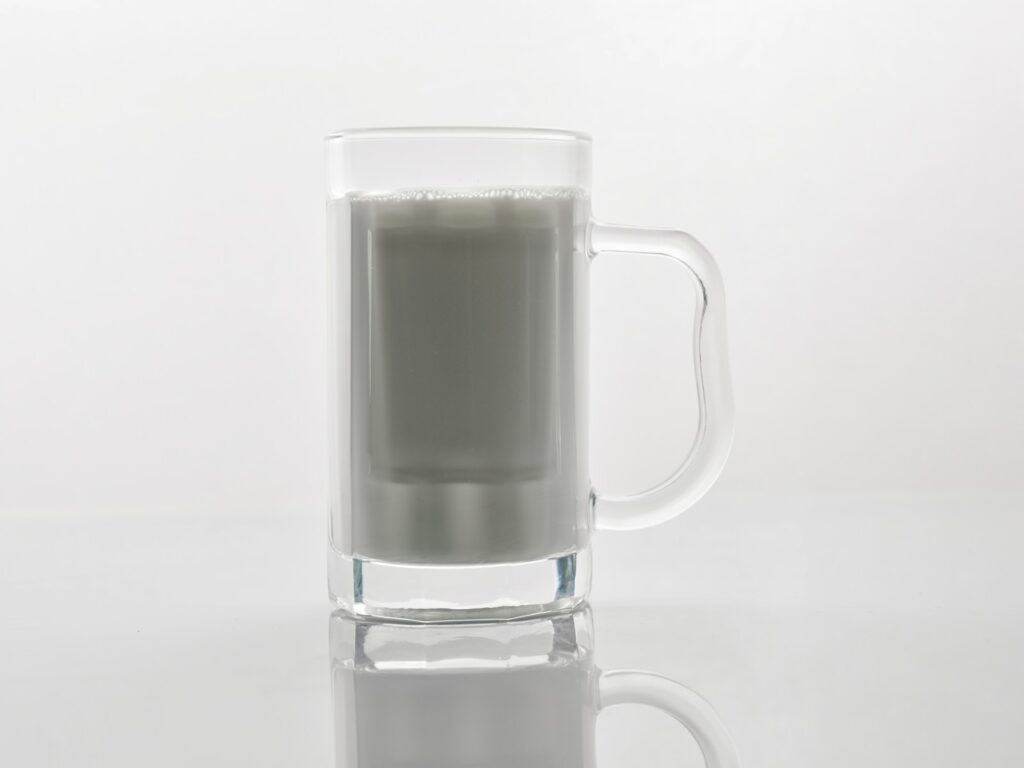
Hemp Milk: Protein-Rich Alternative
Hemp milk offers an exceptional nutritional profile, providing complete protein with all essential amino acids plus beneficial omega-3 and omega-6 fatty acids. Unlike most other plant milk bases, hemp seeds require no soaking, making hemp milk one of the quickest options to prepare from scratch. Simply blend ½ cup of hemp hearts (shelled hemp seeds) with 4 cups of water on high speed for 1-2 minutes until completely smooth and frothy. While straining is optional, passing the mixture through a nut milk bag removes some of the slight grittiness that some people detect in hemp milk.
The finished product has a distinctive earthy, nutty flavor that pairs particularly well with chocolate, making it excellent for smoothies, hot chocolate, or baking projects with complementary flavors. Hemp milk typically maintains its quality in the refrigerator for 3-4 days, though it may separate slightly requiring a quick shake before serving.
Rice Milk: Allergen-Friendly Option

Rice milk serves as the perfect solution for those with multiple food allergies as it’s naturally free of nuts, soy, gluten (if using certified gluten-free rice), and dairy. The process begins with cooking 1 cup of white or brown rice according to package directions, then allowing it to cool completely. Once cooled, blend the cooked rice with 4 cups of water, 1 tablespoon of neutral oil like sunflower or canola (which improves mouthfeel), and optional sweetener like a date or maple syrup until completely smooth. Strain the mixture through a fine-mesh sieve or nut milk bag to remove any remaining rice particles, resulting in a thin, light milk with subtle natural sweetness.
Rice milk works beautifully in baking, particularly in delicate desserts where a neutral flavor is desired, though it’s less suitable for coffee as it doesn’t create the creamy texture that coffee drinkers typically seek from plant milks.
Flavoring Your Homemade Plant Milks
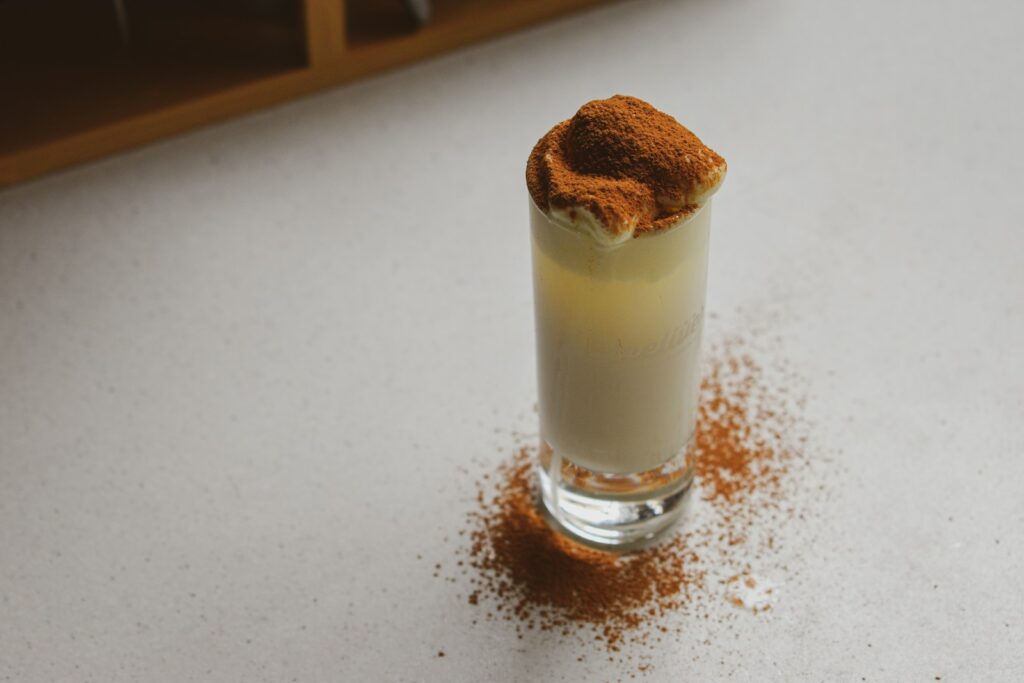
Personalizing your plant milk with flavorings transforms it from a basic ingredient into a craveable beverage with endless variations. For natural sweetness, add pitted dates (pre-soaked if your blender isn’t high-powered), maple syrup, or honey (if not vegan) directly to the blender before processing. Warming spices like cinnamon, cardamom, nutmeg, or turmeric create comforting seasonal options – start with ¼ teaspoon per batch and adjust to taste. Vanilla extract (½-1 teaspoon) adds depth to almost any plant milk, while almond extract works wonderfully with cherry or chocolate additions for dessert-inspired variations.
For chocolate milk, blend in 1-2 tablespoons of unsweetened cocoa powder plus your preferred sweetener until completely incorporated. Creating flavor combinations allows you to tailor your milk precisely to your taste preferences or specific culinary applications – try vanilla-maple oat milk for coffee or chocolate-cinnamon almond milk for an indulgent afternoon treat.
Troubleshooting Common Problems

Even experienced plant milk makers occasionally encounter challenges that affect the final product. If your milk turns out too watery, adjust the ratio by using less water or more base ingredient in your next batch – the standard 1:4 ratio of nuts/seeds/grains to water can be modified to 1:3 for a richer result. Grittiness usually indicates insufficient blending time or power; blend longer or consider pre-grinding nuts in a coffee grinder before the main blending process. For separation issues, which are natural and not a sign of spoilage, simply shake well before using or add a natural emulsifier like sunflower lecithin (¼ teaspoon per batch).
Slimy texture in oat milk typically means either the oats were overblended or squeezed too hard during straining – try a shorter blend time and gentle straining without pressing the pulp. Finally, if your milk spoils quickly, ensure all equipment is thoroughly cleaned, consider scalding (not boiling) your finished milk to extend shelf life, and always refrigerate in airtight containers.
Using the Leftover Pulp Creatively
The fibrous pulp remaining after straining plant milk represents valuable nutrition and potential ingredients for other recipes. Almond and other nut pulps can be dried in a low oven (200°F/95°C) or dehydrator until completely moisture-free, then processed into homemade nut flour for gluten-free baking projects. Oat pulp works beautifully in breakfast cookies, muffins, or pancakes, adding moisture and fiber without requiring dehydration first. Coconut pulp can be dried and used as homemade unsweetened coconut flakes in granola, energy balls, or as a topping for smoothie bowls.
For a savory application, mix any nut or seed pulp with herbs, spices, and a bit of oil to create a spread similar to hummus, perfect for crackers or vegetable dipping. The environmental benefit of repurposing this pulp cannot be overstated – you’re extracting maximum value from your ingredients while creating essentially zero waste in your plant milk production process.
Storage and Shelf Life Considerations
Proper storage significantly impacts the freshness and safety of your homemade plant milks. Always refrigerate freshly made milk immediately in clean, airtight glass containers rather than plastic, as glass doesn’t absorb odors or leach chemicals. Most homemade plant milks remain fresh for 3-5 days, with coconut and cashew varieties sometimes lasting slightly longer due to their natural fat content. Unlike commercial products, homemade versions lack preservatives and will show signs of spoilage through smell (sour or off odors), taste changes, or visible thickening beyond normal separation.
For longer-term storage, many plant milks can be frozen in ice cube trays, then transferred to freezer bags for up to three months – these frozen cubes work perfectly in smoothies or can be thawed for cooking, though the texture may become slightly grainy after freezing. Label all containers with the date of production to track freshness and always use the “first in, first out” principle when consuming your plant milk inventory.
Comparing Cost with Store-Bought Alternatives
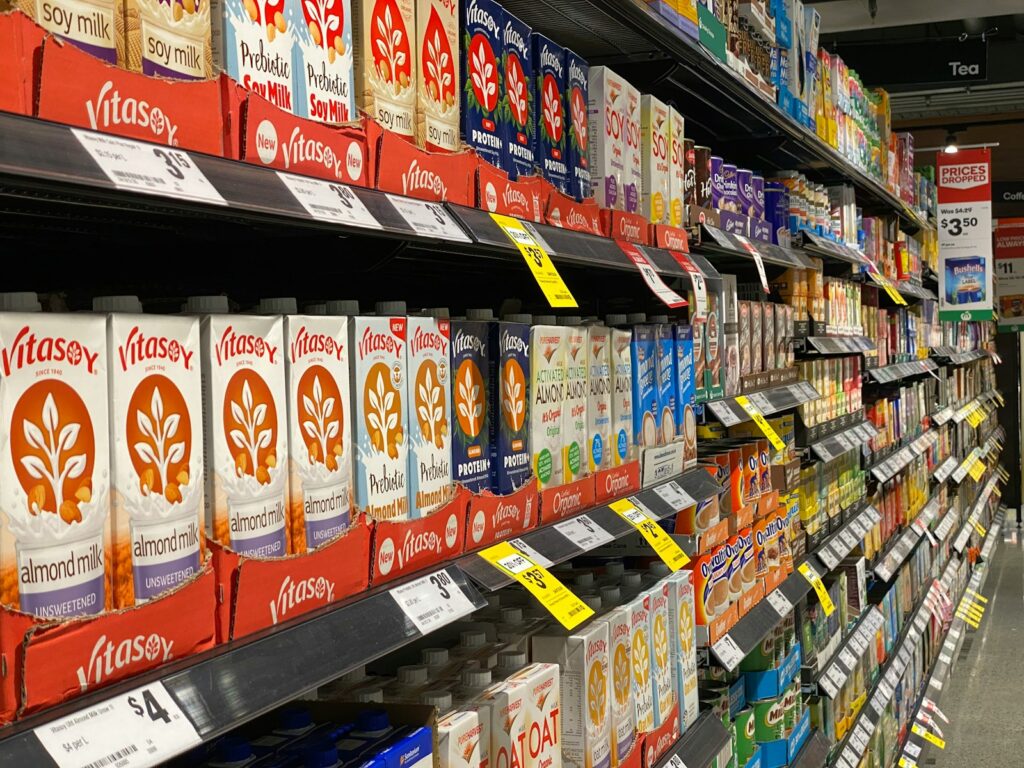
When analyzing the economics of homemade versus commercial plant milks, several factors influence the final calculation. For basic varieties like oat milk, the homemade version costs approximately $0.50-$0.75 per quart compared to $3-$5 for premium commercial brands, representing significant savings even accounting for your time investment. Nut-based milks show a smaller but still substantial cost difference – homemade almond milk costs roughly $1.50-$2.00 per quart versus $3.50-$4.50 for organic store brands, with the cost advantage increasing when purchasing nuts in bulk.
Specialty milks like macadamia or pistachio demonstrate the greatest savings, often costing half the price of their commercial counterparts which can reach $8-$10 per quart. Beyond direct cost comparison, homemade versions allow you to control concentration – many commercial plant milks contain only 2-8% of the actual nut or grain, while homemade versions can be made more concentrated, delivering better nutrition and flavor for your investment.
Incorporating Homemade Plant Milk into Your Daily Routine
Successfully integrating homemade plant milk into your lifestyle requires establishing sustainable habits that work with your schedule. Many enthusiasts find that designating a specific “milk-making day” once or twice weekly helps maintain a steady supply without feeling burdensome – consider soaking nuts overnight on Saturday and making fresh milk Sunday morning as part of a weekend routine. For households with higher consumption, scaling recipes proportionally and making larger batches maximizes efficiency, though remember that without preservatives, larger quantities won’t stay fresh longer.
Keeping a small supply of shelf-stable commercial plant milk as backup prevents emergency grocery runs when homemade supplies run out unexpectedly. Consider the specific applications most important in your household – if coffee is your priority, focus on creating creamier varieties like cashew or oat that perform well when heated. With consistent production and proper planning, homemade plant milk can seamlessly replace commercial versions in everything from morning cereal to elaborate cooking projects, becoming second nature rather than an exotic DIY project.
Conclusion: A Sustainable Nutrition Choice
Making your own plant-based milk at home represents one of those rare opportunities where health benefits, environmental impact, flavor advantages, and potential cost savings align perfectly. As you experiment with different base ingredients, ratios, and flavorings, you’ll likely discover personalized variations that far exceed commercial offerings in freshness and taste. Beyond the practical benefits, there’s a simple satisfaction in crafting a basic staple from scratch, connecting you more deeply to your food and its origins.
Whether you’re a committed plant-based enthusiast or simply curious about alternatives to dairy, homemade plant milk offers an accessible entry point to more sustainable, personalized nutrition that adapts perfectly to your unique preferences and dietary needs.