

The durable denim of well-worn jeans represents more than just fashion—it embodies sustainability through potential reuse. Rather than discarding those favorite jeans that have developed tears or simply gone out of style, consider transforming them into practical tool aprons. This creative upcycling project not only reduces waste but also provides a customized solution for organizing tools while working on various projects.
From gardening to woodworking, a denim tool apron offers convenience, durability, and personalized functionality that store-bought alternatives often lack. Let’s explore how to breathe new life into old jeans by converting them into hardworking tool aprons that reflect both practicality and environmental consciousness.
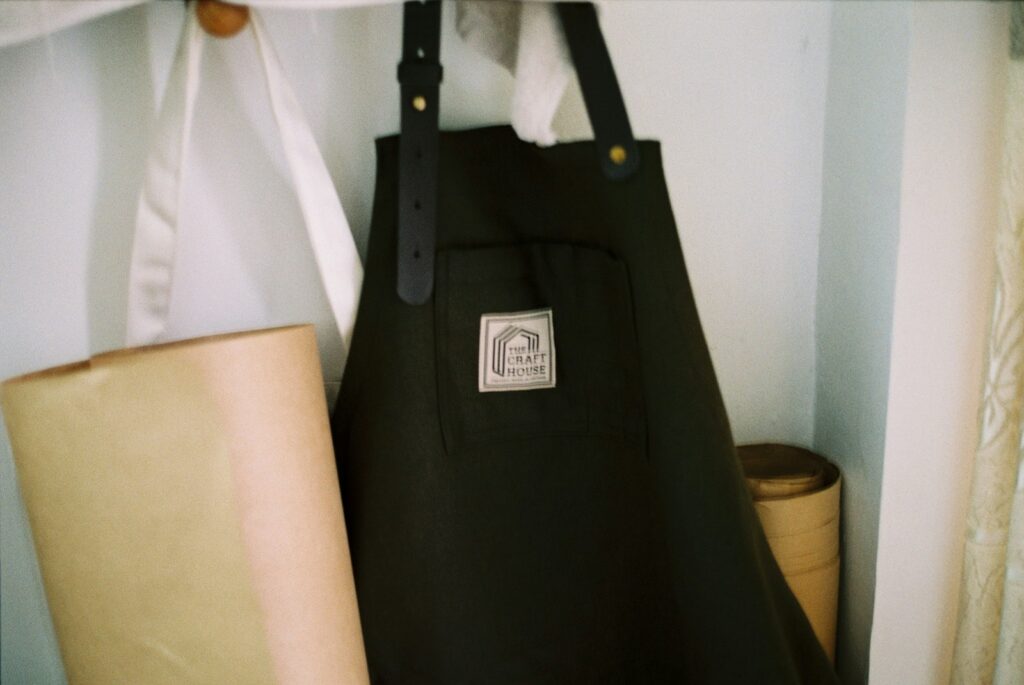
Why Denim Makes the Perfect Material for Tool Aprons

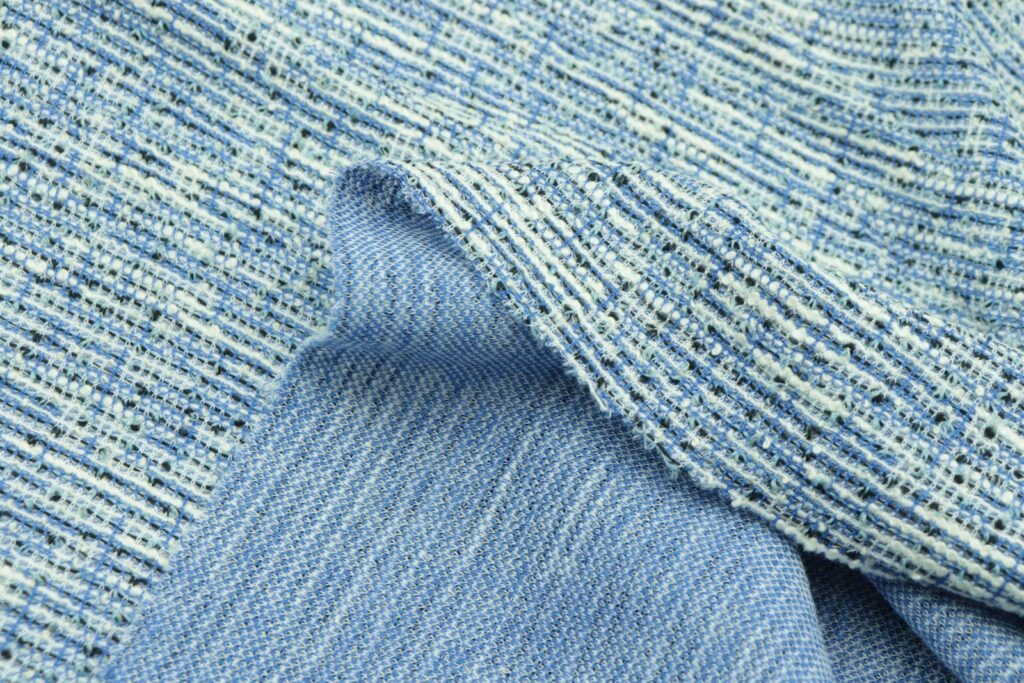
Denim stands out as an ideal material for tool aprons due to its exceptional durability and resistance to wear and tear. Originally designed for miners and laborers in the 1800s, denim fabric contains a tight weave that naturally withstands abrasion, punctures, and heavy use—precisely the conditions a tool apron must endure. The fabric’s weight provides stability when carrying tools, preventing the apron from excessive movement during physical tasks.
Additionally, denim softens with age and washing while maintaining structural integrity, creating an apron that becomes more comfortable over time without sacrificing functionality. This combination of strength, comfort, and historical reliability makes repurposed jeans a superior choice for creating long-lasting tool aprons.
Essential Materials and Tools for Your Upcycling Project

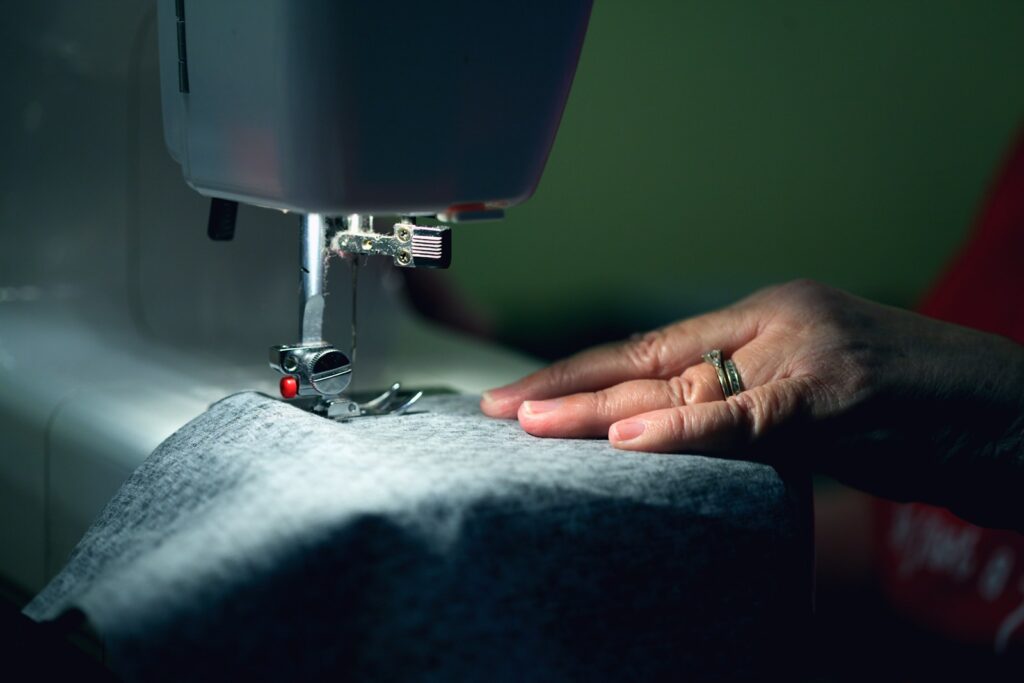
Before beginning your transformation project, gather all necessary supplies to ensure a smooth creation process. Start with a pair of adult-sized jeans in reasonable condition—minor tears or worn spots actually add character to your finished apron. You’ll need basic sewing supplies including strong thread (preferably upholstery weight), a denim needle for your sewing machine or a heavy-duty hand-sewing needle, sharp fabric scissors, and straight pins or clips.
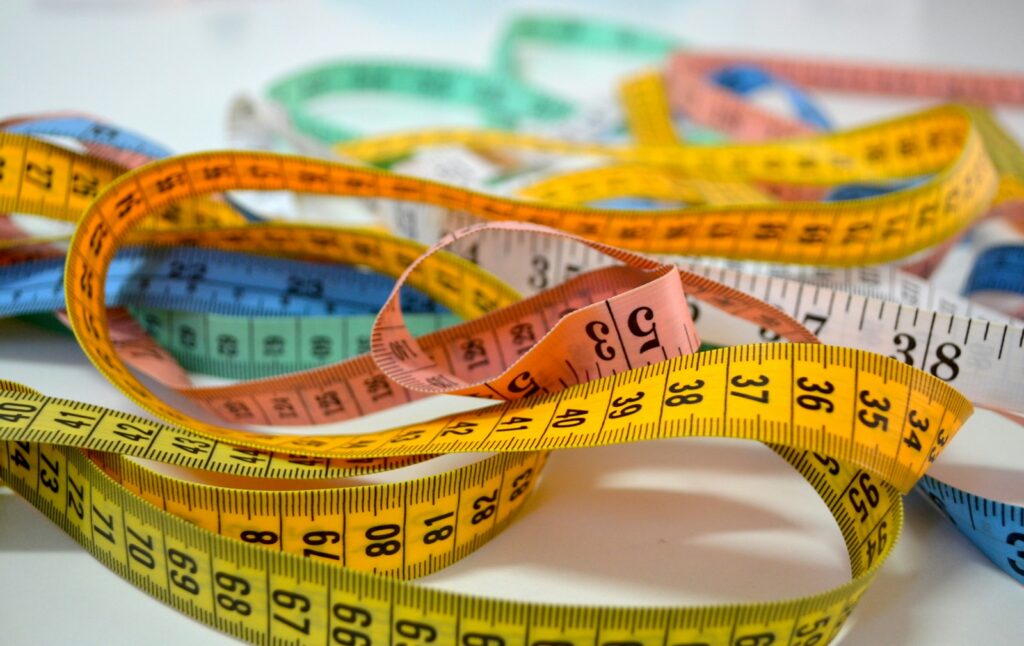
Additional materials include measuring tape, chalk or fabric marker for pattern marking, extra denim or webbing for straps if needed, and decorative elements like patches or contrasting stitching if desired. Optional tools that enhance the project include a seam ripper for careful disassembly, a thimble to protect fingers during hand sewing through multiple layers, and an iron for pressing seams flat before sewing.
Selecting the Right Pair of Jeans

Choosing appropriate jeans significantly impacts your apron’s functionality and appearance. Look for jeans with minimal damage in the front leg panels, as these will form the main body of your apron. Heavier weight denim (typically found in men’s work jeans or vintage styles) offers superior durability compared to lightweight stretch denim. Consider the size carefully—larger jeans provide more fabric to work with and allow for more pockets and a wider coverage area.
Dark wash jeans generally hide stains better, making them practical for workshop environments, while faded jeans create a rustic, lived-in aesthetic perfect for gardening aprons. Examine the existing pocket configuration as well; jeans with intact front and back pockets give you ready-made storage options that require no additional sewing.
Basic Apron Design: Planning Your Layout
Before cutting into your jeans, develop a clear vision for your apron’s design by sketching a simple pattern. Consider the length needed—knee-length provides good coverage for most workshop tasks, while shorter aprons might be preferred for mobility during gardening. Determine the width by measuring across your torso from hip to hip, adding a few inches for comfort.
Plan pocket placement strategically based on tool accessibility—frequently used tools should be placed within easy reach on upper sections, while heavier items work better in lower pockets to maintain balance. Map out where additional custom pockets might enhance functionality, such as narrow vertical pockets for pencils or screwdrivers. Take time to consider how the apron will attach around your body, whether with ties, adjustable straps, or a crossback design for weight distribution.
Step-by-Step Disassembly of Jeans
Begin the transformation process by carefully deconstructing your jeans to maximize usable fabric. First, use a seam ripper to remove any labels or decorative elements you don’t want in the final apron, setting aside any hardware like buttons or rivets that could be repurposed later. Cut along the inseam of both legs from cuff to crotch, then cut along the outer seams to create flat panels of fabric.
For a basic apron, cut around the waistband, removing it completely unless you plan to incorporate it into your design. Separate the front and back panels, noting that front panels typically have less wear and provide more continuous fabric. When removing pockets you wish to relocate, cut generously around them to maintain their integrity and provide sufficient fabric for reattachment.
Creating the Main Apron Body
The front leg panels of your jeans will form the primary structure of your apron, requiring careful shaping to achieve a functional design. Position the panels with the former outseams toward the center, overlapping slightly if necessary, and pin them securely in place. Using chalk or a fabric marker, draw your desired apron outline directly onto the denim, typically creating a trapezoid shape that’s wider at the bottom than at the chest.
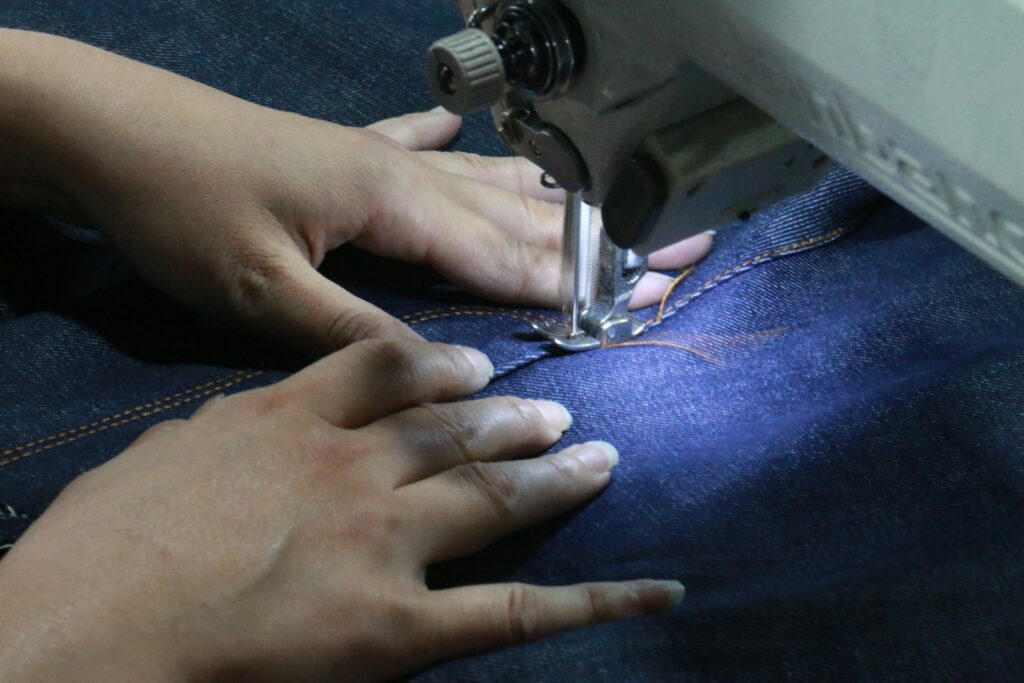
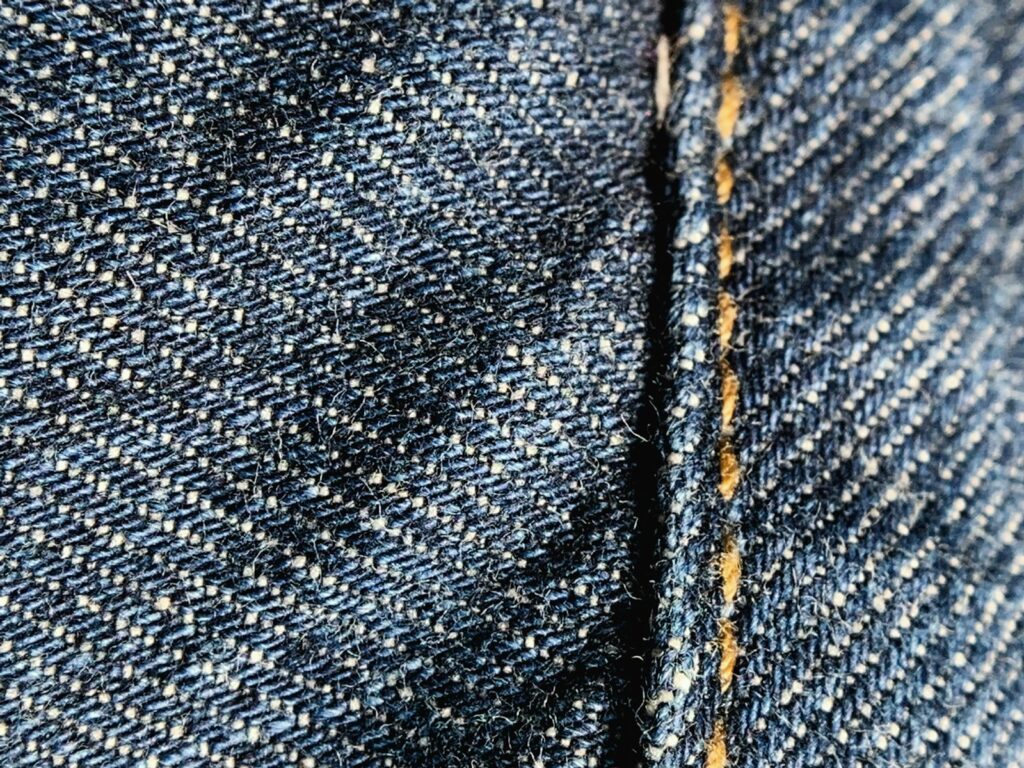
Cut along your marked lines, making sure to leave at least half an inch of seam allowance wherever edges will need finishing. If joining multiple pieces, create flat-felled seams for durability by folding under raw edges and topstitching them down with double rows of stitching. Round any corners slightly to prevent sharp points that could catch on equipment and to make edge finishing easier.
Designing Functional Pocket Systems
Thoughtful pocket configuration transforms a simple apron into an efficient tool organizer tailored to your specific needs. Evaluate which original jean pockets can remain in their positions—front pockets often work well for holding small items like screws or seed packets. Harvest additional pockets from the remaining jean material, including back pockets which make excellent holders for notepads or mobile devices.
Create specialized pockets by sewing fabric divisions of various widths—narrow pockets (1-2 inches) work well for pencils, paint brushes, or screwdrivers, while medium pockets (3-4 inches) accommodate hand tools like pliers or pruning shears. Consider adding a loop strip made from a belt loop or strip of denim for hanging hammer heads or other tools with handles. Reinforce pocket tops with double-stitching or bar tacks at stress points to prevent tearing when tools are repeatedly inserted and removed.
Crafting Comfortable, Adjustable Straps
Well-designed straps ensure your tool apron stays securely in place while distributing weight comfortably across your body. For neck straps, cut strips approximately 2-3 inches wide from the longest parts of the jean legs, then fold the edges inward and stitch to create finished straps without raw edges. Consider creating an adjustable neck strap by incorporating a slider buckle salvaged from an old bag, or use a simple crossover design that ties at the back to prevent neck strain.
Waist ties can be fashioned from the leg seams of jeans, which already have finished edges and considerable strength. For maximum comfort during extended wear, create a crossback strap system using the entire back panel of the jeans, cut in an X-shape that distributes weight across both shoulders rather than concentrating it on the neck. Test the strap system before final stitching by pinning it in place and simulating movements you’ll make while working.
Reinforcing High-Stress Areas
Durability is essential for a working tool apron, making reinforcement of high-stress areas a critical step in the construction process. Identify potential weak points including pocket tops, strap attachment points, and corners where tools will create weight and friction. Apply reinforcement stitching in these areas using heavyweight thread in a contrasting color for both strength and visual interest.
Create bar tacks (dense zigzag stitches) across pocket tops and strap connections to prevent tearing under pressure. For areas requiring maximum reinforcement, consider adding small patches of denim behind the fabric before stitching through both layers. When attaching straps to the main apron body, use a box-with-X stitch pattern that distributes stress across a wider area rather than concentrating it along a single seam line.
Adding Specialized Features for Specific Tasks

Customize your apron with task-specific features that enhance its functionality for your particular hobbies or work. For gardening aprons, incorporate a waterproof pocket made from repurposed plastic packaging to hold plant labels or your phone during light rain. Woodworkers might add a magnetic strip sewn into a pocket seam to temporarily hold nails or screws during projects.
For artists or crafters, create brush holders with elastic strips that keep tools organized while allowing quick access. Consider adding a towel loop on the side for wiping hands clean while working, or a dedicated pocket lined with soft material specifically for glasses or delicate instruments. For those working with small parts, create a clear vinyl pocket window that allows visibility of contents without opening the pocket.
Finishing Edges for Professional Results

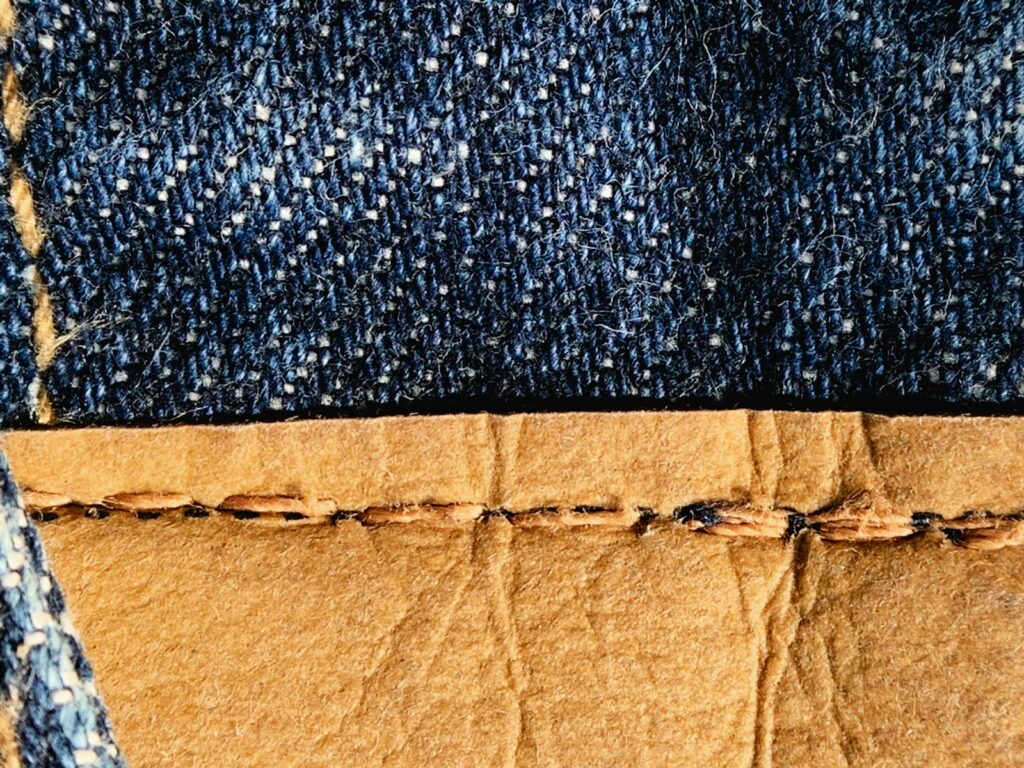
Properly finished edges not only improve the appearance of your apron but significantly extend its lifespan by preventing fraying and tearing. For the simplest finish, fold raw edges under twice (about 1/4 inch each time) and stitch close to the inner fold to create a clean hem that encases all raw edges. Alternatively, use bias tape or grosgrain ribbon to bind edges for a more professional appearance with less bulk—particularly effective for curved edges that resist traditional hemming.
Consider preserving the original hem of the jeans for the bottom edge of your apron, taking advantage of the factory finishing for a professional touch. When finishing edges around pockets or decorative elements, trim seam allowances to different lengths and press them in alternate directions to reduce bulk before topstitching for a smooth finish that lies flat against the body.
Personalizing Your Apron with Creative Touches
Inject personality into your tool apron with decorative elements that make it uniquely yours while potentially adding functionality. Consider applying fabric paint to stencil your name or workshop logo onto a pocket front, creating both personalization and theft prevention. Repurpose colorful patches from other garments or iron-on designs to cover any small holes or add visual interest to plain areas.
Use contrasting topstitching in bright colors to highlight pocket edges or create decorative patterns that double as reinforcement. For a practical decorative element, sew measuring tape ribbon along one edge to create an always-accessible ruler. Attach meaningful buttons, old coins, or small hardware items as decorative pulls on pockets, combining sentimental value with practical function.
Caring for Your Denim Tool Apron

Proper care extends the life of your handcrafted denim tool apron and keeps it working well for years. Shake out dust or wipe it clean for light messes; for heavier grime, machine wash on cold with mild detergent, avoiding fabric softeners that weaken fibers. Always air dry to prevent shrinkage and protect reinforced stitching. Check regularly for wear at pockets and strap points, making minor repairs early to avoid major damage. For added water resistance, apply beeswax and set it with an iron between paper towels for a natural seal.
By repurposing old jeans into a personalized apron, you’ve created a functional and sustainable tool that suits your needs. Denim’s rugged history continues in your workshop or garden, offering both durability and character. Over time, your apron will reflect your creativity and hard work, becoming more than a garment—it becomes a story, a companion in your craft, and a small but powerful step toward a more mindful way of living.