

Have you ever thrown away vegetable scraps and felt a pang of regret? Those kitchen “waste” items actually hold immense potential for new life. Food scrap gardening transforms your cooking leftovers into a thriving indoor garden, reducing waste while providing fresh herbs and vegetables. This sustainable practice connects you directly to the growing cycle, offering a satisfying way to watch kitchen scraps transform into nutritious plants.
Whether you have a sunny windowsill or a small corner in your kitchen, you can create a productive garden from items you’d normally discard. Let’s explore how to turn your food waste into a flourishing indoor garden that nourishes both body and soul.
Understanding Food Scrap Gardening
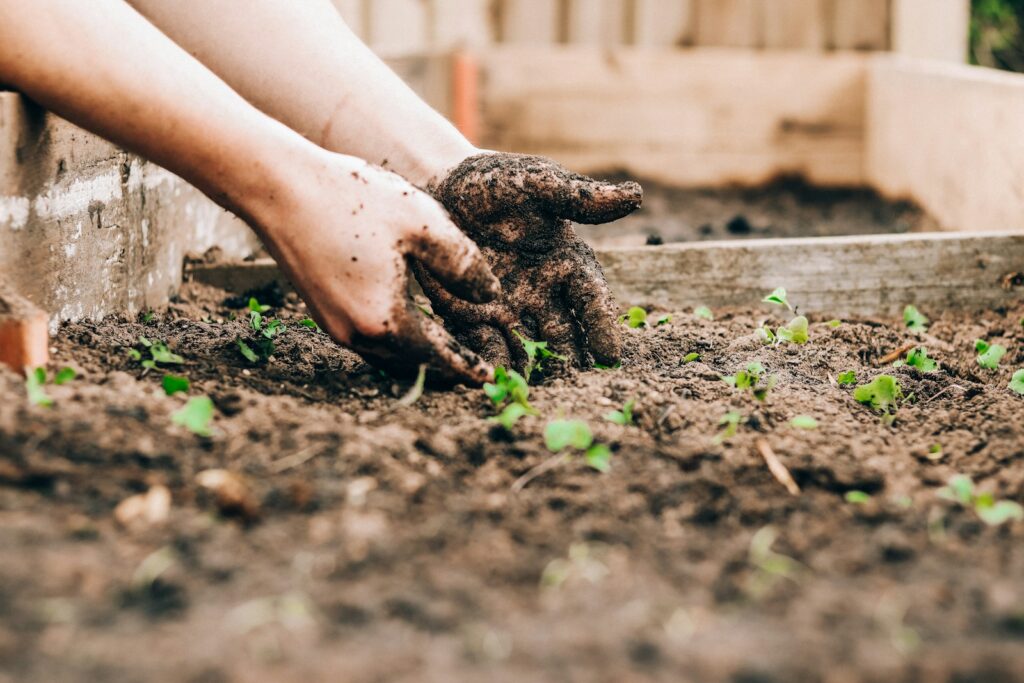
Food scrap gardening involves regrowing plants from parts we typically discard during food preparation, such as root ends, seeds, and stems. This gardening method works because many vegetables and herbs retain their growing capabilities even after being harvested. The practice dates back centuries but has gained renewed popularity as people seek sustainable living solutions and connections to their food sources.
Beyond sustainability, food scrap gardening offers educational opportunities, especially for children who can witness plant growth cycles firsthand in their own kitchen. This accessible form of gardening requires minimal investment while yielding fresh produce and reducing household waste.
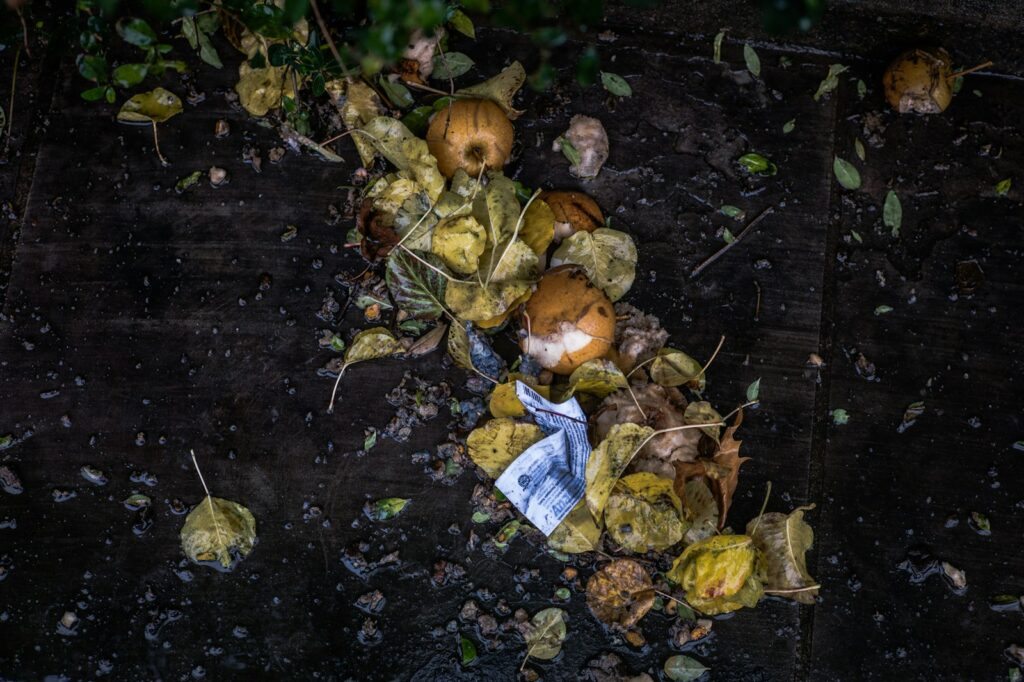
Benefits of Kitchen Scrap Gardening
Creating a garden from food scraps offers multiple advantages beyond just reducing waste. Financially, it saves money by providing free plants and reducing grocery expenses for items you can grow yourself. From an environmental perspective, food scrap gardening decreases kitchen waste that would otherwise end up in landfills contributing to methane emissions.
The practice also ensures access to fresh, organic produce without pesticides or packaging waste. Perhaps most rewarding is the educational aspect—watching a discarded scrap transform into a new plant provides a powerful demonstration of nature’s regenerative capabilities and helps create mindfulness around food consumption patterns.
Essential Tools and Materials
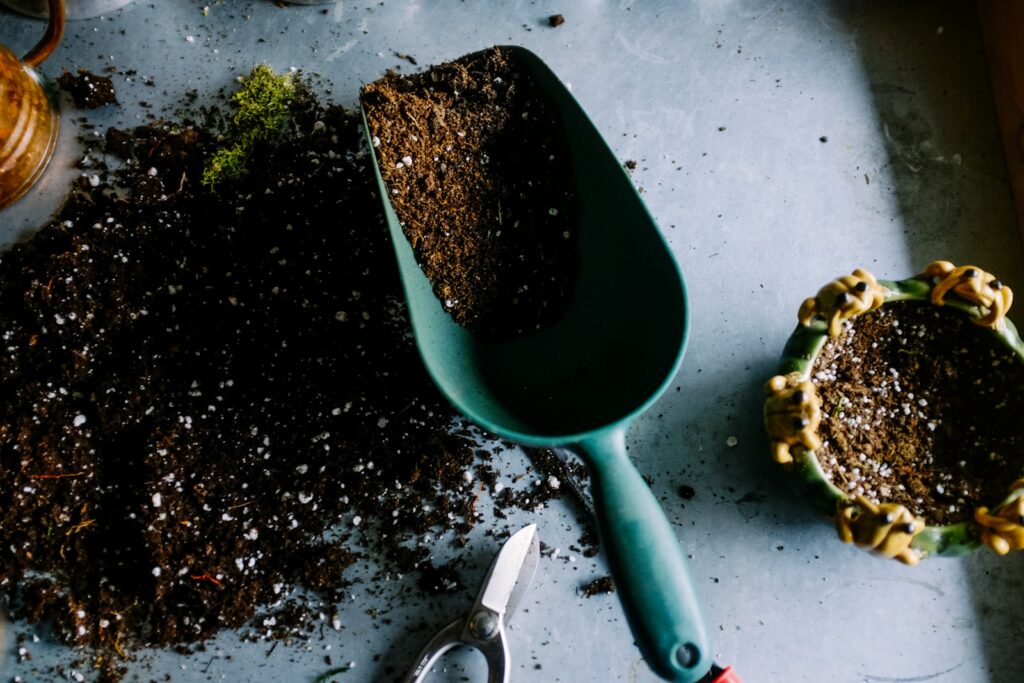
Successful food scrap gardening requires minimal equipment, making it accessible for any budget. Start with shallow containers like saucers, small bowls, or recycled food containers with drainage holes added. You’ll need clean water for the initial sprouting phase and quality potting soil once plants develop roots. Small pots or containers become necessary when transplanting your sprouted scraps, ideally with drainage holes to prevent root rot.
A sunny window location provides necessary light, though a small grow light works for kitchens with limited natural sunshine. Additional helpful items include plant markers (which can be made from popsicle sticks), a spray bottle for gentle watering, and perhaps a notebook to track progress and growing conditions.
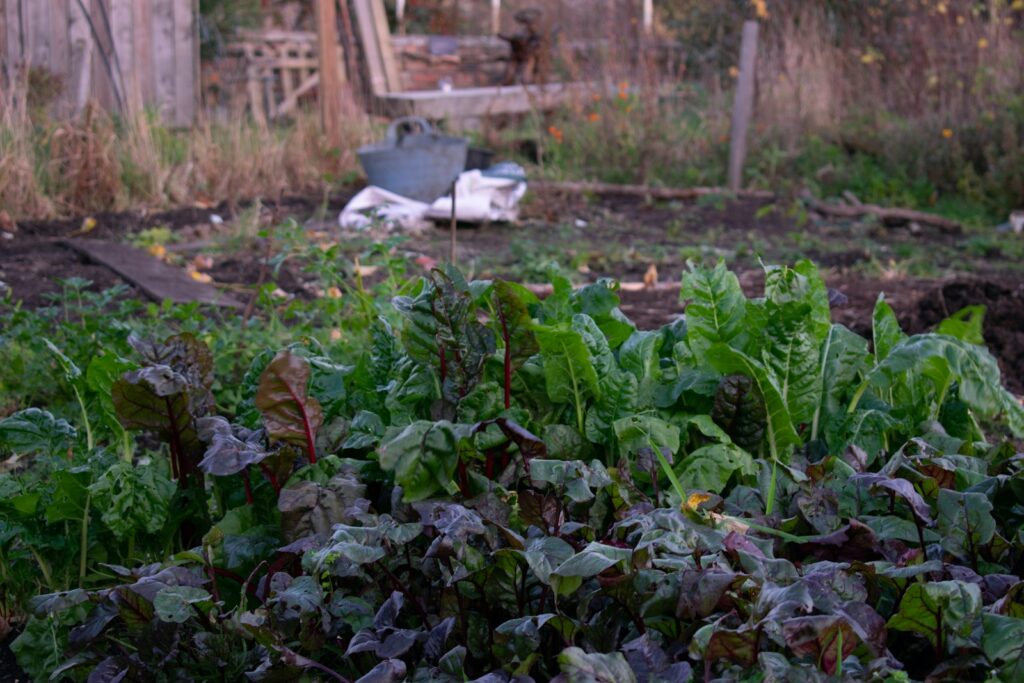
Choosing the Right Kitchen Scraps
Not all food scraps regenerate equally, so selecting appropriate candidates increases your success rate. Root vegetables like green onions, leeks, fennel, and celery bases regrow readily when their root ends are placed in water. Leafy vegetables such as lettuce, bok choy, and cabbage can sprout new growth from their core base. Herbs including basil, mint, and cilantro may root from stem cuttings placed in water.
Some fruit seeds and pits, particularly avocado pits and citrus seeds, can develop into houseplants with proper care. For best results, choose organic produce when possible, as some conventionally grown items are treated with sprouting inhibitors that prevent successful regrowth.
Starting with Green Onions The Gateway Scrap
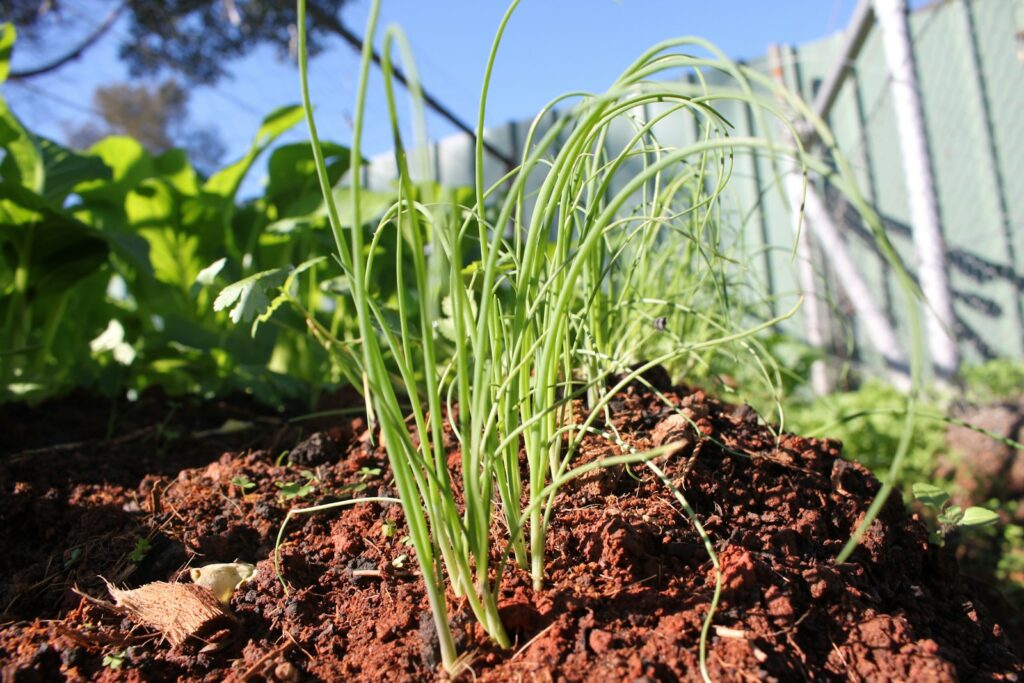
Green onions represent the perfect starting point for novice food scrap gardeners due to their rapid growth and high success rate. Begin by saving the white root end (approximately 1-2 inches) with roots intact after using the green parts in cooking. Place these root sections in a small glass or jar with enough water to cover the roots but leave the top portion exposed.
Position your container in a sunny window and change the water every 1-2 days to prevent bacterial growth. Within days, you’ll notice new green shoots emerging, and within a week, substantial growth will appear. You can continue growing them in water indefinitely, snipping the green growth as needed, or transplant them to soil after roots develop for even more robust growth.
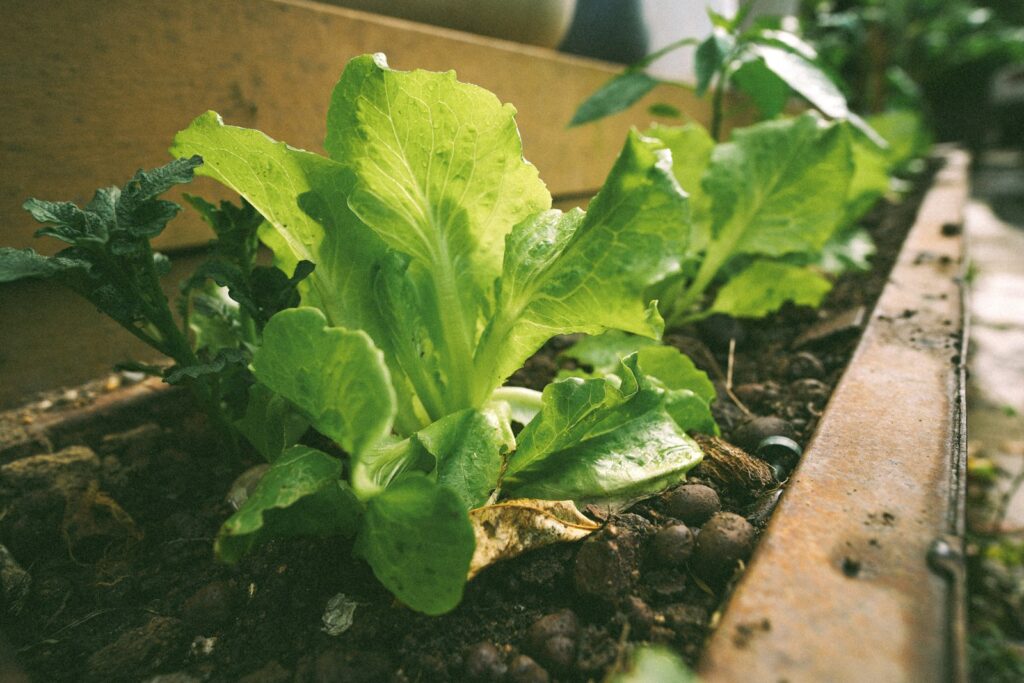
Regrowing Leafy Vegetable Bases
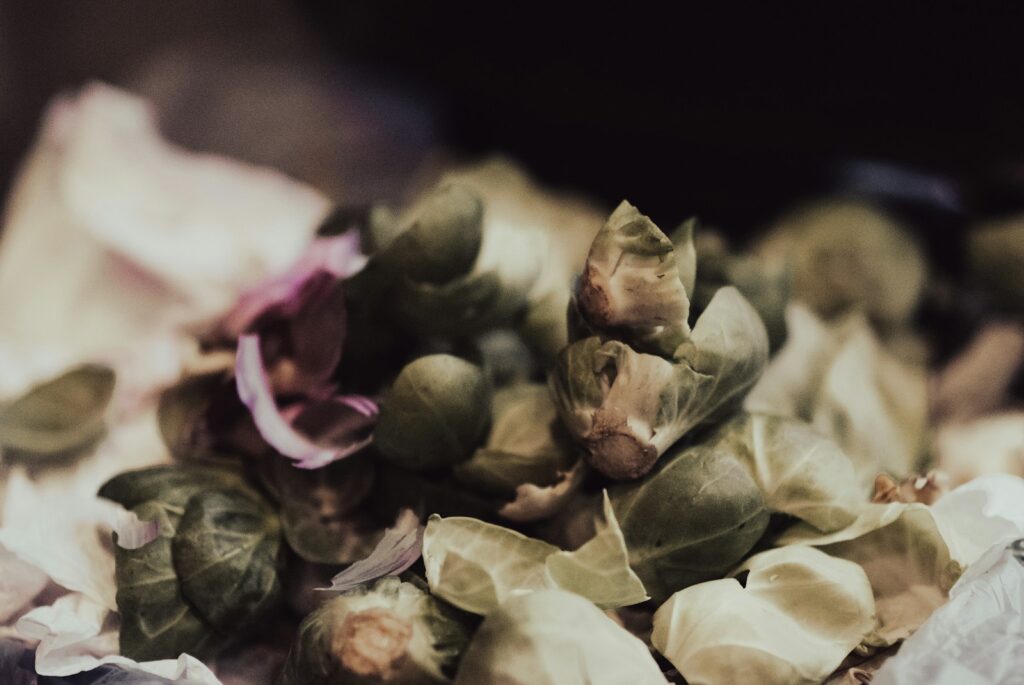
Lettuce, cabbage, and bok choy bases offer satisfying regrowth potential with minimal effort. After using the leafy portions, save the bottom core (about 1-2 inches) with the root system intact. Place this base in a shallow dish with approximately half an inch of water, ensuring the top remains above water to prevent rotting. Within 3-4 days, you’ll observe new leaves emerging from the center as the outer edges may begin to yellow (which is normal).
Once new growth reaches about an inch tall, transplant the base to a pot with soil, covering everything except the new growth. While these regrown greens typically produce smaller yields than store-bought counterparts, they provide enough for garnishes and small salads while demonstrating impressive regenerative capabilities.
Growing Herbs from Cuttings
Many common herbs can regenerate from simple stem cuttings, providing an ongoing supply of fresh flavors. Select healthy 4-6 inch stems from herbs like basil, mint, rosemary, or sage, removing leaves from the bottom half of each cutting. Place these prepared stems in glasses of water, ensuring the leafless portions are submerged while keeping upper leaves dry. Position them in bright, indirect light and change the water every few days to maintain clarity.
Root development typically begins within 1-2 weeks, appearing as small white tendrils emerging from the stem. Once roots reach approximately 1-2 inches long, transplant the cuttings to small pots with well-draining soil. This method creates genetic clones of the parent plant, ensuring identical flavor profiles in your regrown herbs.
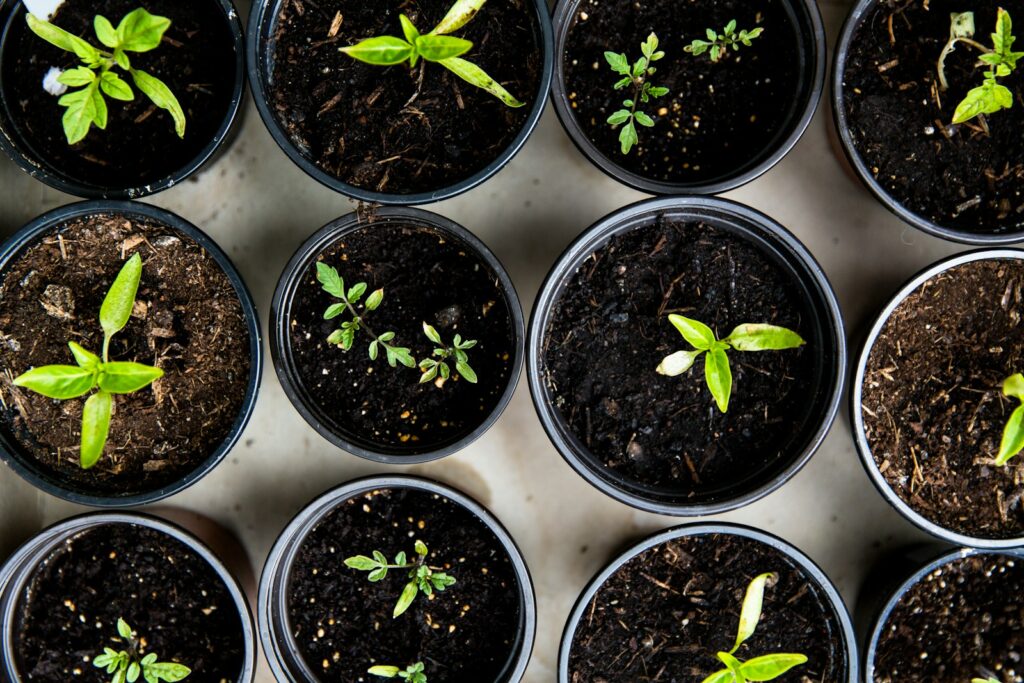
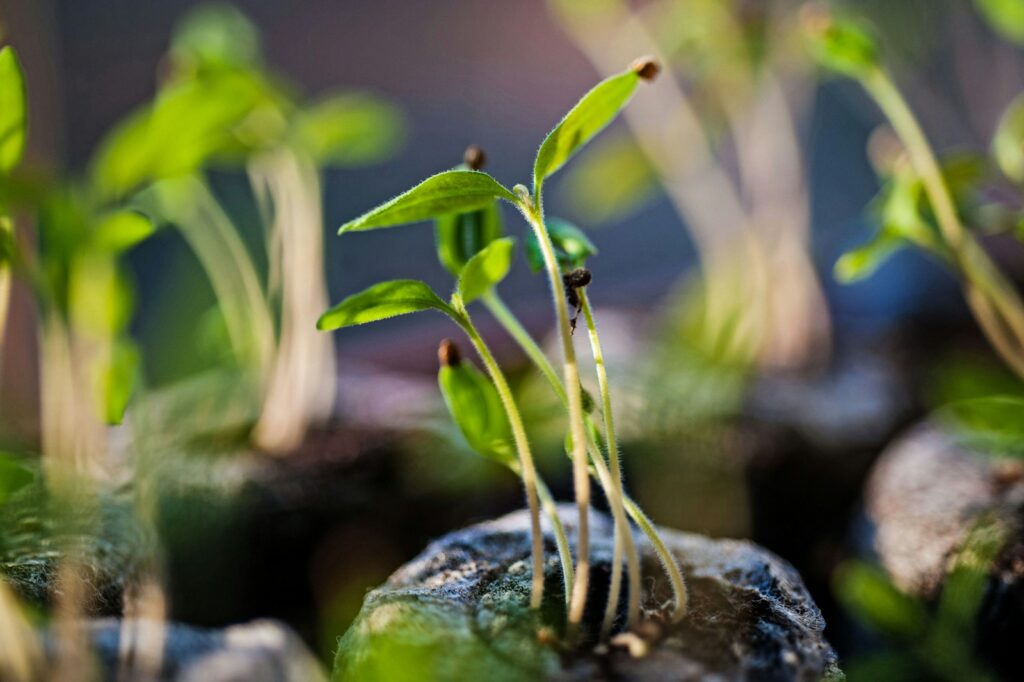
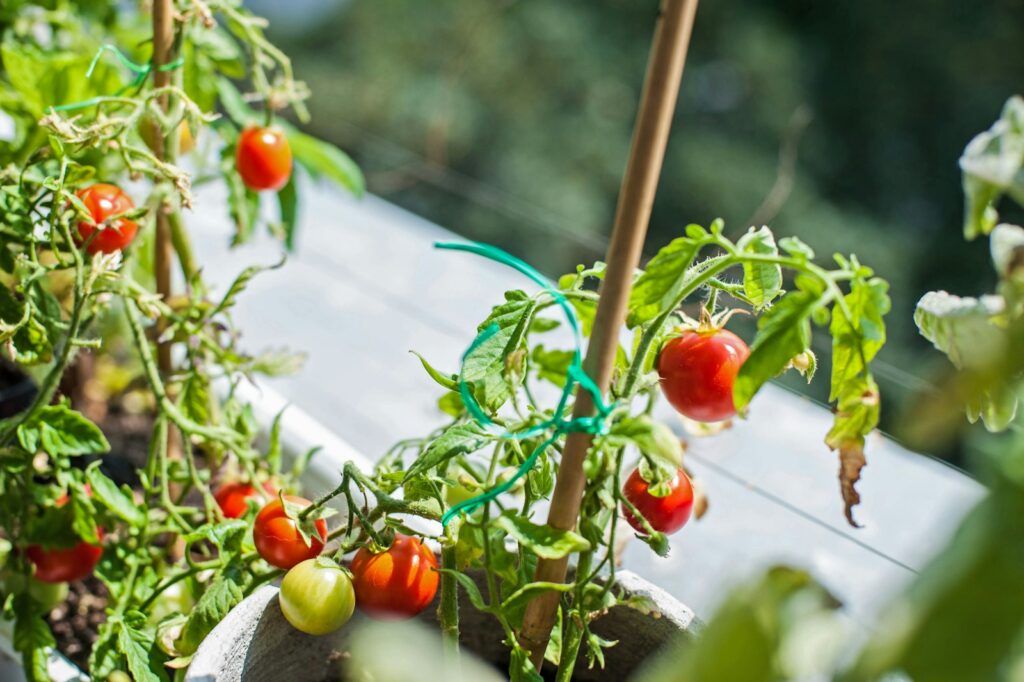
Sprouting Seeds from Kitchen Produce

Many seeds from everyday kitchen items can grow into productive plants with proper preparation. Pepper seeds, tomato seeds, and citrus seeds can all be cleaned, dried briefly, and planted in soil about ¼ inch deep. For avocado pits, insert toothpicks around the middle to suspend the pit over water with the bottom third submerged, placing the container in a warm location until roots and a stem develop.
Dried beans and lentils from your pantry can be soaked overnight and then placed between damp paper towels until they sprout, after which they can be transferred to soil. The key to success lies in selecting seeds from ripe, healthy, preferably organic produce, as these have the highest germination potential and haven’t been treated with growth inhibitors.
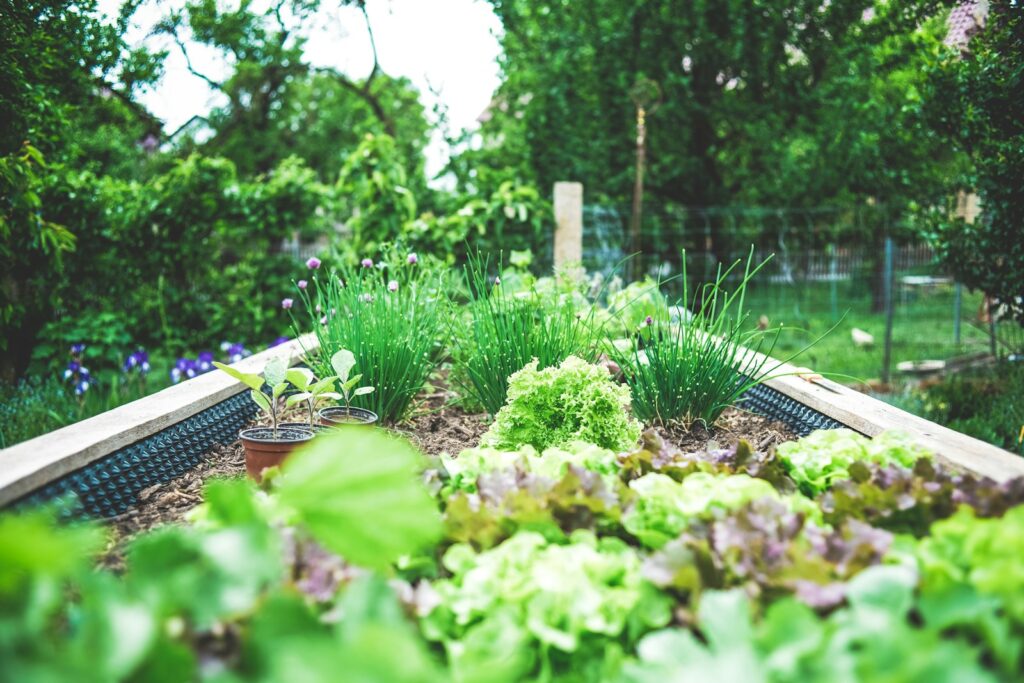
Creating Proper Growing Conditions
Successful food scrap gardens require attention to environmental factors that mimic natural growing conditions. Light represents the most crucial element—most vegetable scraps need at least 4-6 hours of direct sunlight daily, with leafy greens and herbs requiring the most exposure. Temperature stability also affects growth rates, with most kitchen scraps thriving in typical home temperatures between 65-75°F (18-24°C).
Humidity levels matter particularly during the initial sprouting phase, which is why covering newly planted scraps with clear plastic can create a beneficial greenhouse effect. Proper air circulation prevents mold development, so remove covers once sprouts appear and ensure plants aren’t crowded together. Adjusting these conditions seasonally helps compensate for changes in natural light and temperature fluctuations throughout the year.
Water and Nutrient Requirements
Proper watering techniques prove essential for food scrap gardening success, with different growth stages requiring adjusted approaches. During the initial water sprouting phase, change water daily to prevent bacterial growth and ensure oxygen availability. After transplanting to soil, maintain consistent moisture without waterlogging, which causes root rot. Most kitchen scrap plants benefit from a “slightly damp” soil environment rather than soaked conditions.
Regarding nutrients, plants initially regrow using stored energy from the original scrap, but once established in soil, they benefit from diluted organic fertilizer applied every 2-3 weeks. Compost tea provides an excellent natural nutrient source, or you can use a half-strength organic liquid fertilizer specifically formulated for edible plants.
Transplanting Successfully
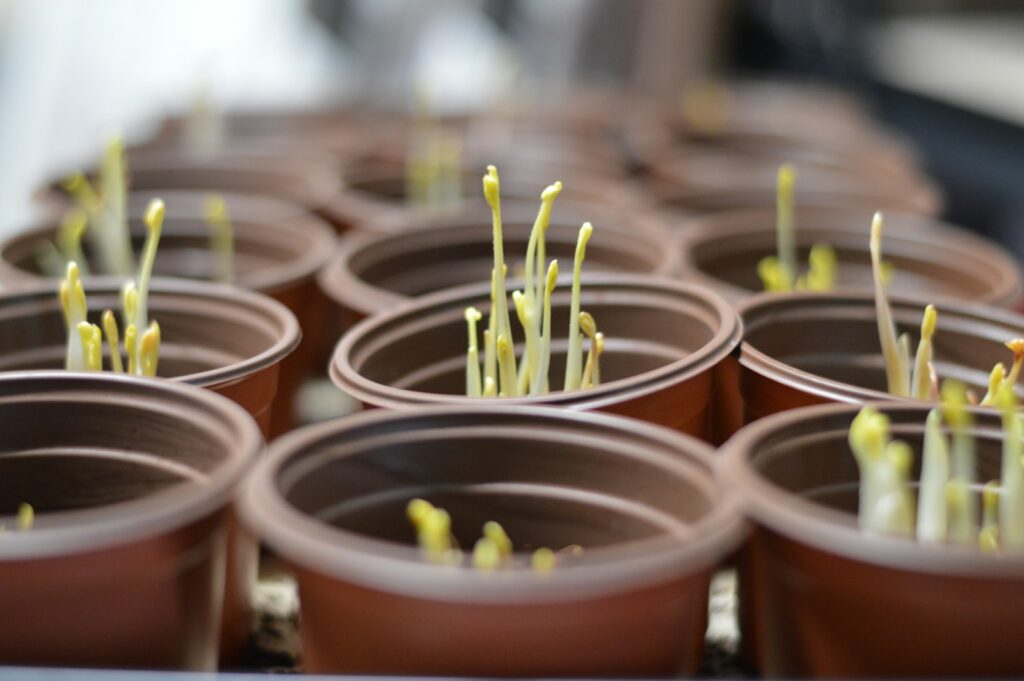
Timing the move from water to soil critically affects the long-term success of your regrown plants. For most water-started scraps, transplanting should occur once roots reach 1-2 inches in length but before they become extremely dense and tangled. Prepare small containers (4-6 inch diameter) with high-quality potting mix, avoiding garden soil which may contain pathogens or drain poorly. Create a small depression in the soil and carefully position your rooted scrap, ensuring roots are spread out rather than bunched together.
Cover gently with additional soil up to the same level the scrap was previously submerged in water, being careful not to bury new growth. After transplanting, water thoroughly but gently, then place in indirect light for 2-3 days before returning to a sunny location, allowing plants to adjust to their new growing medium without shock.
Troubleshooting Common Problems
Even experienced gardeners encounter challenges with food scrap gardens, but most issues have straightforward solutions. Yellowing leaves typically indicate overwatering or poor drainage—reduce watering frequency and ensure containers have adequate drainage holes. Slow or stunted growth often results from insufficient light or nutrients—relocate to a sunnier spot and apply diluted organic fertilizer. Mold appearing on soil surfaces suggests excessive moisture and poor air circulation—reduce watering and increase airflow around plants.
Pest problems, though less common indoors, might include aphids or fungus gnats—address these with a gentle spray of diluted dish soap solution (one drop per cup of water) or by allowing soil to dry slightly between waterings. Plants stretching or leaning toward light sources need rotation every few days to ensure even growth and prevent toppling.
Harvesting and Maintaining Your Kitchen Garden
Proper harvesting techniques extend the productivity of your food scrap garden. For leafy greens and herbs, practice “cut and come again” harvesting by removing only outer leaves and stems while leaving the growing center intact to produce continuous yields. With green onions and similar plants, cut no more than one-third of the plant at once, allowing sufficient foliage for photosynthesis and continued growth. Regular harvesting actually stimulates many plants to produce more, creating a beneficial cycle.
Maintenance routines should include periodic pruning of any yellowed or damaged growth, rotating plants for even light exposure, and refreshing soil every few months for long-term crops. Remember that most regrown vegetables eventually exhaust their growing potential, so stagger your starting dates to maintain continuous harvests.
Expanding Beyond Basic Scraps
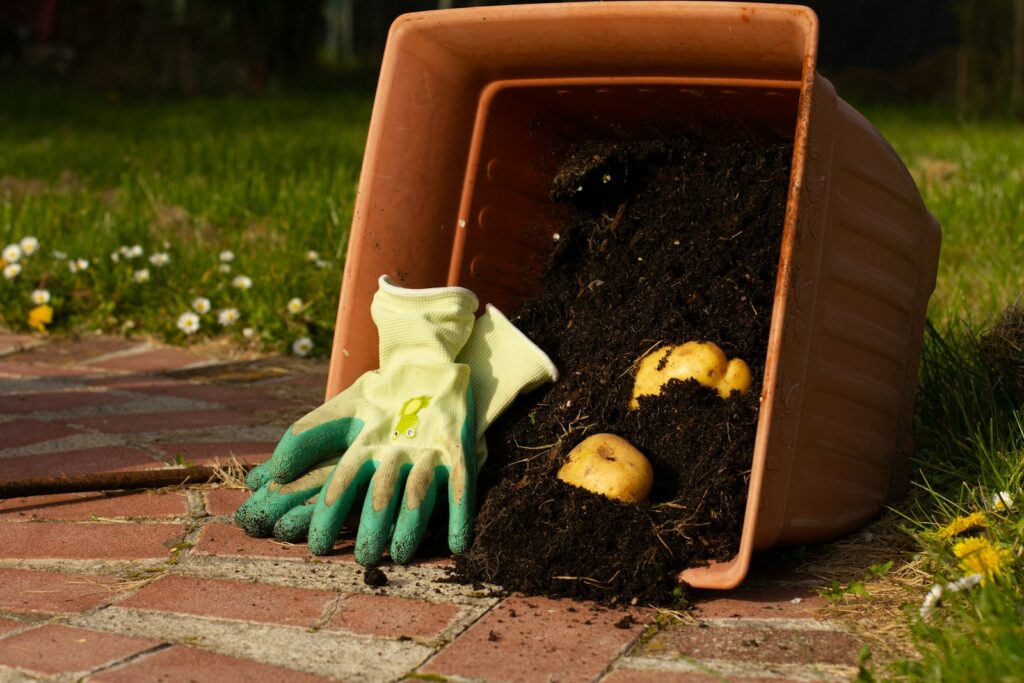
Once you’ve mastered basic food scrap gardening, numerous advanced techniques await exploration. Try creating a potato plant by planting a sprouted potato section with at least two “eyes” in a deep container, gradually adding soil as the plant grows taller. Ginger and turmeric roots with visible growth buds can be partially buried in soil to produce ornamental plants with harvestable rhizomes. Pineapple tops can transform into dramatic tropical houseplants by removing lower leaves and placing the exposed stem in water until roots form.
For those with limited space, vertical systems using recycled plastic bottles create efficient growing towers for multiple plants. More ambitious gardeners might explore aquaponic systems where fish waste provides nutrients for plants growing in water, creating a symbiotic mini-ecosystem that produces both plant and protein food sources.
Incorporating Your Harvest into Meals
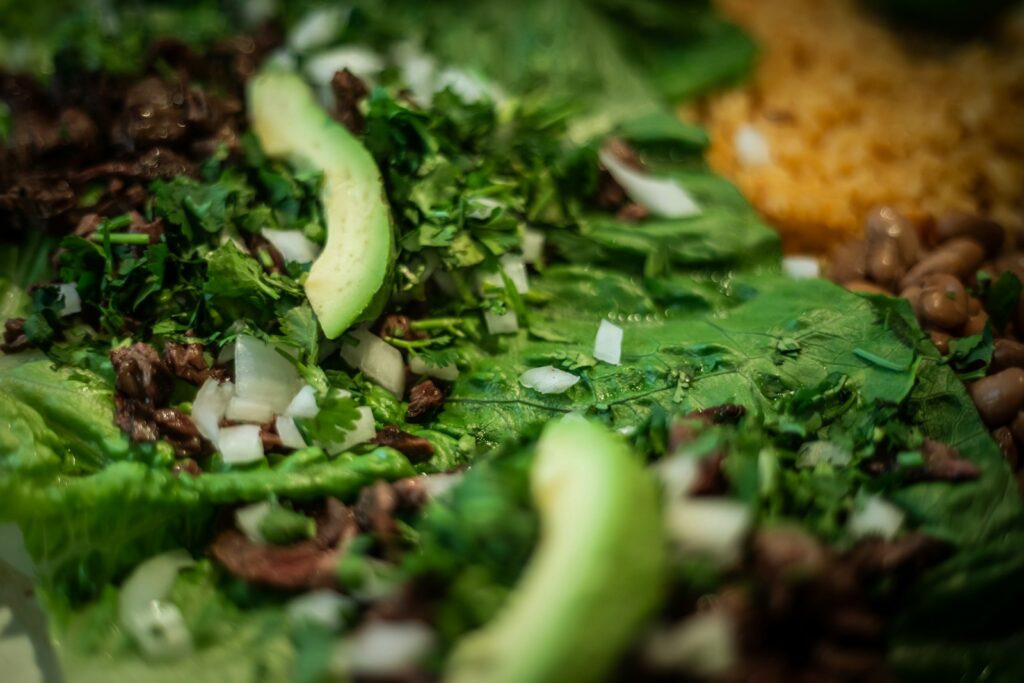
The ultimate reward of food scrap gardening comes when incorporating your homegrown produce into everyday cooking. Freshly snipped herbs elevate simple dishes—try adding just-harvested basil to pasta, mint to summer drinks, or cilantro to tacos for flavor that store-bought alternatives cannot match. Regrown green onions, chives, and leeks make perfect garnishes that add visual appeal and flavor to soups, salads, and egg dishes.
Even small lettuce or cabbage harvests can create a special salad course where you share the story of your kitchen garden with appreciative guests. Beyond consumption, consider drying excess herb production for winter use or creating flavored oils with larger harvests. The superior flavor of just-harvested produce often inspires more plant-forward cooking, gradually shifting dietary patterns toward more sustainable, vegetable-rich meals.
Conclusion Cultivating Sustainability Through Food Scrap Gardening
Food scrap gardening transforms kitchen waste into a sustainable source of fresh produce while connecting us intimately with our food’s growing cycle. This accessible practice requires minimal investment yet yields significant rewards—reducing waste, providing fresh herbs and vegetables, and creating a fascinating educational opportunity right on your windowsill. As you watch discarded vegetable ends transform into thriving plants, you’ll gain a deeper appreciation for nature’s regenerative capacity and your role in the food system.
Start with simple projects like green onions or lettuce bases, then expand your garden as confidence grows. Beyond the practical benefits, there’s something profoundly satisfying about creating new life from what would otherwise be discarded—a small but meaningful step toward more sustainable living that begins right in your kitchen.