

Crafting homemade nut milk is a rewarding culinary adventure that delivers fresh, preservative-free alternatives to commercial plant-based milk. Beyond the satisfaction of creating something from scratch, making your own nut milk allows you to control exactly what goes into your beverage—no additives, stabilizers, or unnecessary sugars.
The process is surprisingly simple and requires minimal equipment, yet the results can transform your morning coffee, breakfast cereal, or baking projects. In this comprehensive guide, we’ll explore everything from selecting the best nuts to creative flavor variations that will elevate your homemade nut milk game.
Understanding the Benefits of Homemade Nut Milk

Homemade nut milk offers numerous advantages over store-bought alternatives that make the small effort worthwhile. First, you’ll eliminate preservatives, gums, oils, and other additives commonly found in commercial varieties, creating a purer product. The flavor profile of freshly made nut milk is noticeably superior—rich, aromatic, and genuinely reflective of the nuts themselves rather than a processed approximation.
From a sustainability perspective, making your own reduces packaging waste associated with store-bought cartons and allows you to source nuts from bulk bins using reusable containers. Finally, the cost savings can be significant over time, especially when you choose more affordable base nuts like sunflower seeds or repurpose the leftover pulp in other recipes.
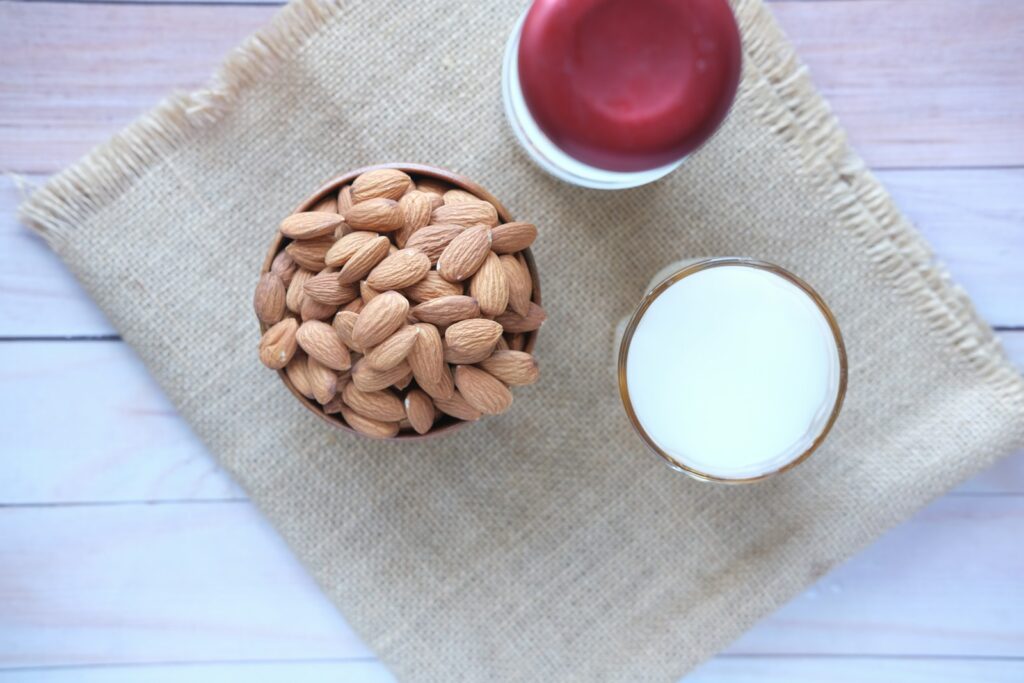
Selecting the Right Nuts for Your Milk
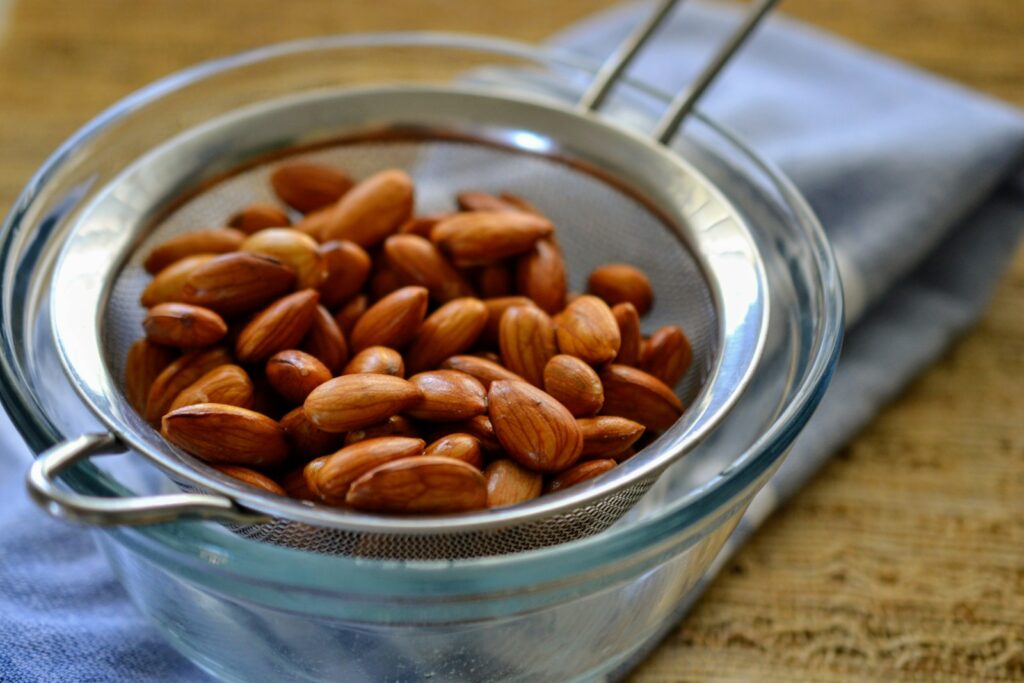
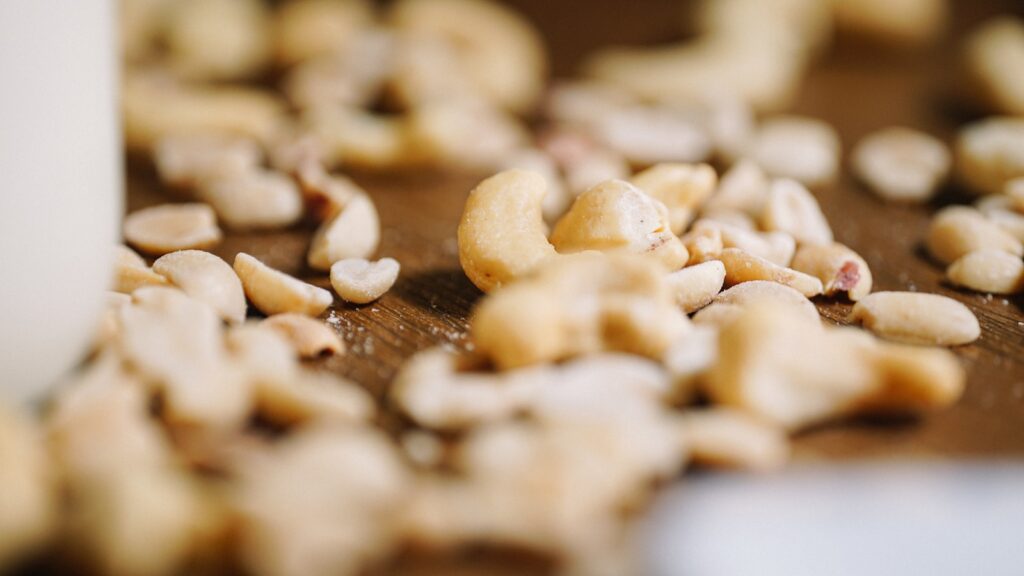
The foundation of excellent nut milk begins with choosing quality ingredients suited to your taste preferences and nutritional goals. Almonds remain the most popular choice due to their mild flavor, nutritional profile, and widespread availability, making them perfect for beginners. Cashews create an exceptionally creamy milk that doesn’t require straining, saving you a step in the process.
Hazelnuts offer a distinctive flavor that pairs beautifully with chocolate or coffee applications, while macadamias produce the richest, most decadent milk with a naturally sweet undertone. For those with nut allergies or budget constraints, sunflower seeds, pumpkin seeds, or oats make excellent alternatives that still deliver on taste and nutrition.
Essential Equipment for Nut Milk Production
Creating homemade nut milk requires surprisingly little specialized equipment, making it accessible even for modestly equipped kitchens. The most important tool is a good-quality blender—the more powerful, the better—as it determines how thoroughly you can break down the nuts and extract their flavor and nutrients. A nut milk bag or fine-mesh strainer is essential for separating the liquid from the pulp, though cashew milk may not require this step.
Glass jars or bottles with tight-fitting lids provide ideal storage solutions, keeping your milk fresh and preventing spills. A funnel makes the transfer from blender to storage container much neater, while measuring cups ensure consistent results. For those making nut milk regularly, a digital kitchen scale can help maintain precise ratios of nuts to water.
The Soaking Process Why It Matters

Soaking nuts before blending is a crucial step that significantly impacts the quality of your homemade milk. This process serves multiple purposes, beginning with enzyme inhibition—raw nuts contain enzyme inhibitors that can interfere with digestion, and soaking helps neutralize these compounds. Soaking also softens the nuts, making them easier to blend thoroughly and resulting in a creamier final product.
The process activates the nuts, initiating germination and making their nutrients more bioavailable and easier for your body to absorb. Different nuts require different soaking times: almonds and harder nuts typically need 8-12 hours, while softer varieties like cashews may only need 2-4 hours. Using filtered water for soaking can prevent any unwanted flavors from municipal tap water from affecting your milk.
Basic Almond Milk Recipe Step by Step
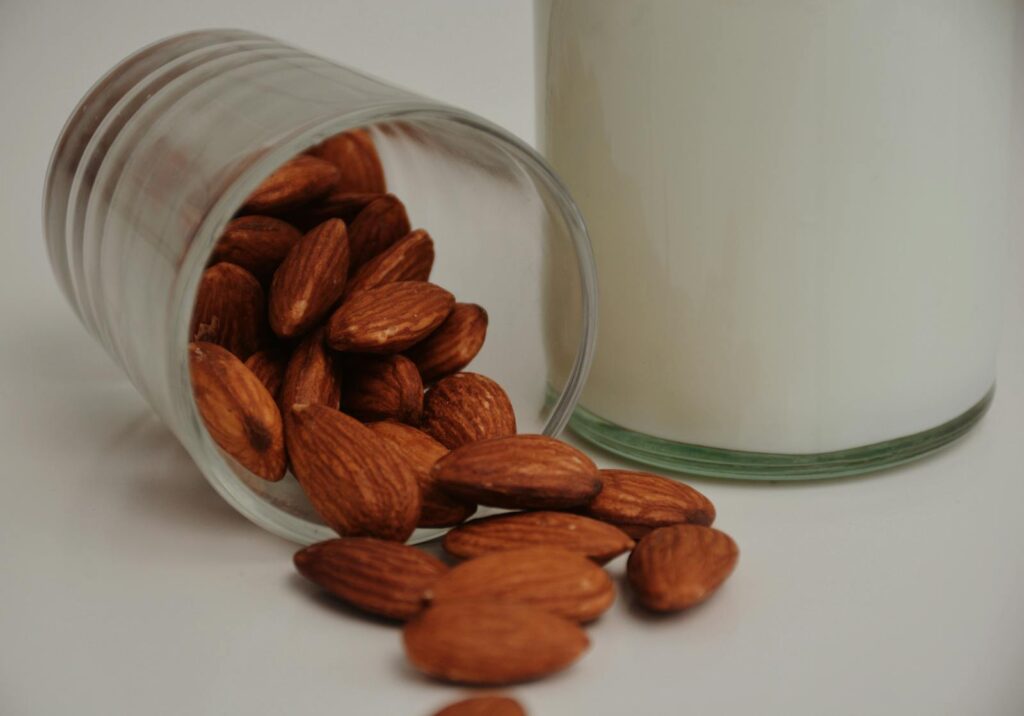
Begin your almond milk journey with this foundational recipe that serves as a template for other variations. Start with 1 cup of raw almonds soaked overnight in filtered water, then thoroughly drained and rinsed. Place the soaked almonds in your blender with 4 cups of fresh filtered water, a pinch of salt, and optionally a pitted date for sweetness. Blend on high speed for 1-2 minutes until the mixture appears smooth and creamy with no visible nut pieces.
Position your nut milk bag over a large bowl and slowly pour the blended mixture into it, then gently squeeze to extract all the liquid, leaving only dry pulp behind. Transfer your fresh almond milk to clean glass containers and refrigerate immediately. This basic recipe yields approximately 4 cups of milk that will keep for 3-5 days when properly refrigerated.
Straining Techniques for the Smoothest Milk

The straining process significantly influences the texture of your finished nut milk, and several approaches can help you achieve optimal results. A dedicated nut milk bag, typically made from fine nylon mesh or organic cotton, offers the most effective filtration while still being gentle enough to squeeze by hand. If you don’t have a nut milk bag, cheesecloth folded several times can work, though it may allow more fine particles through and require a second straining.
For those seeking maximum smoothness, consider the double-strain method: first through a standard kitchen strainer to remove larger particles, then through a nut milk bag for the finer sediment. When straining, work slowly and apply gentle pressure to avoid forcing pulp through the filtering material. Some nuts, particularly cashews and macadamias, can be blended so thoroughly that straining becomes optional, saving time while maintaining a rich texture.
Creative Flavor Variations and Add ins
Once you’ve mastered basic nut milk, experiment with flavorings that transform your creation into something truly special. Vanilla bean or extract adds warmth and depth that complements the natural nuttiness, while cinnamon, cardamom, or nutmeg introduce aromatic complexity. For a decadent chocolate variation, add 1-2 tablespoons of raw cacao powder during blending along with a touch of additional sweetener. Fresh or frozen berries can create beautiful pink milk with fruity undertones, perfect for smoothies or breakfast cereals.
Adaptogens and superfoods like maca powder, ashwagandha, or spirulina can boost nutritional value for those seeking functional benefits. Coffee-infused nut milk makes an excellent base for lattes—simply substitute some of the water with cold brew concentrate during the blending stage. Remember that most flavorings should be added during the blending phase, before straining, to ensure they integrate completely with the final product.
Natural Sweetener Options
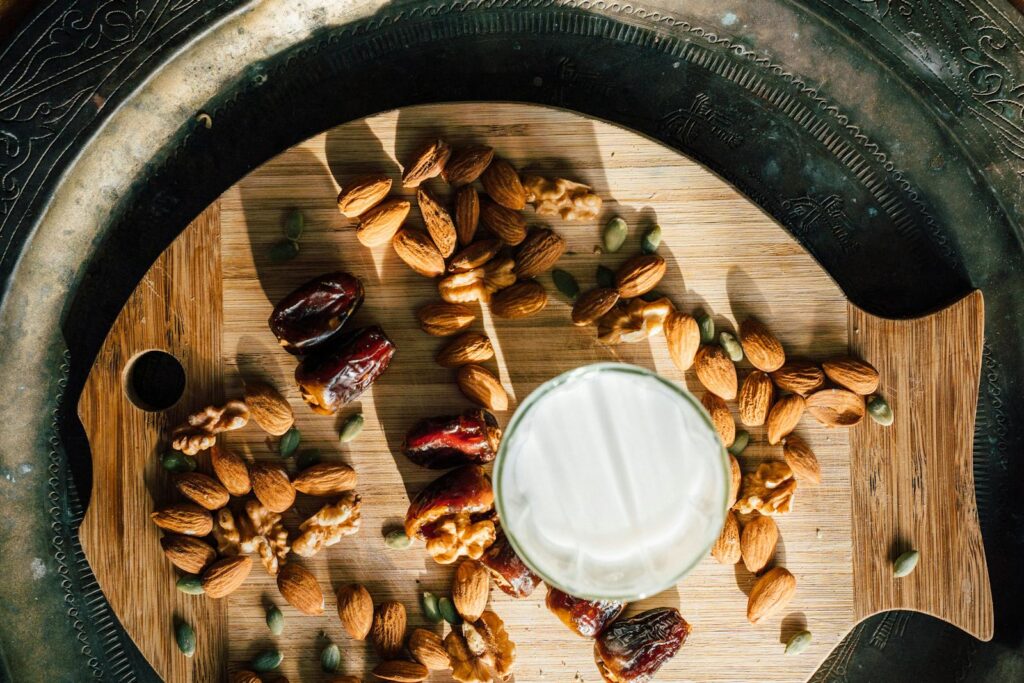
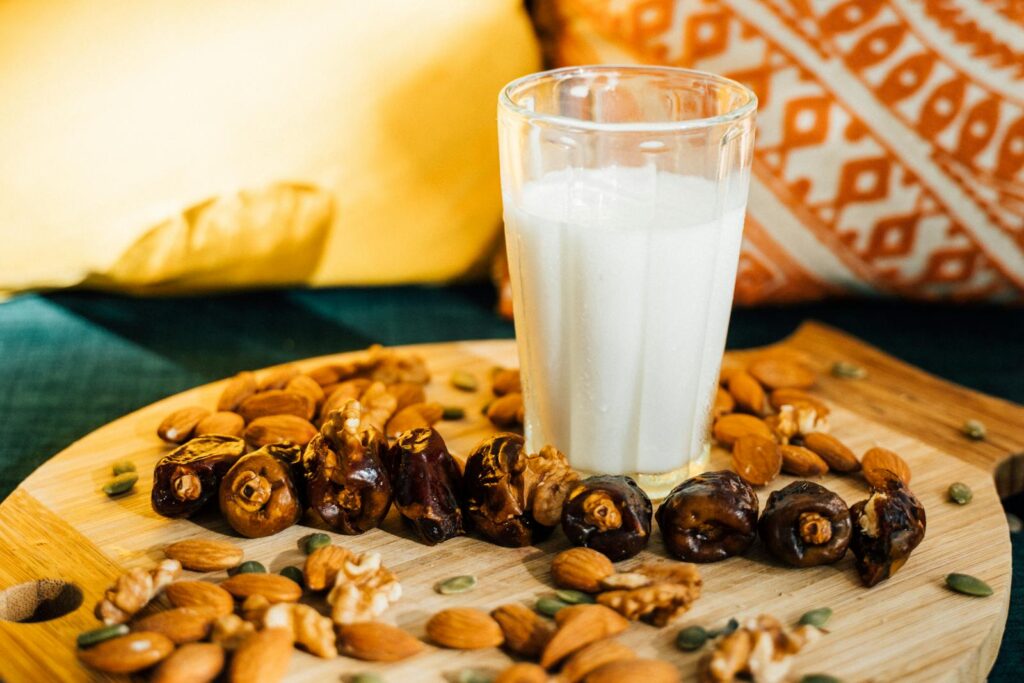
Sweetening homemade nut milk allows you to customize the flavor profile while avoiding the refined sugars found in many commercial versions. Medjool dates are the gold standard for natural sweetening, offering caramel notes that complement nuts beautifully—simply pit and add 1-2 to the blender with your soaked nuts. Pure maple syrup provides a distinctive flavor beyond mere sweetness, working particularly well with walnut or pecan milk.
Raw honey (for non-vegans) contributes both sweetness and subtle floral notes, though it should be added after straining if you’re using warm water to blend. Coconut sugar dissolves well and adds a rich, caramel-like quality without overpowering the nut flavor. For those monitoring blood sugar, monk fruit extract or stevia can provide sweetness without calories or glycemic impact, though start with tiny amounts as both are considerably sweeter than sugar.
Extending Shelf Life and Storage Tips

Proper storage techniques can maximize the freshness of your homemade nut milk, which naturally has a shorter shelf life than commercial varieties. Always store your milk in clean, airtight glass containers rather than plastic, which can impart unwanted flavors and may contain chemicals that leach into the milk. Refrigerate immediately after preparation and keep at 40°F (4°C) or below to inhibit bacterial growth.
Homemade nut milk typically stays fresh for 3-5 days, though you’ll know it’s time to make a new batch when the milk develops an off smell or slightly sour taste. For extended storage, consider freezing portions in ice cube trays, which creates convenient portions for smoothies or coffee while preserving quality for up to three months. Giving your milk a gentle shake before each use helps redistribute any natural separation that occurs during storage.
Troubleshooting Common Nut Milk Problems
Even experienced nut milk makers occasionally encounter issues that affect the quality of their homemade beverages. If your milk tastes bitter, the culprit is likely either poor-quality nuts that have gone rancid or overly harsh blending that has released bitter compounds from the nut skins. Separation is natural and occurs because homemade nut milk lacks the commercial stabilizers that prevent this—simply shake before using. Grittiness usually indicates insufficient blending or inadequate straining; try extending blend time or double-straining next time.
If your milk seems watery or lacks creaminess, you may need to adjust your nut-to-water ratio by using more nuts or less water. For milk that spoils quickly, ensure all equipment is thoroughly clean, your refrigerator is cold enough, and consider blanching almonds briefly to remove potential bacteria on the skins before making your next batch.
Creative Uses for Leftover Nut Pulp
The leftover pulp from making nut milk represents both nutritional value and culinary opportunity rather than waste. Transform this fiber-rich byproduct into delicious baked goods by adding it to muffin, cookie, or quick bread recipes, where it contributes moisture and nutrition. Dehydrated nut pulp becomes a versatile gluten-free flour substitute—spread it thinly on a baking sheet and dry in an oven at its lowest setting until completely moisture-free, then pulse in a food processor to refine the texture.
For a savory application, mix almond or cashew pulp with herbs, spices, and a bit of oil to create a raw “cheese” spread perfect for crackers or vegetable dipping. Breakfast options include adding the fresh pulp to oatmeal, smoothies, or homemade granola before baking. You can even create exfoliating body scrubs by mixing the pulp with honey, essential oils, and a bit of oil for a zero-waste beauty product.
Comparing Different Nut Milk Varieties

Each type of nut creates milk with distinct characteristics that suit different culinary applications. Almond milk offers a balanced profile with subtle nuttiness and a light texture, making it versatile for both sweet and savory uses. Cashew milk provides unparalleled creaminess that works beautifully in coffee drinks and cream-based soups without requiring straining. Hazelnut milk brings a distinctive flavor that pairs exceptionally well with chocolate and makes stellar hot chocolate or mocha beverages.
Macadamia nut milk delivers the highest fat content and richest mouthfeel, creating a luxurious experience akin to whole dairy milk that excels in coffee applications. Walnut milk contains beneficial omega-3 fatty acids but carries a stronger flavor that works best in bolder applications like baking or smoothies with complementary flavors. Pistachio milk offers a beautiful natural color and unique flavor profile that makes it worth the extra expense for special occasions.
Incorporating Homemade Nut Milk into Your Daily Routine

Making homemade nut milk part of your routine is a simple, sustainable step toward healthier living. Choose a dedicated “nut milk day” each week and align it with meal prep to streamline your kitchen tasks. Keep pre-measured nuts on hand for soaking to save time when you’re busy. Use your nut milk creatively in dishes like cream sauces, puddings, or even ice cream to enjoy its versatility.
Customize batches for specific uses—a richer version for coffee and a lighter one for drinking or cereal. With a few tools and practice, homemade nut milk becomes a staple, offering better flavor, fewer additives, and a deeper connection to your food choices.