

Gardening enthusiasts are constantly seeking creative ways to organize their plant beds while adding personal touches to their outdoor spaces. One increasingly popular trend combines natural elements with artistic expression: handcrafted plant markers made from river stones. These smooth, durable stones provide the perfect canvas for creating long-lasting garden labels that withstand the elements while adding a decorative touch to your garden.
Unlike commercial plastic markers that crack in the sun or wooden stakes that rot with moisture, painted river stones offer an eco-friendly alternative that blends harmoniously with your garden’s natural aesthetic while helping you remember which herbs are which and where you planted those heirloom tomatoes.
Why River Stones Make Perfect Plant Markers

River stones possess natural qualities that make them ideal candidates for garden markers. Their smooth surfaces, shaped by years of flowing water, provide an excellent canvas for paint application. Unlike manufactured materials, each stone offers a unique shape and texture, ensuring your garden markers will be one-of-a-kind creations.
River stones also possess remarkable durability, withstanding harsh weather conditions from scorching summer heat to freezing winter temperatures without degrading. Additionally, these natural elements blend seamlessly into garden landscapes, creating markers that complement rather than distract from your carefully cultivated plant beds.
Gathering Your Materials
Before beginning your stone marker project, you’ll need to collect several essential supplies. First, gather smooth river stones in various sizes—aim for stones at least two inches across to provide adequate painting surface. Acrylic paints offer the best adherence and weather resistance, so select a palette of colors suitable for your garden aesthetic.
You’ll also need fine-tipped paintbrushes for detail work and broader brushes for background colors or sealing. A clear waterproof sealer is crucial for protecting your finished designs from moisture and fading. Additional helpful materials include pencils for sketching designs, reference photos of plants, and perhaps stencils if you’re concerned about your freehand abilities.
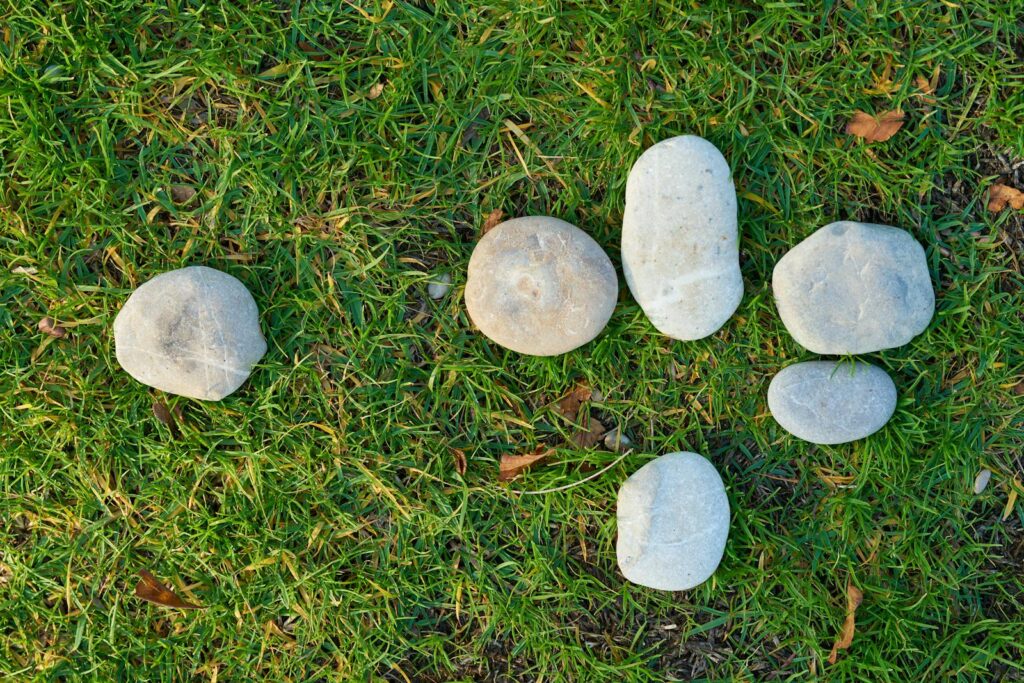
Selecting the Perfect Stones

Finding ideal stones for your plant markers involves looking for specific characteristics that will enhance your finished project. Choose stones with at least one relatively flat surface that provides an adequate canvas for your plant names and designs. Smooth-textured stones will allow paint to adhere better and create cleaner lines than rough or porous surfaces.
Size matters—select stones large enough to accommodate your text but not so large they overwhelm smaller plants or containers. Consider choosing stones with consistent shapes if you want a uniform look, or embrace variety for a more organic, natural appearance in your garden. Local beaches, landscaping suppliers, or craft stores often carry suitable river stones if you don’t have access to a natural source.
Preparing Stones for Painting

Proper preparation ensures your painted designs will adhere properly and last through changing seasons. Begin by thoroughly washing each stone with mild soap and water to remove any dirt, algae, or natural oils that might interfere with paint adhesion. Allow stones to dry completely—ideally for 24 hours—as moisture trapped inside can cause paint to bubble or peel later.
For extremely smooth stones, lightly sanding the surface with fine-grit sandpaper creates microscopic texture that helps paint bond more effectively. Before applying any color, consider using a white acrylic primer to create a neutral base that will make your colors appear more vibrant, especially on darker stones. This preparation stage, while simple, dramatically improves the longevity and appearance of your finished markers.
Design Ideas for Plant Markers
The design possibilities for stone plant markers are virtually endless, allowing for personalization based on your artistic skills and garden style. The simplest approach involves painting just the plant name in a clear, legible font, perhaps adding small decorative elements like dots or simple borders. More elaborate designs might include realistic illustrations of the plants themselves, showing flowers, fruits, or distinctive leaf shapes that make identification even easier.
Thematic markers add whimsy—paint vegetables with faces for a children’s garden or incorporate elegant botanical illustrations for a more sophisticated look. Color-coding can serve practical purposes too; for instance, use green backgrounds for herbs, red for tomatoes, or yellow for squash to create an intuitive visual system for your garden organization.
Painting Techniques for Beginners

Even those with limited artistic experience can create attractive stone markers using a few accessible techniques. Start by sketching your design lightly in pencil, which allows for adjustments before committing with paint. Building up colors in thin layers rather than applying thick coats helps prevent cracking and peeling while achieving more vibrant results. For text, consider using stencils or creating a “dot letter” technique by forming letters with small dots rather than continuous lines, which can be easier to control.
Another beginner-friendly approach is the silhouette method—paint a solid color background, then add simple plant silhouettes in contrasting colors. Remember that imperfections add character to handmade items, so embrace the organic quality of your creations rather than striving for machine-like precision.
Advanced Painting Methods

As your confidence grows, you might explore more sophisticated techniques to elevate your stone markers. Stippling—creating texture and shading using tiny dots—adds dimension and realism to plant illustrations without requiring precise brushwork. Dry brushing involves using minimal paint on your brush to create textured effects that can simulate weathered wood or stone textures for rustic-styled markers.
Consider experimenting with metallic or pearlescent paints to add subtle shimmer that catches sunlight in the garden. Layering translucent colors creates depth and can produce watercolor-like effects that beautifully capture the delicate nature of flowers and leaves. For those with steady hands, fine-line detail work using the smallest brushes available can produce stunning botanical illustrations worthy of display beyond mere garden markers.
Sealing Your Painted Stones
Properly sealing your completed stone markers is crucial for ensuring their longevity in outdoor conditions. After your paint has completely dried (typically 24-48 hours), apply a clear waterproof sealer designed for outdoor use. Spray sealers provide the most even coverage without disturbing your painted designs, though brush-on options work well too. Apply at least three thin coats, allowing proper drying time between applications as specified by the product instructions.
Quality sealers protect against UV rays that cause fading, repel moisture that leads to paint deterioration, and resist soil staining that can obscure your designs. The sealing process may seem like an extra step, but it transforms your stone markers from temporary decorations into durable garden features that will serve you for many growing seasons.
Creative Placement in the Garden
The positioning of your stone markers contributes significantly to both their functionality and aesthetic impact in your garden space. For maximum visibility, place markers at the front edge of plant beds where they won’t be obscured by foliage as plants mature. Consider angling stones slightly toward walkways to improve readability for visitors admiring your garden. In raised beds, you might embed stones partially into the soil for stability, while container gardens benefit from stones resting directly on the soil surface.
Create visual interest by varying the heights and positions of markers throughout your garden rather than placing them in rigid, uniform rows. Some gardeners create decorative borders with collections of painted stones, combining plant identification with ornamental elements that define garden spaces.
Seasonal and Specialty Markers
Beyond basic plant identification, stone markers can serve specialized functions throughout your garden. Create seasonal rotation markers with planting dates or succession planting reminders painted on the reverse side of your stones. Design stones that indicate planting depths for different seeds or optimal spacing information for specific plant varieties. Herb garden stones might include culinary uses or harvest guidelines along with the plant names.
For children’s gardens, incorporate educational elements like the parts of plants, growth cycles, or pollinator relationships. Ornamental gardens benefit from markers that note bloom times, flower colors, or fragrance characteristics. These specialized markers transform simple labels into valuable gardening tools that enhance your planting strategy and garden management.
Making Stone Markers with Children
Creating plant markers becomes a wonderful educational activity when shared with young gardeners. Children naturally connect with the tactile experience of holding and painting stones, making this craft appealing even to those who might not otherwise show interest in gardening. Simplify the process by helping children select plants they’ve grown themselves or favorites they can easily identify, fostering a sense of ownership and pride.
Use larger stones for younger children, allowing their developing motor skills more space for expression. Non-toxic acrylic paints are safe for children to use with supervision, though washable options might be preferable for the youngest artists. Beyond the craft itself, this activity creates opportunities to discuss plant names, growing requirements, and the importance of organization in garden planning—valuable knowledge delivered through enjoyable hands-on learning.
Troubleshooting Common Issues
Even experienced crafters sometimes encounter challenges when creating stone markers. If paint beads up on your stone surface, the stone likely has natural oils or residue requiring more thorough cleaning—try scrubbing with vinegar solution before repainting. Fading colors often result from inadequate sealing or using inferior paints; resolve this by using artist-quality acrylics and multiple sealer coats with UV protection. When text appears illegible against stone backgrounds, add a solid color base layer in a contrasting shade before applying lettering.
Stones that disappear into garden soil might need repositioning or placement on small elevation mounds for visibility. Paint cracking usually indicates application that was too thick; prevent this by applying multiple thin layers rather than heavy coats. Addressing these common issues ensures your stone markers remain beautiful and functional throughout changing seasons.
Expanding Beyond Plant Markers

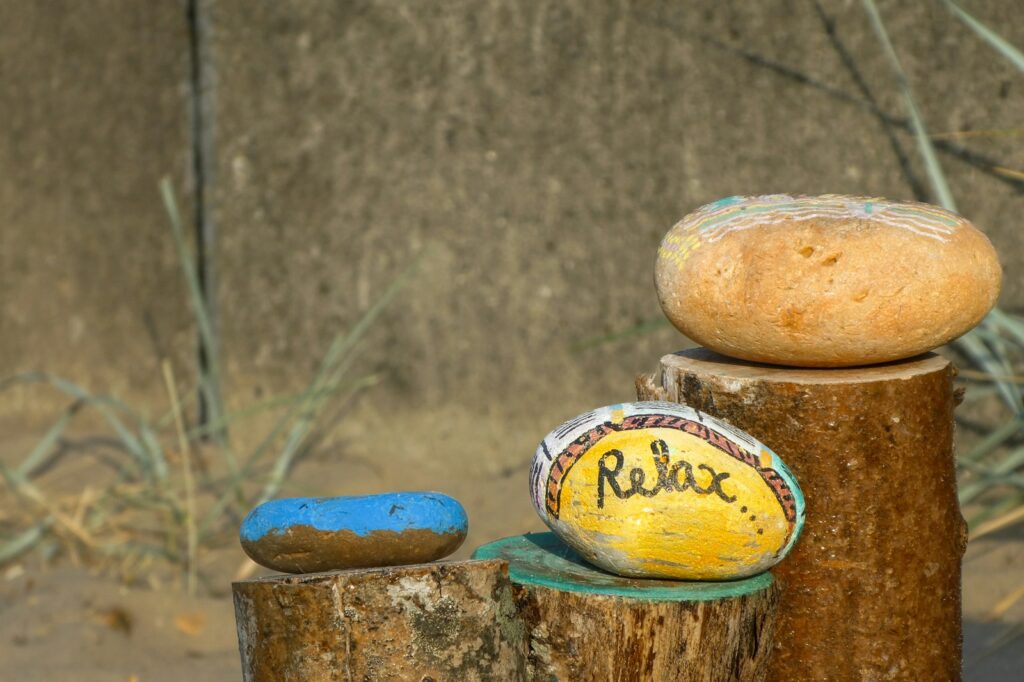
Once you’ve learned the basics of stone painting, it opens the door to endless creative ways to personalize your garden. You can paint larger stones with welcoming messages or your family’s name, add designs to stepping stones, or create seasonal collections to rotate throughout the year. Some gardeners paint memorial stones to honor pets or special moments, while others add inspiring quotes throughout their landscape for reflection. This creative outlet becomes more than decoration—it enhances the emotional and aesthetic appeal of your outdoor space.
Painted river stone plant markers combine function with creativity, offering durable, weather-resistant labels with a personal touch. Unlike store-bought options, these markers reflect your style and add artistic charm to your beds, borders, or herb pots. Whether you’re a seasoned gardener or a weekend hobbyist, this simple DIY project brings organization and beauty together. With just paint, brushes, and a bit of imagination, your garden can become a living canvas.